 Pin This
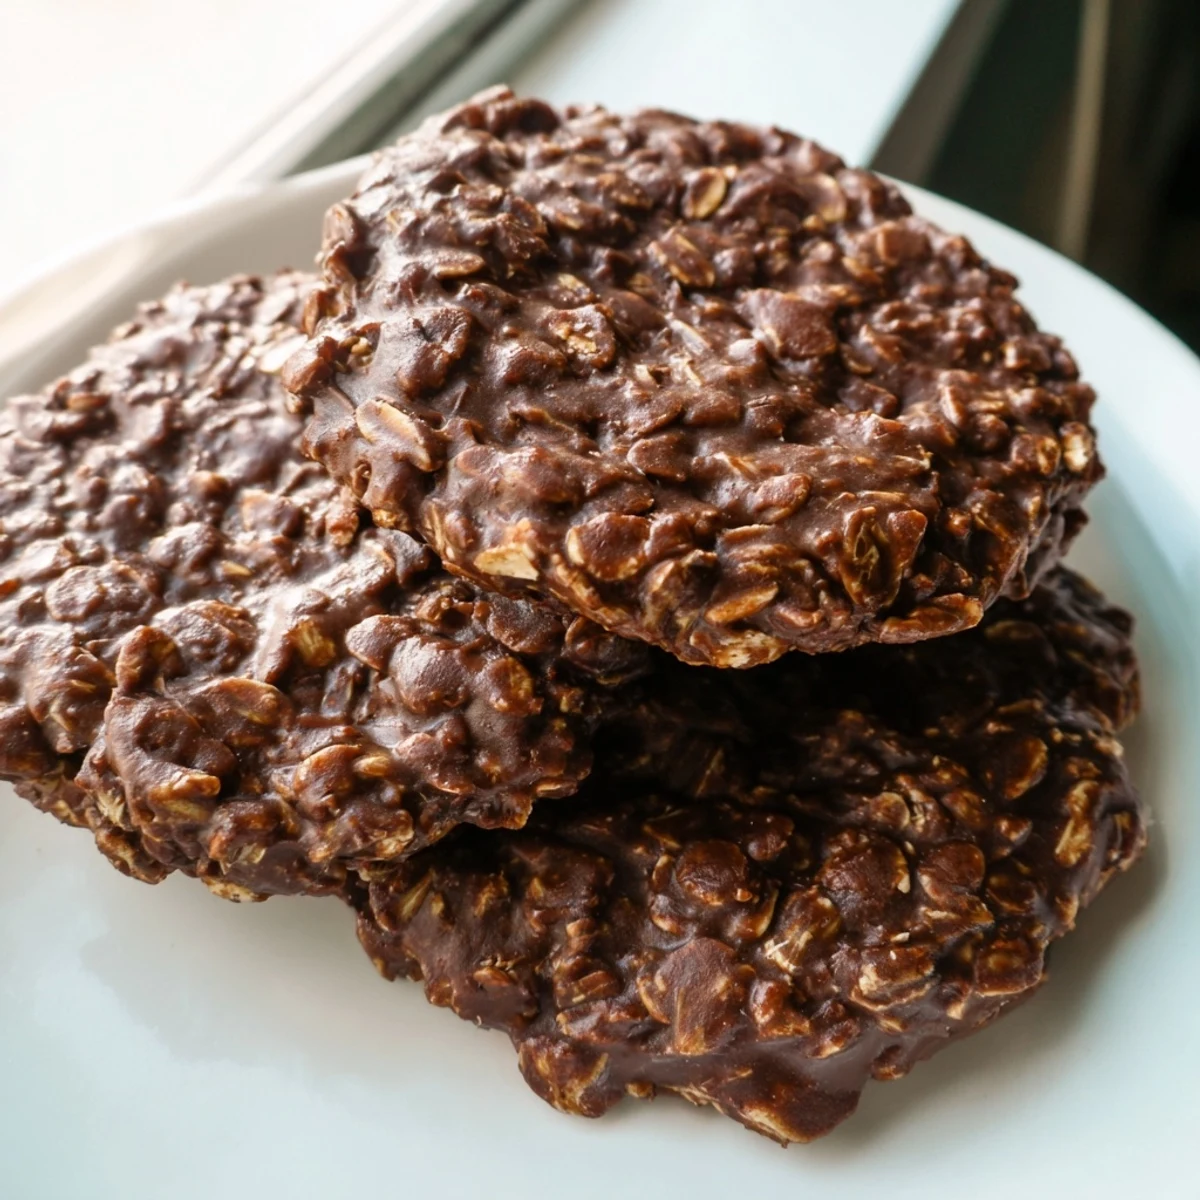
 These chocolate oatmeal no-bake cookies come together in minutes using just a saucepan and basic pantry ingredients. Butter, sugar, milk, and cocoa are boiled together, then combined with peanut butter, vanilla, and quick-cooking oats.
The mixture is simply dropped onto parchment paper and left to set at room temperature or in the fridge. No oven required, making them perfect for hot days or when you need a sweet fix fast.
Each cookie delivers a rich, chewy bite with a satisfying blend of chocolate and peanut butter flavor. The recipe yields 24 cookies and stores well for up to a week in an airtight container.
The rain was hammering against the kitchen window and the power had been out for forty minutes when my sister dug through the pantry and announced we were making no bake cookies by lantern light. That sticky, chocolate scented evening turned me into a lifelong devotee of these impossibly chewy little mounds of happiness. They require zero oven time, zero fancy equipment, and roughly the same effort as making a cup of hot cocoa. You just need a saucepan, a spoon, and about ten minutes of patience.
My college roommate used to make a double batch every Sunday and hide them behind the frozen vegetables so nobody else could find them. The ruse lasted about two days because the entire apartment smelled like cocoa and brown sugar every time she made them. I eventually convinced her to share the method, and it has been in my regular rotation ever since.
Ingredients
- Unsalted butter (1/2 cup, 115 g): The foundation of richness here, and unsalted lets you control the final flavor precisely.
- Granulated sugar (2 cups, 400 g): This is not the place to cut back, because sugar is what sets the cookie structure as it cools and crystallizes.
- Whole milk (1/2 cup, 120 ml): Whole milk matters because the fat content helps the sugar reach the right soft ball stage consistency.
- Unsweetened cocoa powder (1/4 cup, 25 g): Use a good quality Dutch processed or natural cocoa for the deepest chocolate flavor you can get.
- Pure vanilla extract (1 tsp): Added off the heat so the flavor does not cook out and disappear into the sugar mixture.
- Creamy peanut butter (1/2 cup, 130 g): This melts into the hot mixture and creates that fudgy, chewy texture that makes these cookies irresistible.
- Quick cooking oats (3 cups, 270 g): Quick oats absorb the liquid better than old fashioned ones and give you that tender, chewy bite rather than something tough and rustic.
- Salt (pinch): Just a pinch wakes up every other flavor and keeps the sweetness from becoming one dimensional.
Instructions
- Prepare your workspace:
- Line two baking sheets with parchment paper so the cookies release cleanly once they have set and cooled completely.
- Build the base:
- Combine the butter, sugar, milk, and cocoa powder in a medium saucepan over medium heat, stirring often as the butter melts and everything comes together into a dark, glossy liquid.
- The crucial boil:
- Bring the mixture to a full rolling boil and let it go for exactly one minute while stirring constantly, because this step determines whether your cookies set up or stay runny.
- Melt in the magic:
- Pull the pan off the heat and immediately stir in the peanut butter, vanilla extract, and pinch of salt until the mixture turns silky smooth and smells absolutely heavenly.
- Fold in the oats:
- Add all three cups of oats at once and stir thoroughly until every flake is coated in that rich chocolate peanut butter mixture with no dry spots remaining.
- Shape the cookies:
- Use a tablespoon or small cookie scoop to drop mounds onto your prepared sheets, and gently press them into rounds if you want a neater look.
- Let them rest:
- Leave the cookies at room temperature for about fifteen to twenty minutes until firm, or pop the trays in the refrigerator if you are in a hurry.
 Pin This
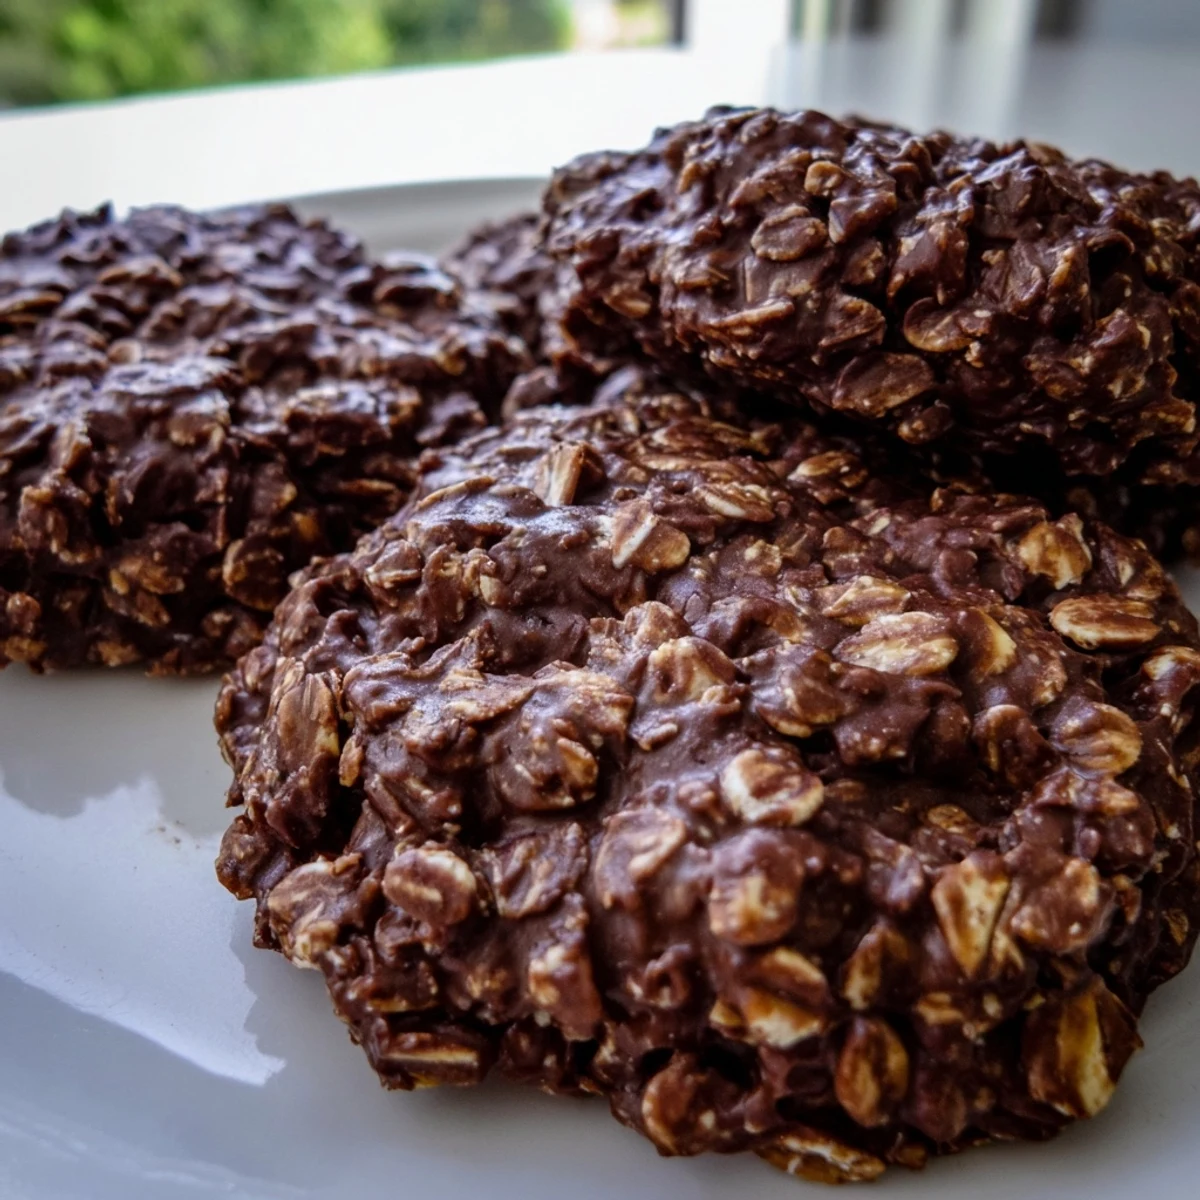
 I brought a plate of these to a neighborhood potluck last summer and watched a quiet seven year old eat six of them in a row without coming up for air. His mother asked me for the recipe before we even finished dessert. It was one of those moments where a humble little cookie somehow becomes the thing everyone talks about on the drive home.
Storing Your Cookies
Keep them in an airtight container at room temperature and they stay wonderfully chewy for up to a week. In warmer weather or if your kitchen runs hot, tuck the container in the refrigerator and let them sit out for five minutes before eating so they soften back to the perfect texture. They also freeze beautifully for up to three months if you can manage to have leftovers that long.
Making Them Your Own
Throw in half a cup of shredded coconut or chopped pecans with the oats if you want a little extra personality in each bite. A handful of mini marshmallows folded in at the very end gives them a s'mores vibe that kids absolutely lose their minds over. Once you have the base method down, the variations are genuinely endless and forgiving.
What to Watch Out For
Humidity is the enemy of no bake cookies, so on muggy days they may take longer to set or end up slightly softer than usual. Using old fashioned oats instead of quick oats will give you a chewier, chunkier cookie, which some people actually prefer, so test both and see which texture wins your heart.
- If the mixture seems too wet after adding oats, stir in another quarter cup and wait a minute before scooping.
- For a nut free version, swap the peanut butter for sunflower seed butter and it works beautifully.
- Always check your oat and peanut butter labels if gluten or nut allergies are a concern in your household.
 Pin This
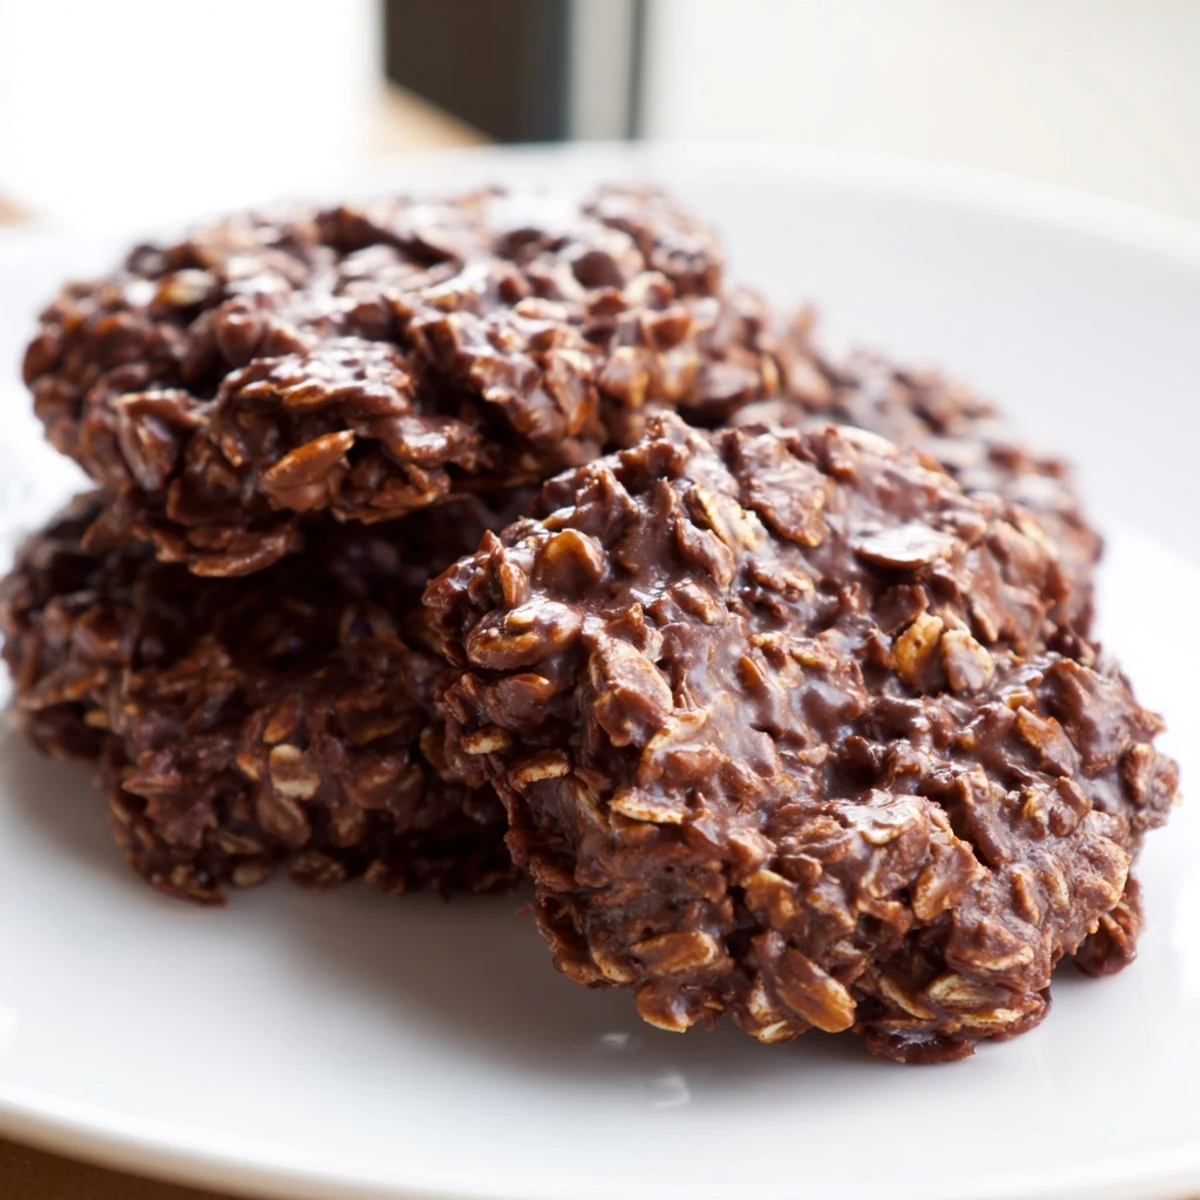
 Some recipes become favorites because they are impressive, but this one earns its place because it shows up when you need it most, with barely any effort and a whole lot of comfort. Keep these in your back pocket for rainy afternoons, potluck emergencies, and those nights when only chocolate will do.
Recipe FAQs
- → Why did my no-bake cookies turn out gooey and not set?
-
This usually happens if the sugar mixture doesn't boil for a full minute. That rolling boil is essential for reaching the right temperature to set properly. Humidity can also affect setting, so try refrigerating them for 30 minutes if they remain soft.
- → Can I use old-fashioned oats instead of quick-cooking oats?
-
Quick-cooking oats are preferred because they absorb moisture faster and create a better texture. Old-fashioned oats will work but result in a chewier, slightly drier cookie. If using old-fashioned oats, you can pulse them a few times in a blender to break them down slightly.
- → How should I store these cookies?
-
Store them in an airtight container at room temperature for up to one week. For longer storage, refrigerate them for up to two weeks. You can also freeze them for up to three months by layering between sheets of parchment paper in a freezer-safe container.
- → Can I make these nut-free?
-
Yes, simply replace the peanut butter with sunflower seed butter for a completely nut-free version. The texture and flavor will be slightly different but still delicious. You could also use tahini as an alternative.
- → What can I add to customize these cookies?
-
Try stirring in half a cup of shredded coconut, chopped nuts, mini marshmallows, or dried fruit when you add the oats. A sprinkle of flaky sea salt on top before they set adds a wonderful sweet-and-salty contrast.
- → Why do I need to boil the mixture for exactly one minute?
-
The one-minute boil dissolves the sugar completely and helps the mixture reach the right consistency for setting. Under-boiling leads to gooey cookies that won't hold their shape, while over-boiling can make them dry and crumbly. Use a timer for best results.