 Pin This
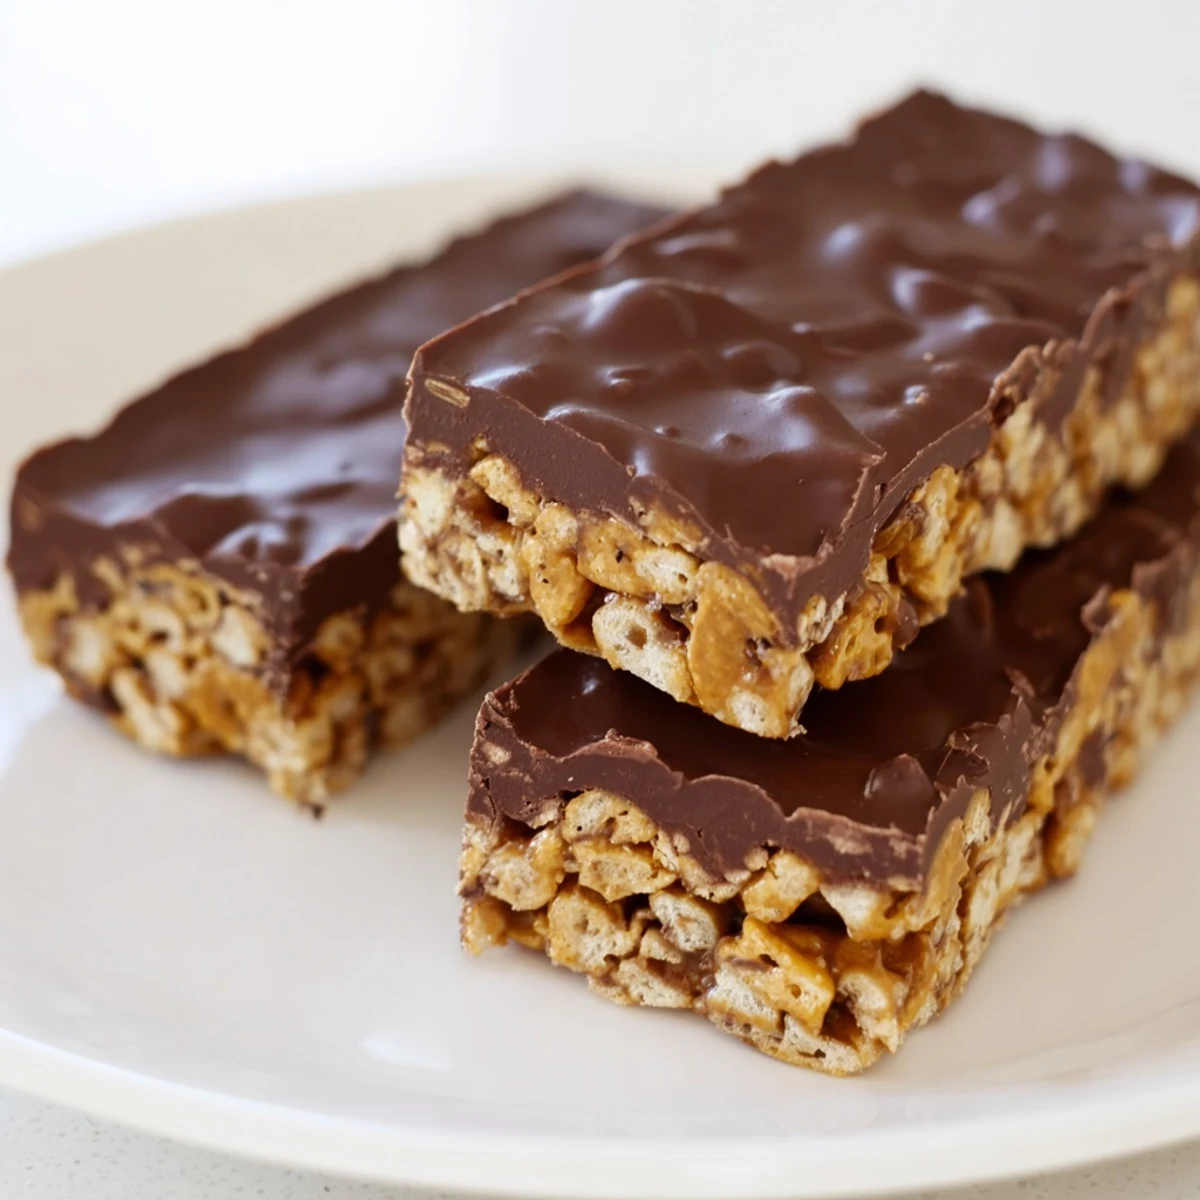
 These sweet and crunchy bars combine gluten-free Honey Chex cereal with a creamy peanut butter and honey mixture, topped with smooth chocolate. Ready in just 15 minutes of prep time, these no-bake treats are perfect for last-minute gatherings, potlucks, or whenever you need a quick dessert. The combination of crispy cereal, rich peanut butter, and decadent chocolate creates a satisfying texture that both kids and adults love. Store them in the refrigerator for up to a week for easy snacking.
The afternoon sun hit my kitchen counter just right as I pressed the last of the cereal mixture into the pan, my seven-year-old hovering at my elbow with chocolate smeared across her chin. We'd been meant to bake cookies that day, but somehow this no-bake situation felt more like an adventure we'd stumbled into together. I've since made these bars for everything from last-minute school events to midnight pregnancy cravings, always with the same quiet satisfaction that comes from something so effortlessly good.
My college roommate used to keep a stash of these in our tiny dorm fridge, and I still remember the sound of her tiptoeing in at 2 AM to grab one during finals week. Something about that combination of salty peanut butter and sweet chocolate hits differently when you're tired or stressed or just needing a moment. Now I make double batches and tuck them away for those exact same midnight moments.
Ingredients
- 4 cups gluten-free Honey Chex cereal: The honey-flavored variety adds an extra layer of sweetness that pairs beautifully with the peanut butter mixture
- 1 cup creamy peanut butter: Natural or regular both work, but avoid the kind with added oils that can make the mixture too loose
- 1/2 cup honey: Use a mild honey so it doesnt overpower the other flavors
- 1/4 cup unsalted butter: This helps bind everything together while adding that rich buttery undertone
- 1 cup semisweet chocolate chips: Check labels carefully to ensure theyre certified gluten-free
- 2 tablespoons creamy peanut butter: Adding this to the chocolate makes the topping creamier and easier to slice
Instructions
- Prep your pan:
- Line an 8x8-inch baking pan with parchment paper, letting the edges hang over the sides like handles
- Melt the sticky base:
- Combine the peanut butter, honey, and butter in a large saucepan over medium-low heat, stirring until everything melts together into a glossy mixture
- Coat the cereal:
- Fold in the Honey Chex gently so you dont crush too many of those delicate crispy pieces
- Press it firm:
- Transfer the mixture to your prepared pan and press down firmly with a spatula, getting it into an even layer
- Make the chocolate topping:
- Microwave the chocolate chips and peanut butter together in 30-second bursts, stirring until silky smooth
- Spread and chill:
- Pour the chocolate over the base and spread it evenly before refrigerating for at least one hour until set
- Cut and serve:
- Lift the whole slab out using the parchment handles and slice into 16 squares
 Pin This
 These bars have become my go-to for new neighbors and grieving friends alike, something familiar and comforting without demanding too much attention. I've learned that food doesn't need to be fancy to be exactly what someone needs.
Getting the Texture Right
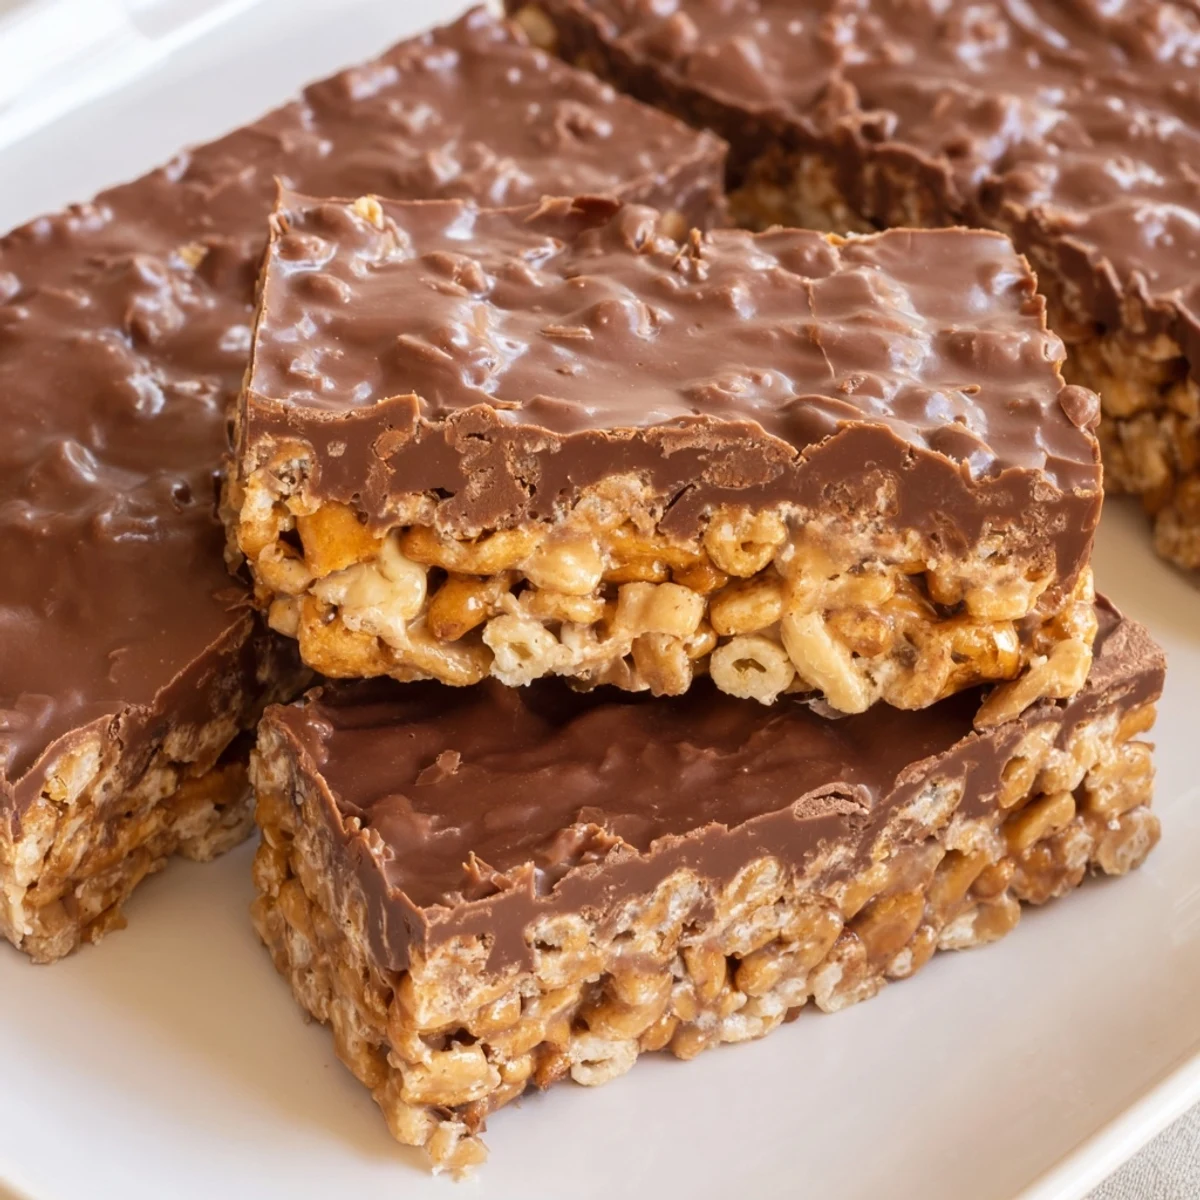
The first few times I made these, I treated the cereal too gently and ended up with loose, crumbly bars that fell apart when anyone tried to pick one up. I learned that you have to press the mixture firmly into the pan, almost like you're packing down brownie batter, but without crushing all those crispy bits that make these so satisfying to eat.
Chocolate Secrets
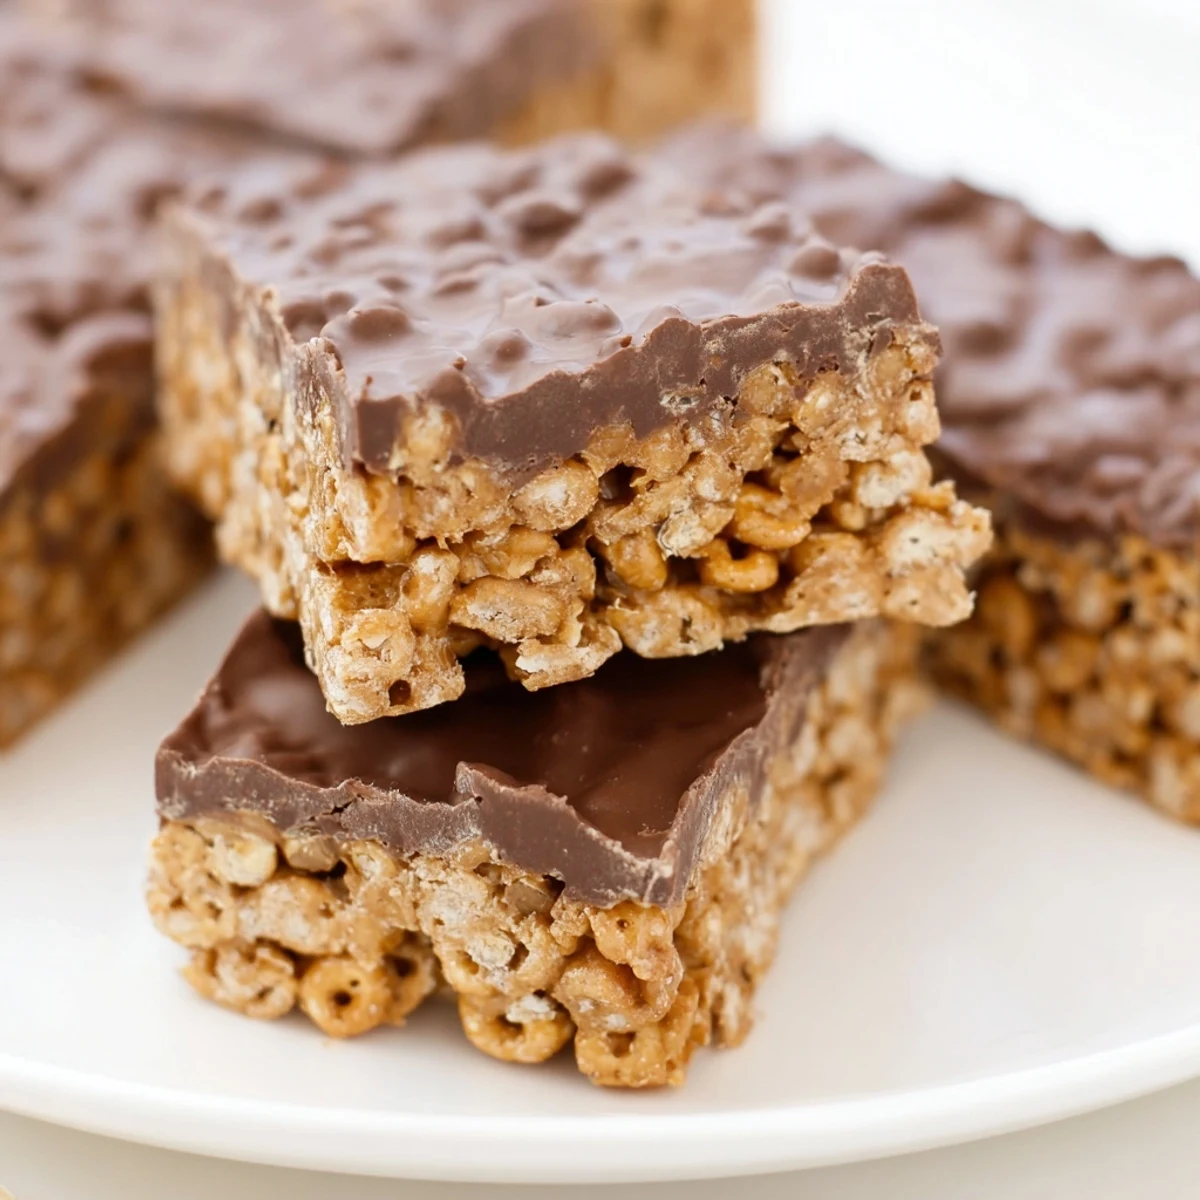
Adding that extra peanut butter to the chocolate topping was a happy accident after I ran out of enough chocolate chips one night. The resulting ganache was softer and creamier than my usual attempts, and I've never gone back to plain chocolate. It cuts cleaner too, which matters more than you'd think.
Make It Your Own
I've started keeping a jar of sunflower seed butter in the pantry for when my niece with allergies visits, and honestly, I can barely tell the difference in the final product. Last summer I added crushed pretzels to the base for extra salt, and my brother claimed that batch was the best thing I've ever made.
- Sprinkle flaky sea salt over the chocolate before it sets
- Press a handful of mini marshmallows into the base for extra sweetness
- Swap in Rice Chex if you cant find the honey variety
 Pin This
 May your kitchen always smell like melted chocolate and may there always be a hidden stash of these for the moments that need them most.
Recipe FAQs
- → Can I make these bars dairy-free?
-
Yes, substitute the butter with coconut oil or dairy-free butter alternative, and use dairy-free chocolate chips certified gluten-free.
- → How long do these bars need to chill?
-
The bars require at least 1 hour in the refrigerator to fully set. For best results, let them chill for 2 hours before cutting.
- → Can I use regular Chex instead of gluten-free?
-
Regular Chex cereal works perfectly in this version if you don't need to follow a gluten-free diet.
- → What's the best way to cut these bars?
-
Use a sharp knife warmed under hot water and wiped dry between cuts for clean edges. Letting them sit at room temperature for 5 minutes also helps.
- → Can I freeze these bars?
-
Yes, wrap individual bars in plastic wrap and freeze for up to 3 months. Thaw in the refrigerator for best texture.
- → How do I store the bars?
-
Keep bars in an airtight container in the refrigerator for up to 1 week. Place parchment paper between layers to prevent sticking.
