 Pin This
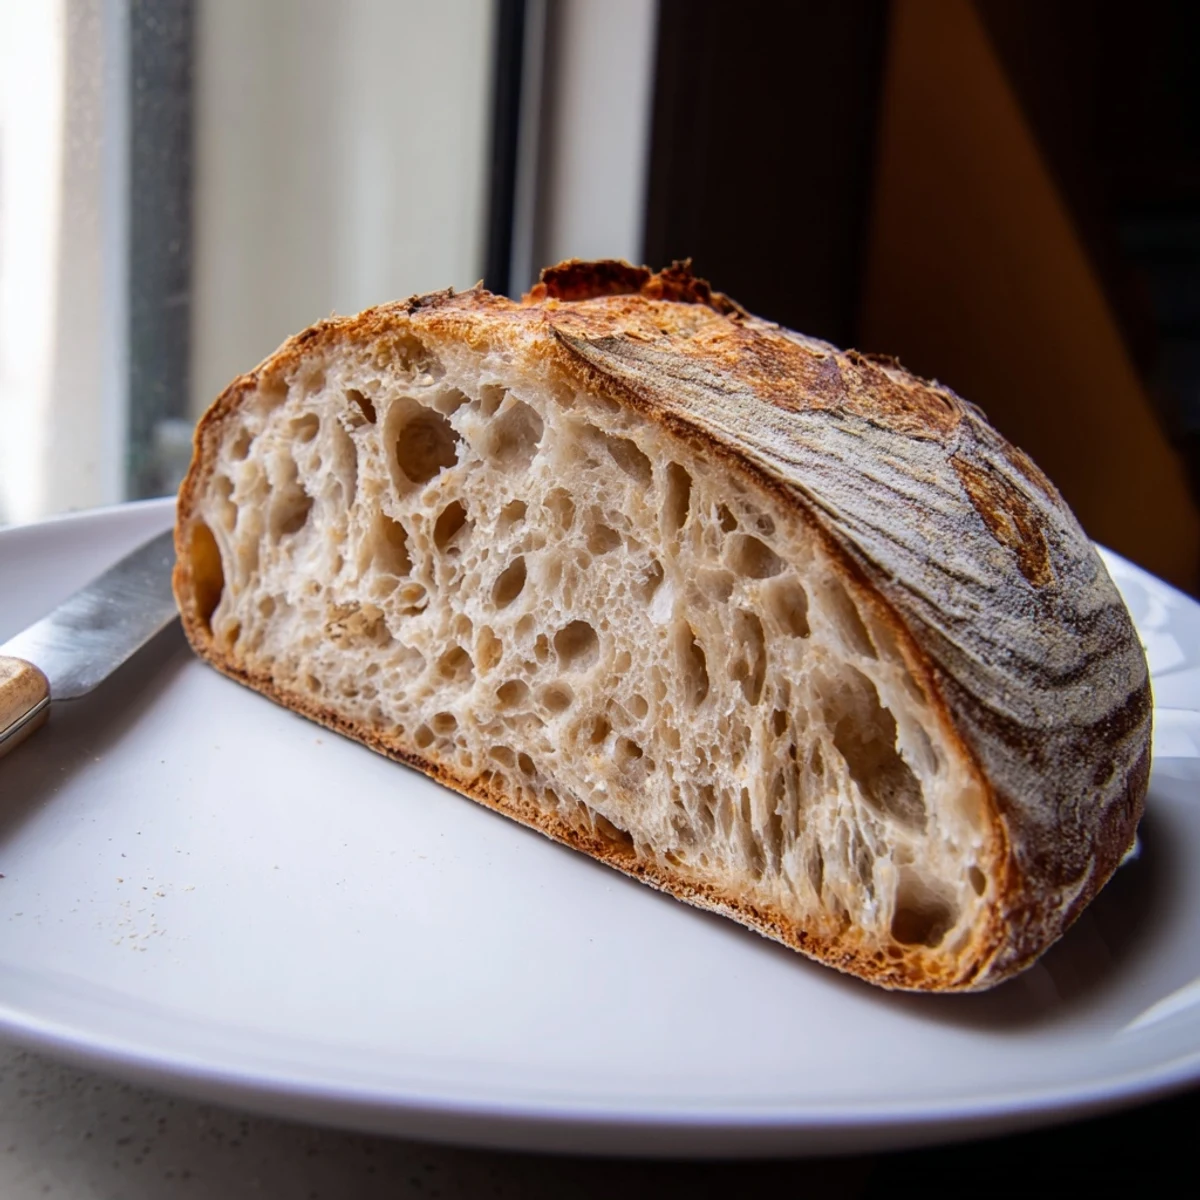
 Craft an authentic sourdough loaf with a beautifully caramelized crust and open, chewy interior. This wild-yeasted bread develops complex tangy flavors through extended fermentation, achieving that distinctive bakery-quality crackle and tender crumb structure artisan bakers prize.
The smell of sourdough baking has this way of taking over an entire house, settling into every corner like an old friend who knows exactly where to sit. I started my first starter during a rainy winter when the world felt slow and uncertain, watching bubbles appear like tiny victories each morning. There's something deeply satisfying about nurturing something alive on your kitchen counter, feeding it flour and water like a pet that never needs walking. That first loaf came out dense and slightly underbaked, but the flavor was unlike anything I'd ever tasted from a store.
I brought my first successful loaf to a dinner party, still warm from the oven, wrapped in a clean tea towel. The host grabbed a knife right there in the entryway, and we all stood around tearing off pieces, burning our fingers slightly, not even caring. Someone asked for the recipe and I had to admit it was mostly patience and observation rather than precise measurements. That night taught me that the best food moments often happen when we abandon perfection and just share something honest.
Ingredients
- Active sourdough starter: This is your living ingredient, bubbling with wild yeast that gives the bread its characteristic tang and rise
- Bread flour: Higher protein content than all-purpose, creating the structure needed for those beautiful airy holes
- Whole wheat flour: Just enough to add depth and nuttiness without weighing down the crumb
- Water: Room temperature works best for predictable fermentation
- Sea salt: Don't skip this or reduce it. Salt controls fermentation and enhances flavor dramatically
Instructions
- The autolyse rest:
- Mix your flours and water until no dry bits remain, then let this mixture sit for an hour. This simple step gives the flour time to hydrate fully, making the dough easier to work with and improving your final crumb structure.
- Building the dough:
- Add your bubbly starter and salt, mixing until everything is evenly distributed. The dough will feel shaggy at first but will smooth out during folding, so resist the urge to overwork it now.
- The bulk fermentation:
- Let your dough rest at room temperature, performing stretch and folds every half hour or so. Watch for tiny bubbles on the surface and that noticeable increase in volume. These are your signals that fermentation is working.
- Shaping for structure:
- Turn your dough onto a floured surface and gently form it into a round, letting it relax for 20 minutes before your final tighten. This rest period makes the dough more cooperative and prevents tearing.
- The final proof:
- Place your shaped loaf seam-side up in a floured proofing basket. The cold overnight option develops more complex flavors, while room temperature proofing yields a milder tang.
- The oven spring:
- Preheat your Dutch oven thoroughly at high temperature. When you slide that scored dough in, the trapped steam creates explosive rise, giving you that dramatic artisanal appearance.
- Building the crust:
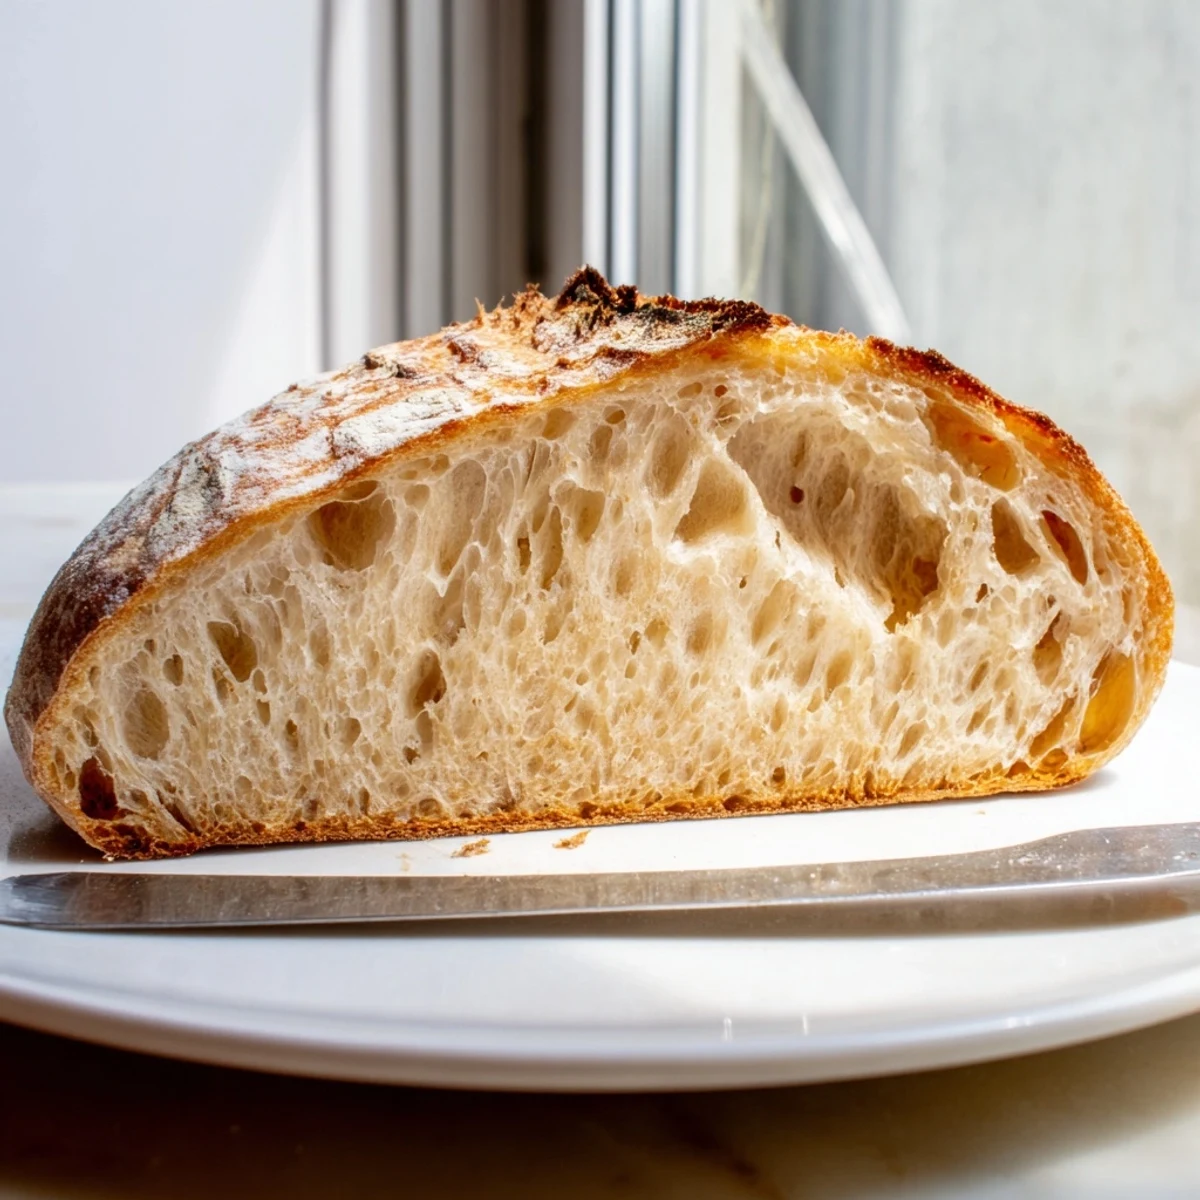
- Covered baking creates steam for the first 20 minutes. Uncover to finish deep golden brown. That cooling period is non-negotiable. The bread continues cooking internally and slicing too soon will make the crumb gummy.
 Pin This
 There was a morning I pulled a perfect loaf from the oven, the crackle of the crust audible from across the kitchen. I sat at the counter with just butter and a knife, eating slice after slice while steam still rose from each torn piece. That's when I understood why people have been making this bread for thousands of years. It's not just food. It's something that connects you to every baker who ever watched dough rise.
Understanding Your Starter
A healthy starter should double in size within 4 to 6 hours after feeding. If it's sluggish, try feeding it more frequently or adjusting the temperature of your kitchen. The smell will tell you a lot. A properly fermented starter has a pleasant tangy aroma, while anything that smells strongly of alcohol or acetone needs more frequent feedings to rebalance.
Timing Around Your Schedule
The beauty of sourdough is how flexible the fermentation schedule can be. A longer cold proof in the refrigerator can extend your timeline by 12 to 24 hours, which is perfect for baking fresh bread in the morning. The cold fermentation also develops more complex flavors, so don't stress about exact timing. Work with your schedule and let the dough tell you when it's ready.
Getting That Professional Score
A sharp blade is essential for clean scoring that expands beautifully during baking. Hold your lame or razor blade at a 30-degree angle and use confident, swift motions rather than tentative scratches. Practice your design on paper first if you're nervous, but remember that even imperfect scores create their own rustic beauty. The most important thing is cutting deep enough to allow the dough to expand where you want it to.
- Dust your scoring blade with flour between cuts to prevent sticking
- Simple straight cuts often yield the most consistent results
- Don't score too deeply or your dough may deflate before it hits the oven
 Pin This
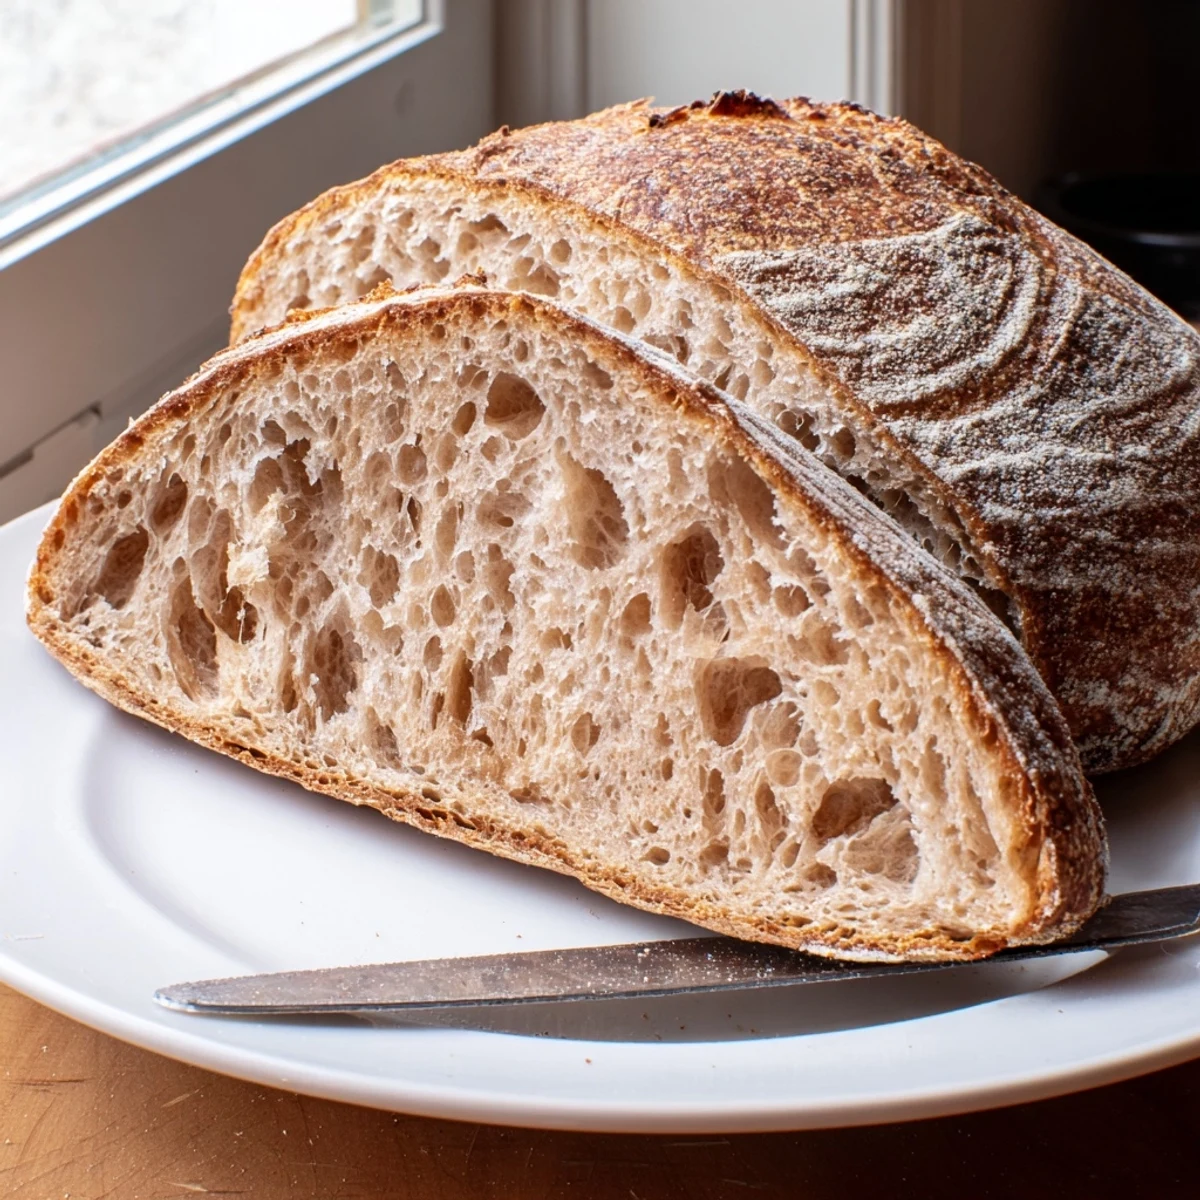
 Every loaf teaches you something new, and that's really the point. Bake often, pay attention, and eventually you'll develop an intuitive sense that no recipe can teach. Your starter will become uniquely yours, and your kitchen will always smell like possibility.
Recipe FAQs
- → What makes sourdough different from regular bread?
-
Sourdough relies on wild yeast and beneficial bacteria naturally present in flour, creating distinctive tangy flavors and improved digestibility through slow fermentation rather than commercial yeast.
- → How long does the fermentation process take?
-
Plan for 14–20 hours total, including bulk fermentation (4–5 hours), proofing (2–3 hours at room temperature or overnight refrigerated), plus the active mixing and shaping time.
- → Can I bake without a Dutch oven?
-
A Dutch oven creates ideal steam for crust development. Alternatively, bake on a preheated stone or baking steel with a tray of ice cubes beneath to generate steam in the oven.
- → Why is my dough too sticky to handle?
-
High hydration creates those coveted open crumbs. Use wet hands and a bench scraper, minimal dusting flour, and trust the stretch-and-fold technique to build strength without excessive kneading.
- → How do I know when my loaf is fully baked?
-
Look for deep golden-brown coloring, a hollow sound when tapping the bottom crust, and an internal temperature of 205–210°F measured with a digital thermometer.
