 Pin This
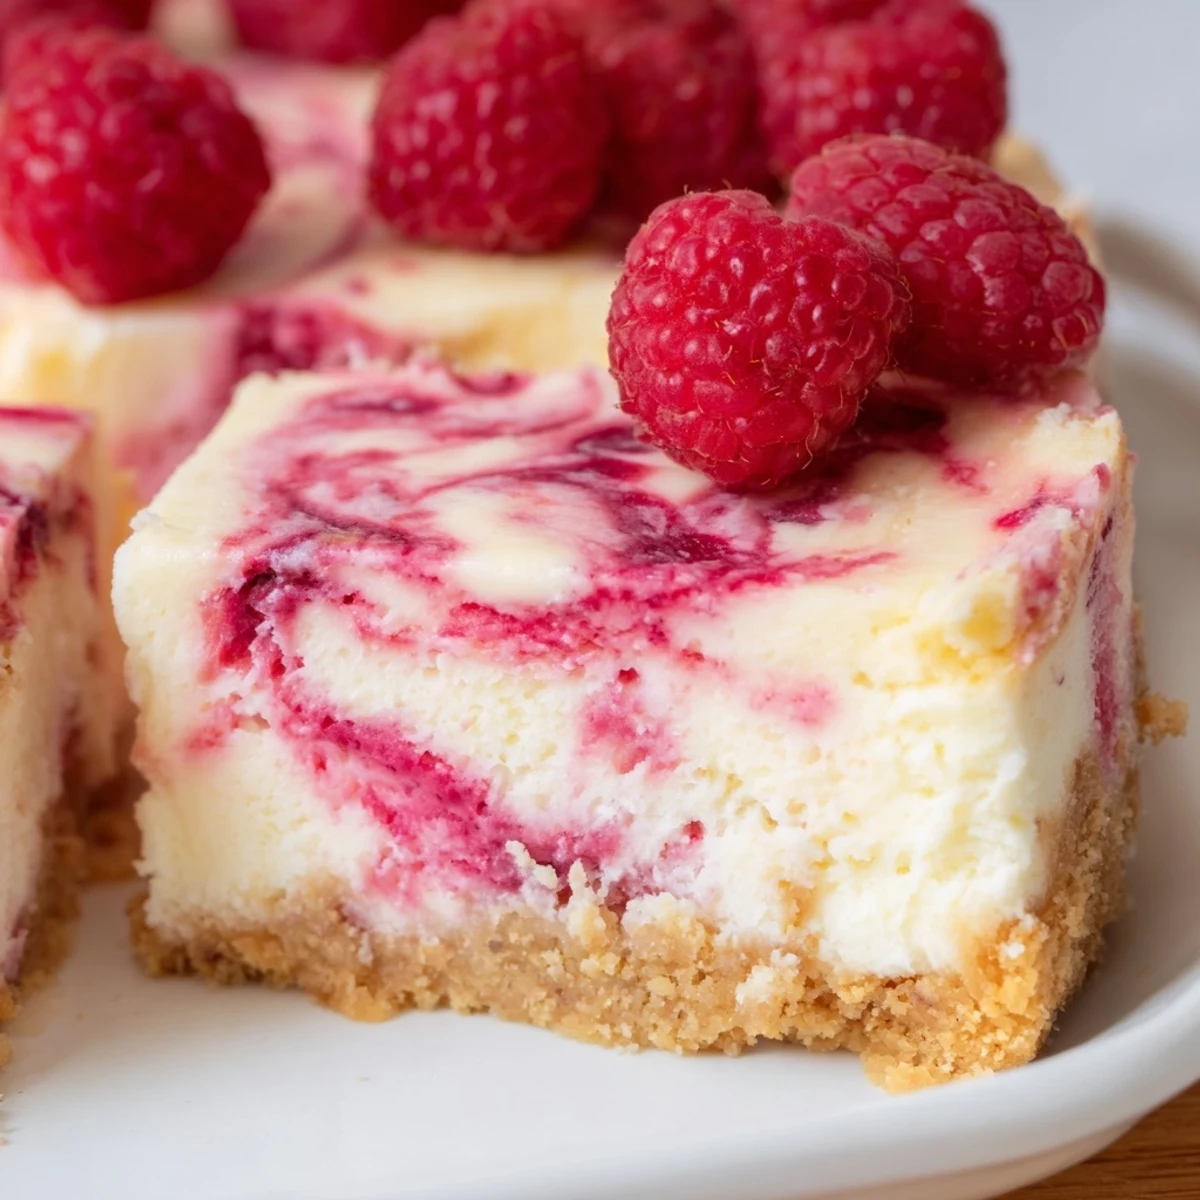
 This creamy raspberry cheesecake combines a rich, velvety filling with vibrant fresh raspberry swirls, all nestled in a buttery graham cracker crust. The water bath method ensures a perfectly smooth texture while preventing cracks. After baking, the cheesecake requires several hours of chilling to set properly, resulting in a dessert that balances sweet creaminess with tart fruit notes. The finished creation serves twelve beautifully, making it ideal for gatherings or special occasions.
The first time I attempted a water bath cheesecake, I panicked watching steam rise from the roasting pan. My kitchen windows fogged up completely, and I was convinced I had ruined everything. That anxious hour of waiting taught me patience in a way no other dessert ever has.
I served this at a summer dinner party last year, and my friend Sarah literally stopped mid conversation after her first bite. She made me write down the recipe right there at the table, and now it is her go to for special occasions too.
Ingredients
- Graham cracker crumbs: These create that classic buttery crunch that contrasts perfectly with the creamy filling. Do not crush them too fine or you will lose texture.
- Unsalted butter: Melted and poured over the crumbs, this binds everything together. I have learned to pour slowly so every crumb gets coated evenly.
- Cream cheese: Absolutely must be room temperature or you will end up with lumps. I take mine out two hours before baking.
- Sour cream: This is the secret ingredient that adds tang and makes the texture incredibly smooth. Full fat only, never low fat versions here.
- Fresh raspberries: Frozen ones release too much water and make your swirl runny. Fresh berries give you that concentrated raspberry flavor.
Instructions
- Prepare the crust foundation:
- Mix your graham cracker crumbs with melted butter, sugar, and a pinch of salt until it feels like wet sand. Press firmly into the bottom of your springform pan using the bottom of a measuring cup to create an even layer.
- Bake the crust:
- Pop the crust in the oven for just 10 minutes at 160°C (325°F) while you prepare everything else. The smell of buttery toasting crackers will fill your kitchen.
- Make the raspberry swirl:
- Cook fresh raspberries with sugar and lemon juice until they break down completely. Push through a fine mesh sieve to remove all seeds, because nothing ruins that first bite like a surprise raspberry seed.
- Beat the filling:
- Cream together room temperature cream cheese and sugar until no lumps remain. Add eggs one at a time, then incorporate sour cream, heavy cream, vanilla, lemon juice, and flour until just combined.
- Layer and swirl:
- Pour half the cheesecake filling over your cooled crust. Drizzle half the raspberry sauce on top and use a skewer to create gentle swirls. Repeat with remaining filling and raspberry sauce for that marbled look.
- Set up the water bath:
- Place your springform pan inside a large roasting pan. Carefully pour hot water into the roasting pan until it reaches halfway up the sides of your cheesecake pan.
- Bake with patience:
- Bake for 50 to 60 minutes until edges are set but the center still wobbles slightly when you gently shake the pan. The wobble is your friend here, it means the texture will be perfect.
- The slow cooling method:
- Turn off the oven, crack the door open slightly, and let the cheesecake cool inside for one full hour. This gradual cooling prevents those dreaded cracks on top.
 Pin This
 This dessert has become my birthday tradition. The first year I made it, I stayed up until midnight watching it through the oven door, terrified it would collapse. Now I know better, and the anticipation is part of the joy.
Timing Your Raspberry Swirl
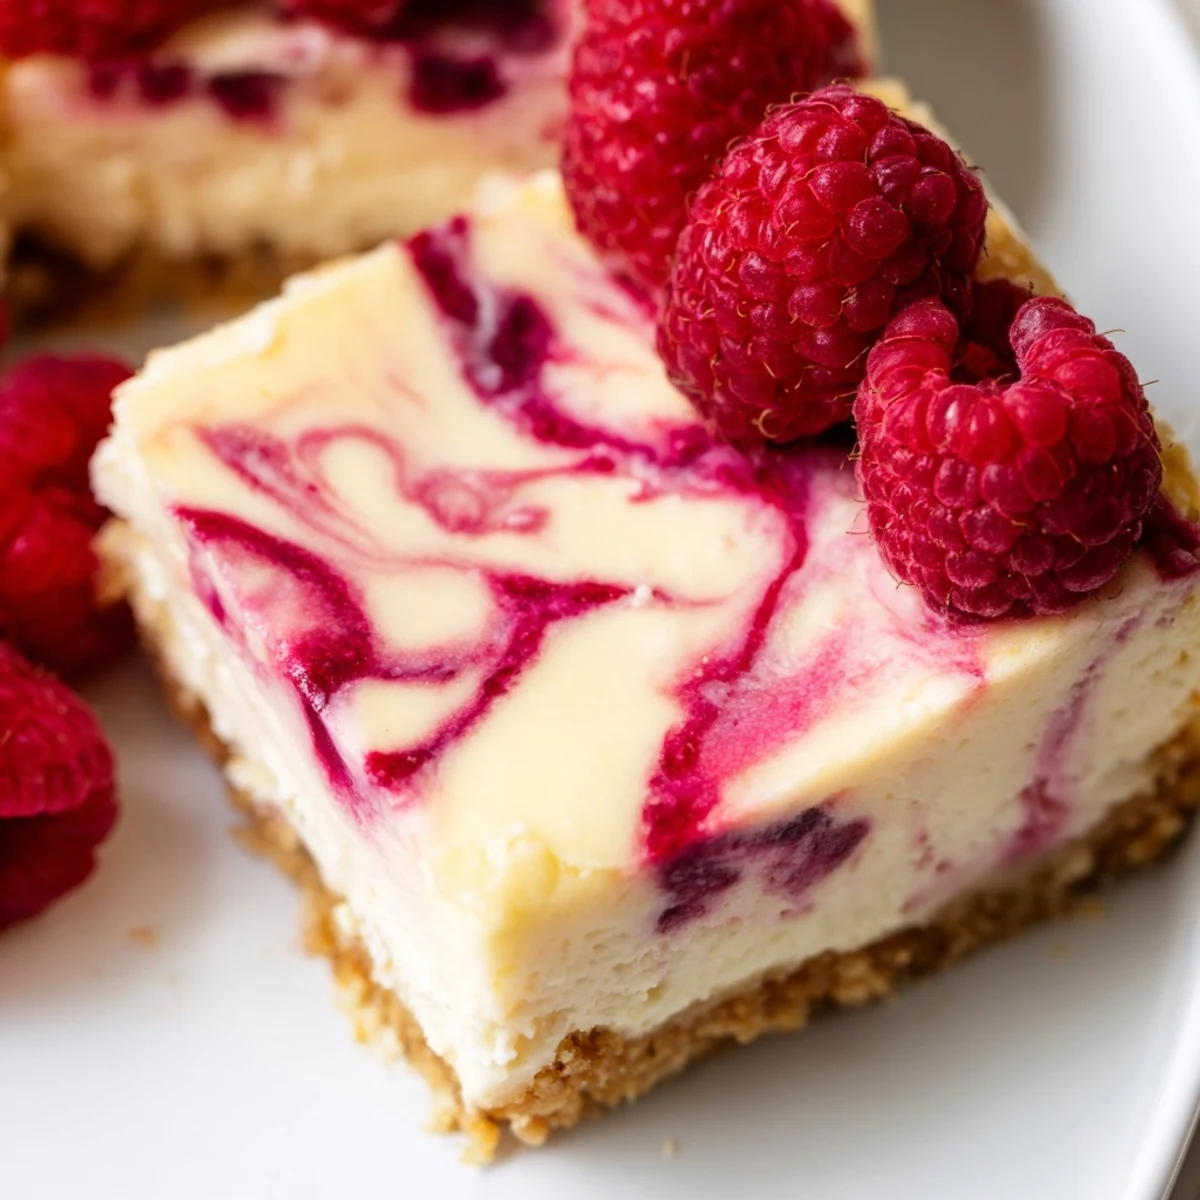
I learned the hard way that adding hot raspberry sauce to room temperature cheesecake filling creates strange curdled looking spots. Let your raspberry mixture cool completely before swirling, and you will get those clean defined marble patterns everyone loves.
The Crack Free Secret
That cooling in the oven step feels excessive but it is absolutely crucial. Rushing this part and pulling the cheesecake out too early almost guarantees cracks, and no amount of raspberry swirl can hide those completely.
Planning Your Timeline
This dessert requires commitment but the results are worth every minute of waiting. Plan to make it the day before you need it.
- The cheesecake needs at least 4 hours of chilling time but overnight is even better for flavors to meld
- Raspberry sauce can be made up to 3 days ahead and stored in the refrigerator
- Crust ingredients stay fresh for weeks in your pantry, so you can always be ready to bake
 Pin This
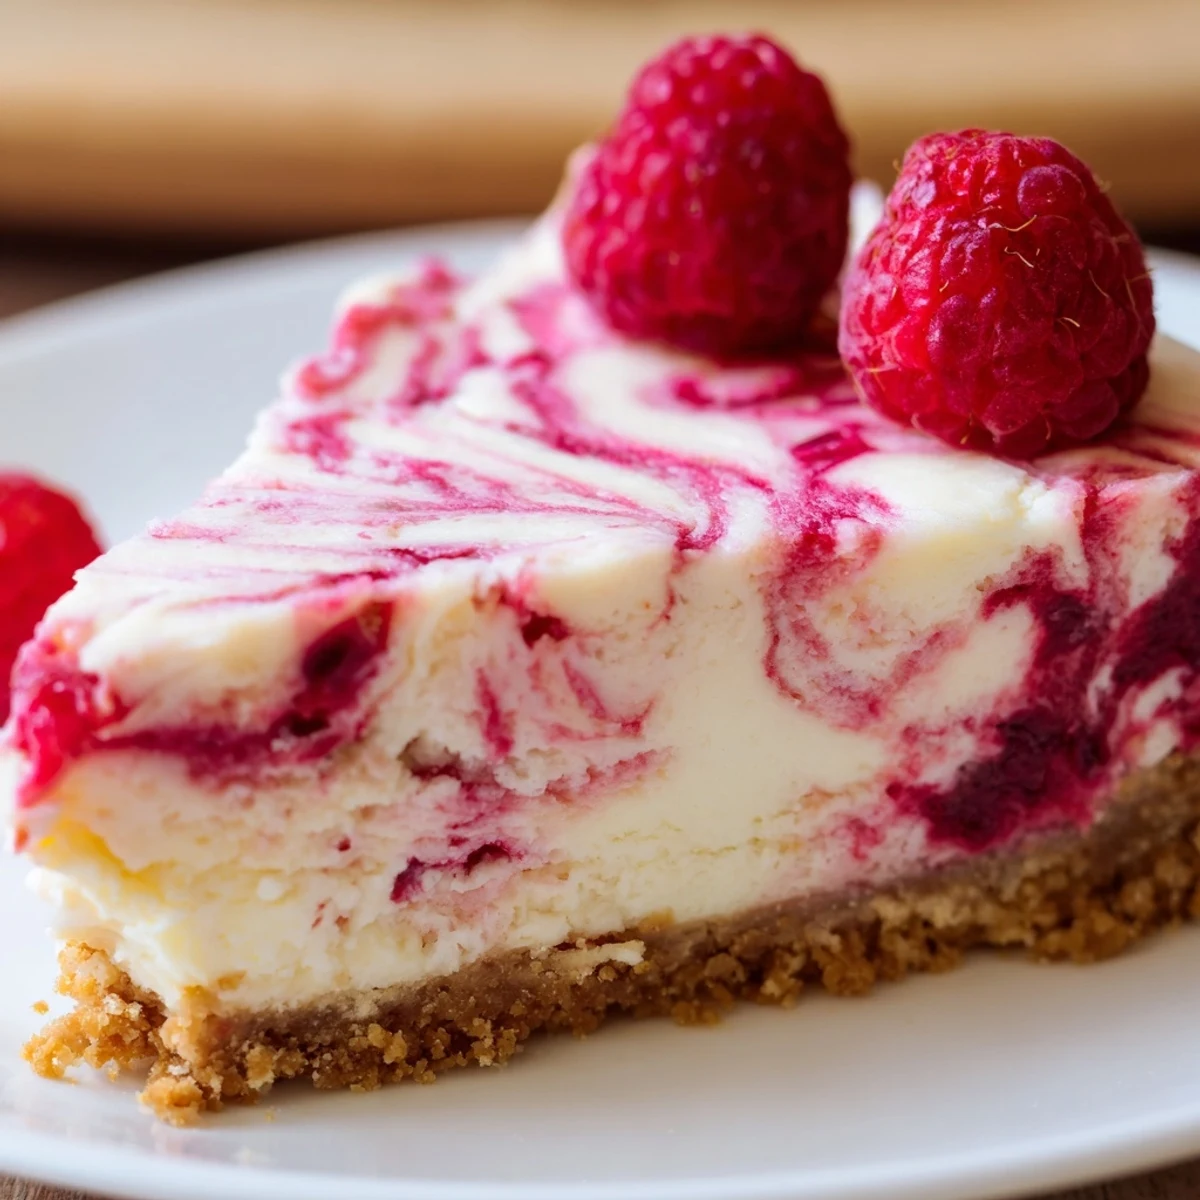
 There is something deeply satisfying about slicing into that first piece and seeing those raspberry ribbons revealed. This is the dessert that turns ordinary moments into celebrations.
Recipe FAQs
- → Why is a water bath used?
-
A water bath creates gentle, even heat around the cheesecake, preventing cracks and ensuring a silky smooth texture throughout.
- → How long should the cheesecake chill before serving?
-
The cheesecake needs at least 4 hours in the refrigerator, though overnight chilling produces the best texture and makes slicing easier.
- → Can I use frozen raspberries instead?
-
Yes, frozen raspberries work well for the swirl. Thaw them completely before cooking and expect slightly more liquid to reduce.
- → Why should ingredients be at room temperature?
-
Room temperature ingredients blend together smoothly, preventing lumps and ensuring the batter incorporates properly for a uniform texture.
- → How do I know when the cheesecake is done baking?
-
The edges should be set while the center remains slightly wobbly—it will continue firming during the cooling process.
- → Can I make this gluten-free?
-
Simply substitute gluten-free cookies for the graham crackers and use gluten-free flour in the filling.
