 Pin This
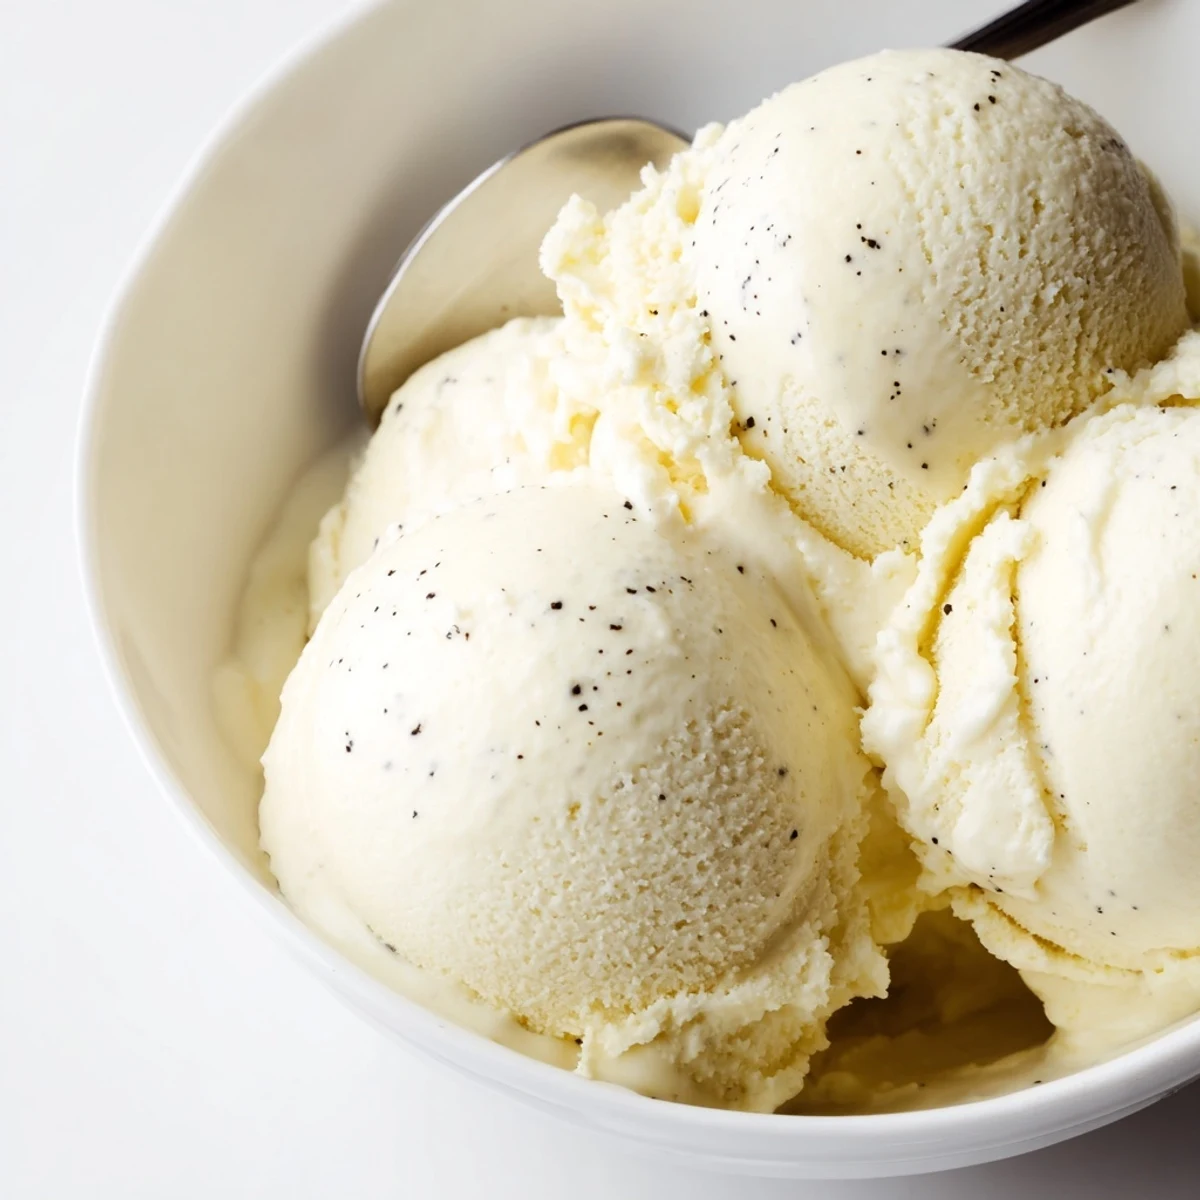
 Create your own rich and creamy vanilla ice cream at home with this simple method. The custard base combines heavy cream, whole milk, and egg yolks for a perfectly smooth texture. After heating and tempering the mixture, chill it thoroughly before churning in your ice cream maker. The result is a velvety dessert that rivals any gourmet brand.
The key to success lies in properly tempering the eggs and allowing adequate chilling time. This method produces about six servings of pure vanilla bliss that you can customize with mix-ins like chocolate chips, fruit swirls, or caramel ribbons.
The summer I turned sixteen, my grandmother left her ancient ice cream maker on the kitchen counter with a handwritten note that simply read: your turn. The machine rattled like a tiny engine and the whole house smelled like warm custard and possibility. That afternoon changed how I thought about dessert forever.
Years later I made a batch for a backyard dinner party and watched three grown adults fall silent after their first bite. Someone actually set their spoon down and stared at the bowl. It is that kind of dessert.
Ingredients
- Heavy cream (2 cups): The fat content here is everything. Do not skimp or substitute. This is what gives the ice cream its lush, coating texture.
- Whole milk (1 cup): Balances the cream so the result is rich but not heavy. Use full fat for the best outcome.
- Granulated sugar (3/4 cup): Dissolves into the base and keeps the frozen custard smooth. Sugar actually lowers the freezing point, which prevents icy crystals.
- Salt (pinch): Just a small pinch makes the vanilla sing. Never skip this.
- Pure vanilla extract (1 tablespoon): Spend a little more on real extract. The imitation stuff tastes flat and no amount of churning fixes that.
- Egg yolks (5 large): These thicken the custard and give it that golden color. Separate them carefully because even a drop of white changes the texture.
Instructions
- Warm the base:
- Pour the cream, milk, sugar, and salt into a saucepan and set it over medium heat. Stir gently until you feel the sugar disappear and the mixture is steaming hot but not bubbling.
- Prepare the yolks:
- Drop the yolks into a bowl and give them a light whisk just to break them up. You are not trying to beat air in, just get them ready for the hot liquid.
- Temper carefully:
- Scoop about a cup of the hot cream and drizzle it into the yolks in a thin stream while whisking like you mean it. This is the moment where patience pays off and scrambled ice cream gets avoided.
- Cook the custard:
- Pour everything back into the pan and stir continuously over medium low heat. You are looking for the moment it thickens enough to coat the back of a spoon and leaves a clean line when you run your finger through it.
- Add vanilla and strain:
- Take the pan off the heat and stir in the vanilla. Then push the custard through a fine sieve to catch any tiny cooked bits. Your future self will thank you for this step.
- Chill thoroughly:
- Let the custard come to room temperature, then cover it and tuck it into the fridge for at least four hours or overnight if you can wait that long.
- Churn until dreamy:
- Pour the cold custard into your ice cream maker and let it run until it looks like soft serve and holds its shape. This usually takes about twenty minutes depending on your machine.
- Freeze to finish:
- Scoop everything into a freezer safe container, press a piece of plastic wrap directly against the surface, and freeze for at least two hours before digging in.
 Pin This
 There is something deeply satisfying about pulling a container of homemade ice cream from your own freezer. It feels like a small act of defiance against everything convenient and ordinary.
Picking Your Ice Cream Maker
Not all machines are created equal. The kind with a frozen bowl you store in the freezer works well if you remember to plan ahead and keep it cold for a full 24 hours. Compressor models cost more but churn batch after batch without waiting, which is worth considering if this becomes a regular habit in your kitchen.
Fun Flavors to Try Next
Once you have the vanilla base locked down, the possibilities open wide. Fold in chopped dark chocolate and toasted almonds during the last minute of churning. Swirl warm fudge or caramel through the finished ice cream with a knife before freezing. Fresh strawberries mashed with a little sugar make a brilliant summer version that tastes like the season itself.
Storage and Serving
Homemade ice cream does not have the stabilizers that commercial brands rely on, so it is best eaten within a week. Let it sit at room temperature for about five minutes before scooping to soften slightly. Pressing plastic wrap against the surface prevents ice crystals from forming on top. A warm scoop dipped in hot water glides through even the firmest batch. Always return the container to the back of the freezer where the temperature is most consistent.
 Pin This
 Every time I hear that old machine rattle to life, I think of my grandmother and her simple faith that I could figure it out. Some recipes are just recipes, and some become part of who you are.
Recipe FAQs
- → How long does homemade ice cream keep in the freezer?
-
Homemade ice cream stays fresh for up to 2 weeks when stored in an airtight container. For best texture and flavor, consume within the first week. Ice crystals may form over time, but a quick stir before serving helps restore creaminess.
- → Can I make this without an ice cream maker?
-
Yes, you can freeze the custard in a shallow container, stirring every 30 minutes for the first 3 hours to break up ice crystals. The texture will be slightly less smooth than machine-churned, but still delicious.
- → Why do I need to temper the eggs?
-
Tempering prevents the eggs from scrambling when added to the hot cream mixture. By slowly introducing warm liquid while whisking constantly, you gently raise the egg temperature for a silky, smooth custard base.
- → What's the best way to store leftovers?
-
Transfer to a freezer-safe container with a tight-fitting lid. Press parchment paper directly onto the surface before sealing to prevent ice crystals. Thaw for 5-10 minutes before scooping for perfect serving consistency.
- → Can I reduce the sugar in this recipe?
-
Sugar helps with texture and prevents ice crystals from forming. You can reduce it slightly, but too little sugar results in a harder, icy texture. For alternatives, try honey or maple syrup, though this may affect freezing time.
