 Pin This
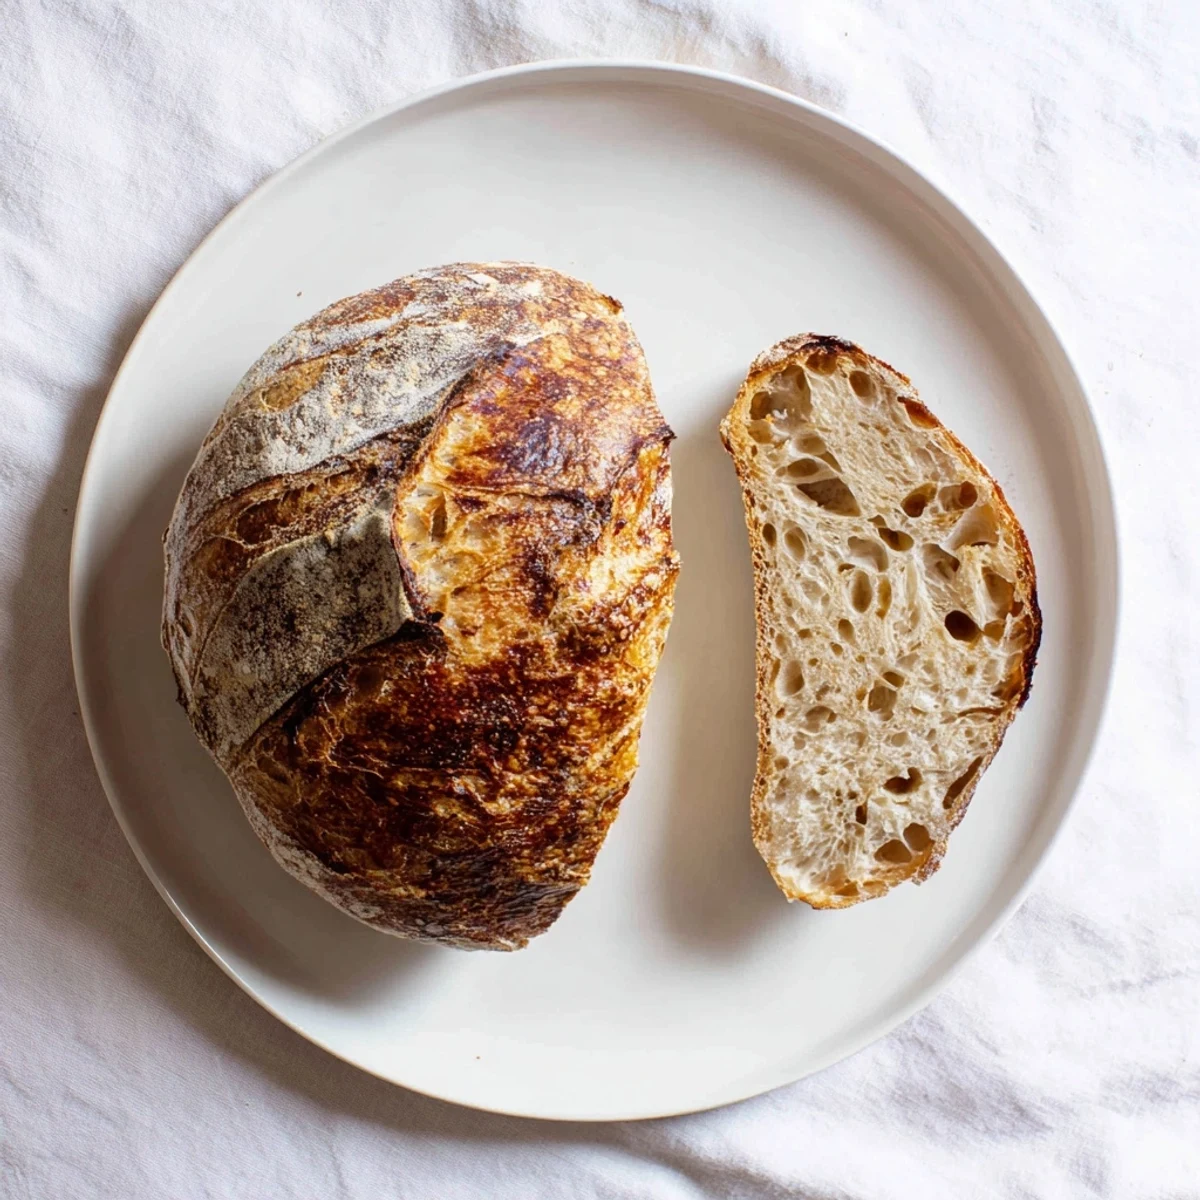
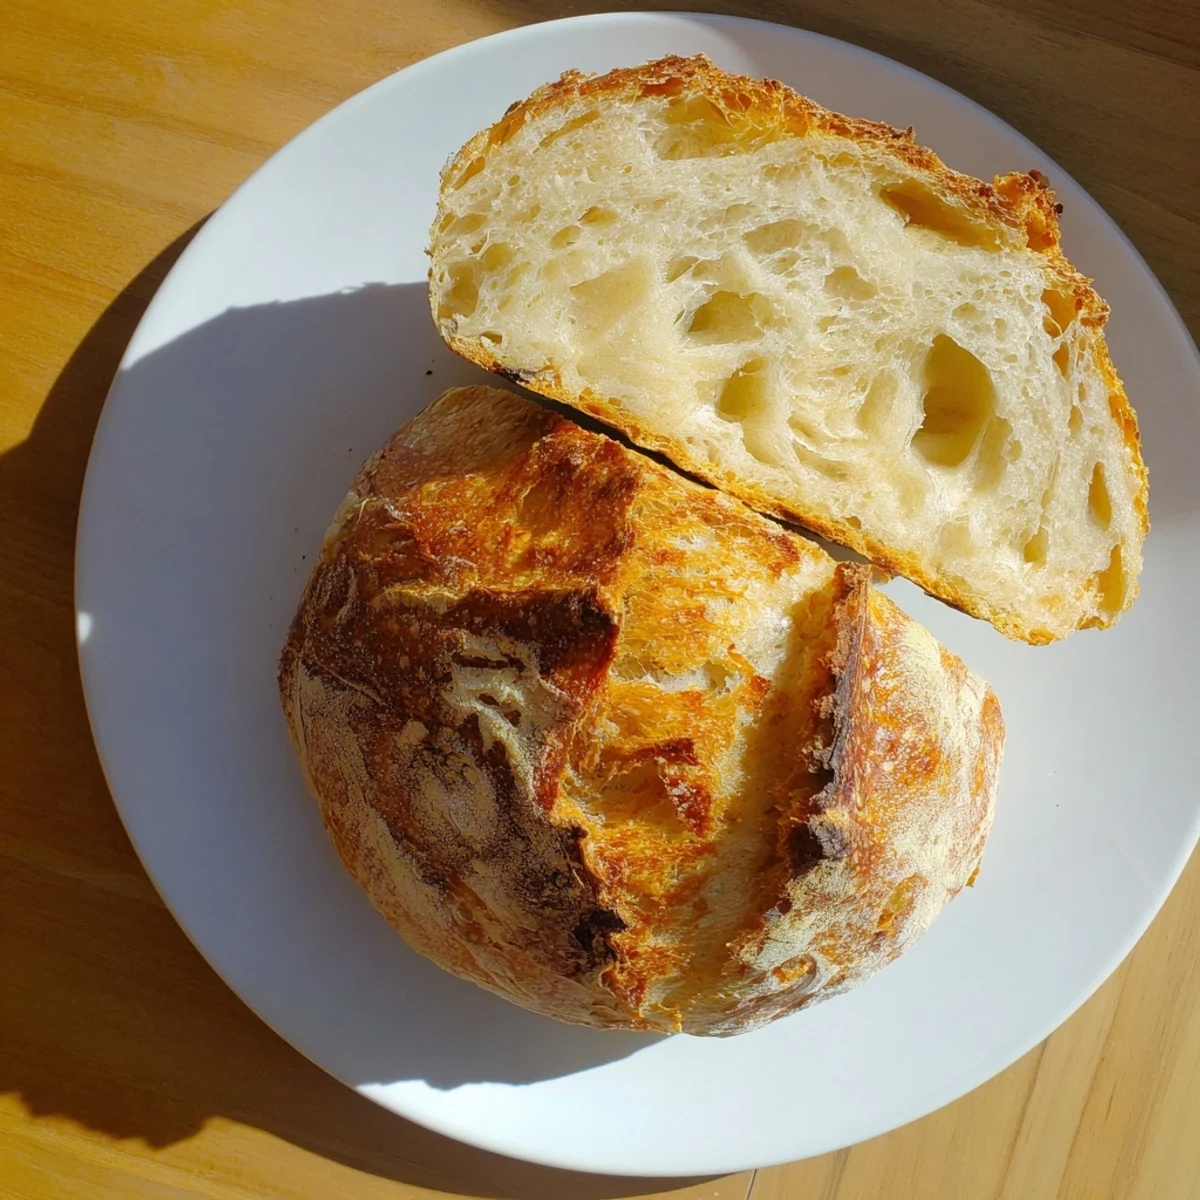
 This rustic European-style loaf delivers everything you love about artisan bakery bread—shatteringly crisp golden crust giving way to tender, airy pockets inside. The magic happens through an extended overnight fermentation, developing deep flavor while requiring virtually no kneading. Simply mix flour, water, salt, and yeast before letting time work its transformation.
Baking in a preheated Dutch oven creates the steam environment necessary for that signature crackly crust. The result is a stunning round loaf with professional appearance and taste, ready to slice for sandwiches, serve alongside soups, or enjoy simply with generous butter.
Customize easily by mixing in olives, roasted garlic, or fresh herbs to the dough before rising. The extended fermentation makes this easier on digestion while developing complex flavor notes typical of traditional breads. Best enjoyed fresh but keeps well for a couple days.
My apartment smelled like a proper bakery for the first time when I discovered no-knead bread. The crust that afternoon shattered like glass when I tapped it, and I stood there amazed that something this impressive required almost no effort.
I brought a loaf to a friends dinner party recently, and honestly, people got more excited about the bread than the main course. Someone asked what bakery Id visited, and watching their faces when I said Id mixed it that morning was just pure joy.
Ingredients
- All-purpose flour: No need to hunt down bread flour, regular works beautifully here and keeps pantry requirements simple
- Salt: Enhances flavor and helps strengthen the gluten structure
- Instant yeast: Fast-acting and reliable, no proofing needed
- Lukewarm water: Should feel like bath temperature, around 70°F to 21°C
Instructions
- Mix your base:
- Combine flour, salt, and yeast in a large bowl, then add water and stir until everything comes together into a shaggy, sticky dough
- Let it work its magic:
- Cover your bowl and walk away for 12 to 18 hours, letting time do all the hard work of developing flavor and structure
- Shape gently:
- Turn bubbly dough onto a floured surface, fold edges toward center to form a ball, then place on parchment for its final rest
- Get your oven ready:
- Put a Dutch oven inside and heat to 450°F for at least 30 minutes so its screaming hot when the dough goes in
- Bake with steam:
- Lower dough into the hot pot, cover with the lid, bake 30 minutes, then uncover for another 10 to 15 minutes until deep golden brown
- Wait before slicing:
- Cool on a wire rack for at least 30 minutes, because cutting too early will make the interior gummy
 Pin This
 My sister called me at 11pm one night, breathless because she had just pulled her first loaf from the oven and could not believe she made something that beautiful. That moment of someone realizing they can bake real bread is everything.
Getting That Perfect Crackling Crust
The Dutch oven creates steam in the early baking phase, which is the secret to bakery-style crust. If you do not have one, a heavy pot with a tight lid works too.
Timing Your Bake
Mix the dough in the evening, let it work overnight, and bake first thing in the morning. Fresh bread with breakfast feels incredibly luxurious.
Making This Bread Your Own
The basic dough is just a canvas for whatever flavors you love. Fold in additions after the overnight rise, right before shaping.
- Kalamata olives transform this into perfect dinner bread
- Roasted garlic cloves make the most incredible garlic bread
- Fresh rosemary or thyme add lovely herbal notes
 Pin This
 There is something profoundly satisfying about making your own bread, even a simple one like this. The smell alone makes the whole house feel like home.
Recipe FAQs
- → Why do I need a Dutch oven?
-
The Dutch oven traps steam during baking, creating the perfect environment for a crackling crust to form. The enclosed space mimics professional steam injection ovens, allowing the dough to expand fully before the crust sets. Any heavy lidded pot works similarly.
- → Can I shorten the rising time?
-
The long rise is crucial for flavor development and the characteristic open crumb texture. However, you can place the bowl in a slightly warmer area (around 75-80°F) to reduce rising time to 8-10 hours, though the flavor won't be as developed.
- → How do I know when the bread is done?
-
The crust should be deep golden brown, and the loaf should sound hollow when tapped on the bottom. An instant thermometer inserted into the center should read 200-205°F for fully baked bread. Let it cool completely before slicing.
- → Can I use whole wheat flour?
-
You can substitute up to half the all-purpose flour with whole wheat, though the loaf will be denser with a heavier texture. You may need to increase water slightly as whole wheat absorbs more liquid. The crust will be heartier and flavor more robust.
- → Why is my dough too sticky or too dry?
-
Humidity and flour absorption vary, so adjust accordingly. If too sticky, add flour one tablespoon at a time. If too dry, add water one tablespoon at a time. The dough should be shaggy and tacky but not overwhelmingly sticky—this creates the best texture after baking.
- → Can I freeze the dough or baked loaf?
-
Freeze the baked loaf, wrapped tightly in plastic and foil, for up to 3 months. Thaw at room temperature, then refresh in a 350°F oven for 10 minutes to restore crust. Freezing dough before the second rise works too—thaw overnight in refrigerator, then proceed with rising and baking.
