 Pin This
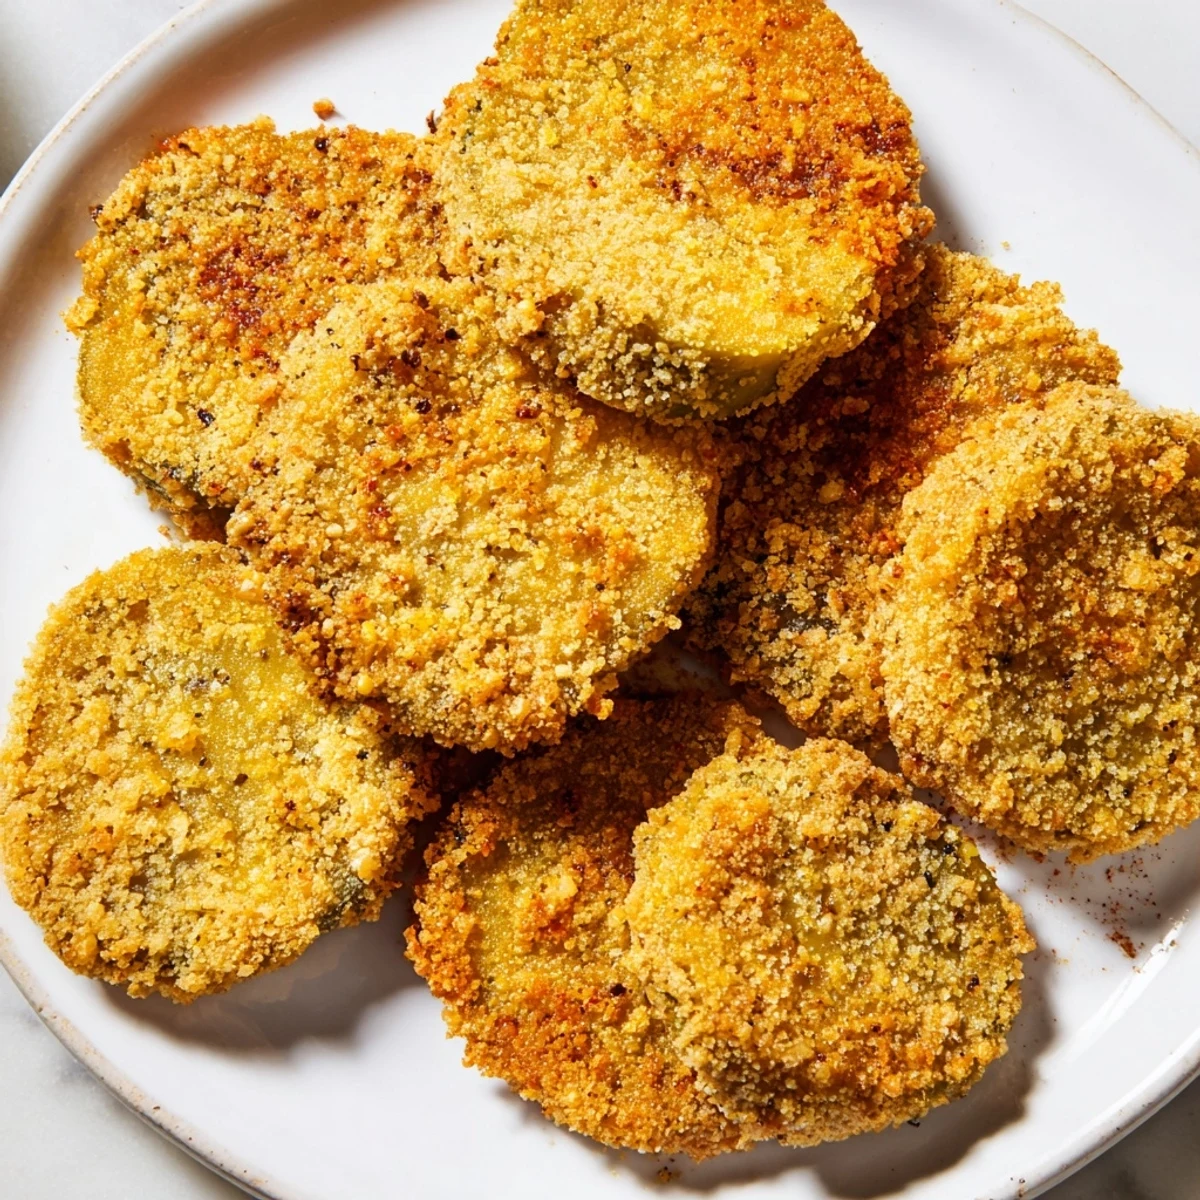
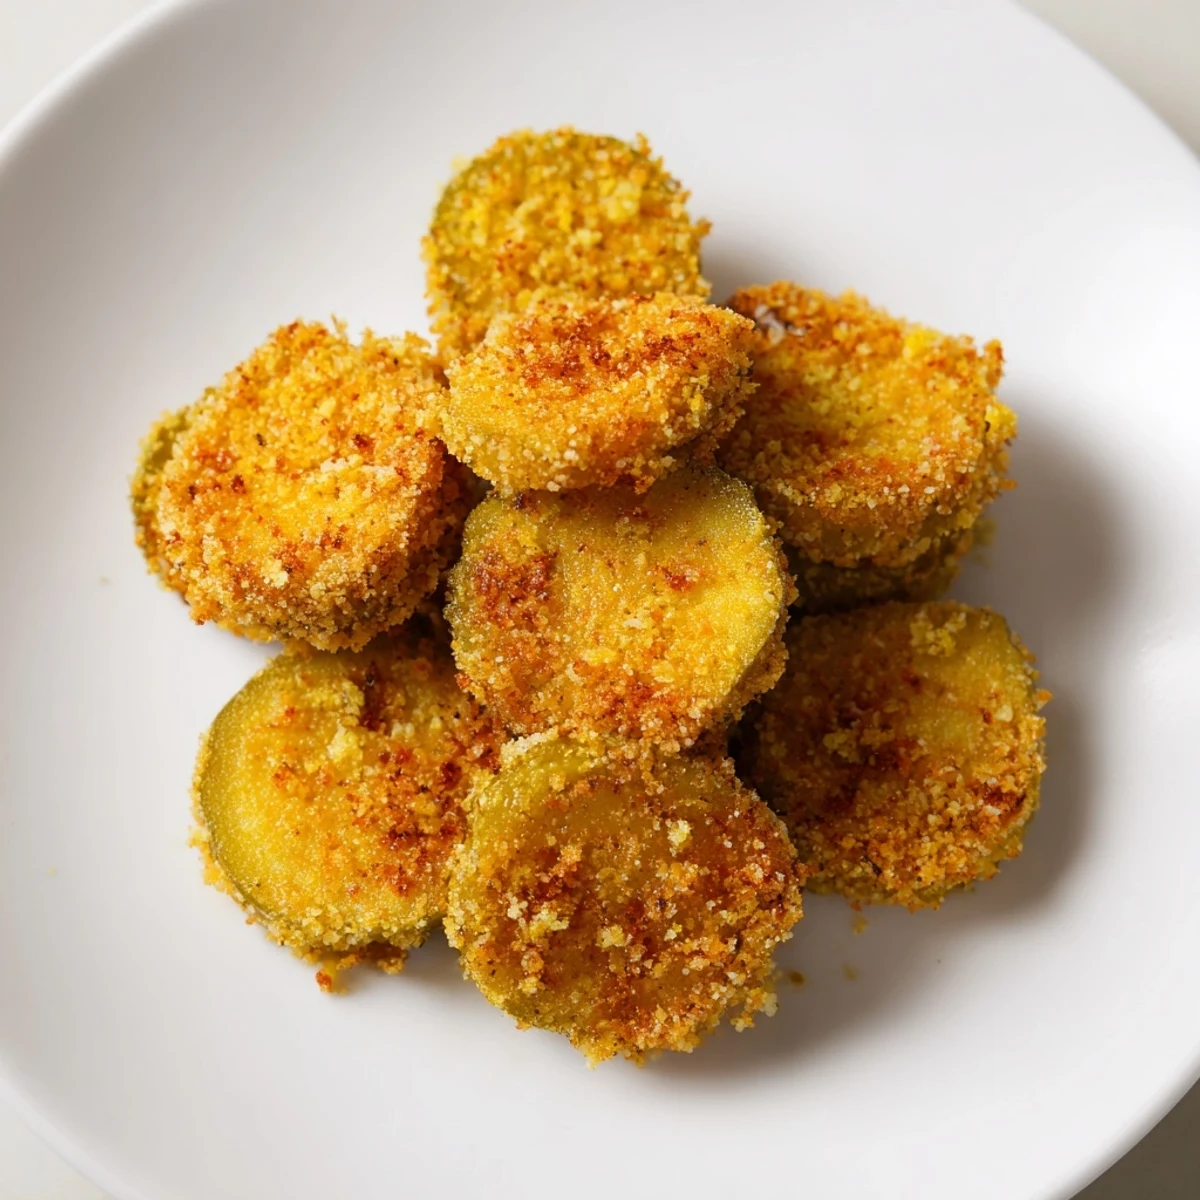
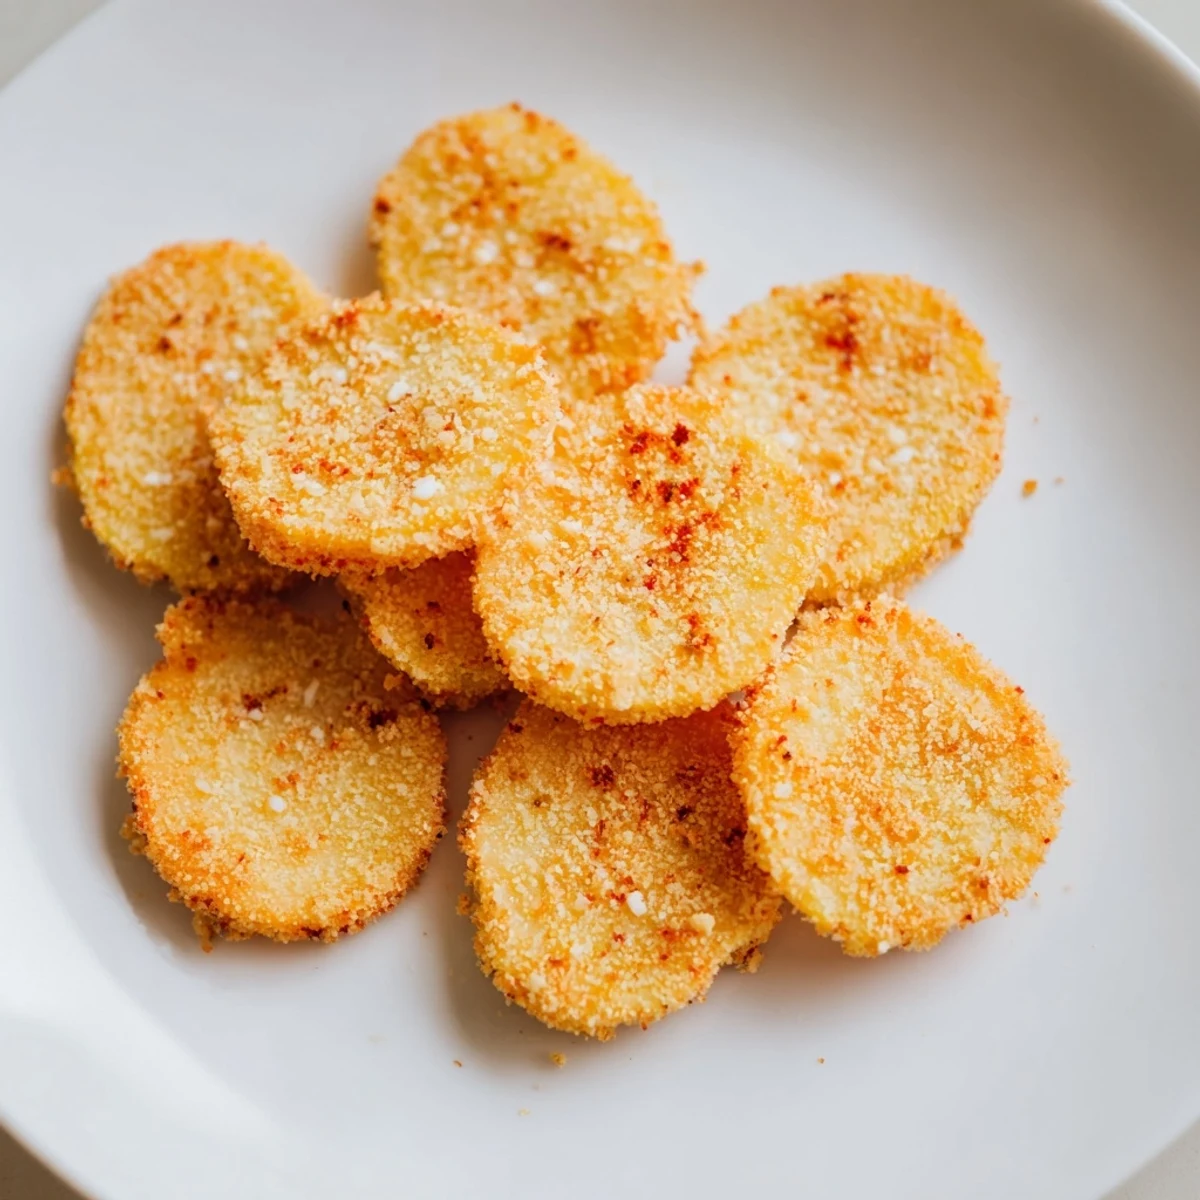
 This dish features dill pickle slices coated in a seasoned blend of flour, cornmeal, and spices, then dipped in an egg and buttermilk mix before being fried in hot oil until golden and crisp. The layers of crunchy, tangy coating complement the bright pickle flavor, creating an easy-to-make Southern-inspired snack or appetizer. Serve hot with dips like ranch or spicy mayo for a satisfying bite that pairs well with cold drinks.
My uncle's kitchen in Nashville always smelled like hot oil and vinegar, and it was there I first understood why fried pickles weren't just a bar snack—they were an art form. He'd pull them from the fryer with this satisfied grin, the steam rising off golden-brown chips that crackled when you bit into them, the brine still singing through the crispy exterior. I've made them a hundred times since, and every batch still feels like that first moment of revelation.
I made these for a dinner party once and watched my friend Sarah, who claims she doesn't like pickles, eat six of them without thinking. She was too busy talking to notice, and by the time she realized what she'd done, she was already reaching for more. That's when I knew this recipe was genuinely foolproof.
Ingredients
- Dill pickle chips (16 oz, drained and patted dry): The drying step is non-negotiable because any lingering moisture will fight your batter and create splattering oil, so take the extra minute with paper towels.
- All-purpose flour (1 cup): This is your structure—it holds everything together, so don't skip it even if you're using cornmeal as well.
- Cornmeal (1 cup): This is what gives you that signature crunch and slight grit texture that separates good fried pickles from great ones.
- Garlic powder (1 teaspoon): It blends into the coating and adds a savory depth that makes people wonder what you did differently.
- Paprika (1 teaspoon): Beyond color, it brings a subtle warmth and a hint of smokiness that rounds out the seasoning.
- Cayenne pepper (1/2 teaspoon, optional): Add this if you like a gentle heat that builds as you eat, not a shock to the system.
- Salt and black pepper (1/2 teaspoon each): Don't underestimate how much these two do—they're the foundation of everything tasting like itself.
- Eggs (2 large): These are your adhesive, binding the flour mixture to the pickle so nothing slides off in the oil.
- Buttermilk (1/2 cup): The acidity helps the coating set up properly and adds a subtle tang that complements the brine.
- Vegetable oil (for frying): You need enough to submerge the pickles; neutral oil keeps the focus on the pickle and coating, not competing flavors.
Instructions
- Get your oil ready:
- Heat about 2 inches of oil in a deep skillet or pot to 350°F—use a thermometer if you have one, because eyeballing it will betray you. The oil needs time to reach full temperature, so don't rush this step or your pickles will absorb oil instead of crisping up.
- Mix your dry coating:
- Whisk together flour, cornmeal, garlic powder, paprika, cayenne, salt, and pepper in a shallow bowl, making sure there are no lumps hiding in the flour. This is where all your seasoning lives, so taste the mixture if you want to adjust before committing.
- Combine your wet base:
- Whisk eggs with buttermilk in another bowl until it looks homogeneous and loose, almost like thin pancake batter. This mixture is your glue, so don't overthink it—just make sure the egg is fully incorporated.
- Double-dip each pickle:
- Working in batches so you don't overwhelm yourself, dip each pickle slice into the flour mixture, then into the egg mixture, then back into the flour mixture one more time. This double coating is what creates that shatteringly crispy exterior that makes people pause mid-bite.
- Fry in batches:
- Carefully place coated pickles into the hot oil, listening for that satisfying sizzle and watching them bob to the surface—this takes 2 to 3 minutes per side, though honestly, you'll know they're done when they're uniformly golden and the coating stops bubbling. Don't crowd the pan or the temperature will drop and you'll end up with greasy pickles instead of crispy ones.
- Drain and serve:
- Fish them out with a slotted spoon and let them rest on paper towels for a minute or two to shed excess oil. Serve them hot, because they're a completely different creature once they cool down.
 Pin This
 There's a moment when you pull the first batch from the oil and bite into one that's still steaming, and the contrast hits you all at once—the crunch, the heat, the tanginess of the pickle breaking through the savory coating. That's the moment this stops being a recipe and becomes a memory.
Why the Double-Dip Matters
The first coating layer seals the pickle and creates structure, but it's the second dip that transforms everything into a shell thick enough to stay golden without becoming leaden. I discovered this accidentally when I dropped a pickle back into the dry mix after it had already been dunked once, and the result was so superior that it became non-negotiable. It's the difference between a good snack and something people actually remember.
Dipping Sauces That Make Sense
Ranch is the obvious choice, and there's a reason it works—the cool, creamy base balances the heat and cuts through the richness of the fried coating. But I've also had success with spicy mayo, tzatziki, and even a simple sriracha mixed with sour cream for when you want things to get interesting. The key is something cool and tangy to offset the hot and savory.
Storage, Reheating, and Real Talk
Fried pickles are genuinely best eaten within minutes of coming out of the oil, but if you have leftovers (which is rare), they'll keep in an airtight container in the fridge for a day. To revive them, spread them on a baking sheet and reheat in a 375°F oven for about 5 minutes—it won't recreate that first-fried magic, but it gets them crispy again. Here's what else helps:
- Don't stack hot fried pickles on top of each other or they'll steam and lose their crunch in seconds.
- If you're frying a large batch, keep finished pickles warm on a rack set over a baking sheet in a 200°F oven so they stay crispy while you finish frying.
- Taste one pickle from the first batch to make sure your oil temperature and seasoning are right before you commit to the whole batch.
 Pin This
 These pickles have a way of bringing people together—they're not pretentious, they don't require fancy plating, and they taste like someone cared enough to fry them properly. Make them, watch people light up, and know that you've created something small but genuinely delicious.
Recipe FAQs
- → What type of pickles works best?
-
Dill pickle chips or slices that are drained and patted dry provide the ideal firmness and tang for frying.
- → How do I get the coating extra crispy?
-
Double-dipping the pickles in the flour and wet mixtures creates a thicker crust that fries up crunchier.
- → What oil is best for frying?
-
Vegetable oil or any neutral oil with a high smoke point works well for evenly frying the pickles.
- → Can I adjust the spice level?
-
Yes, cayenne pepper is optional and can be added or omitted to adjust heat according to preference.
- → How should fried pickles be served?
-
Serve hot with dipping sauces like ranch or spicy mayo to enhance the crispy, tangy flavors.
- → What kitchen tools are needed?
-
A deep skillet or heavy pot for frying, slotted spoon for removing pickles, mixing bowls, whisk, and paper towels for draining.
