 Pin This
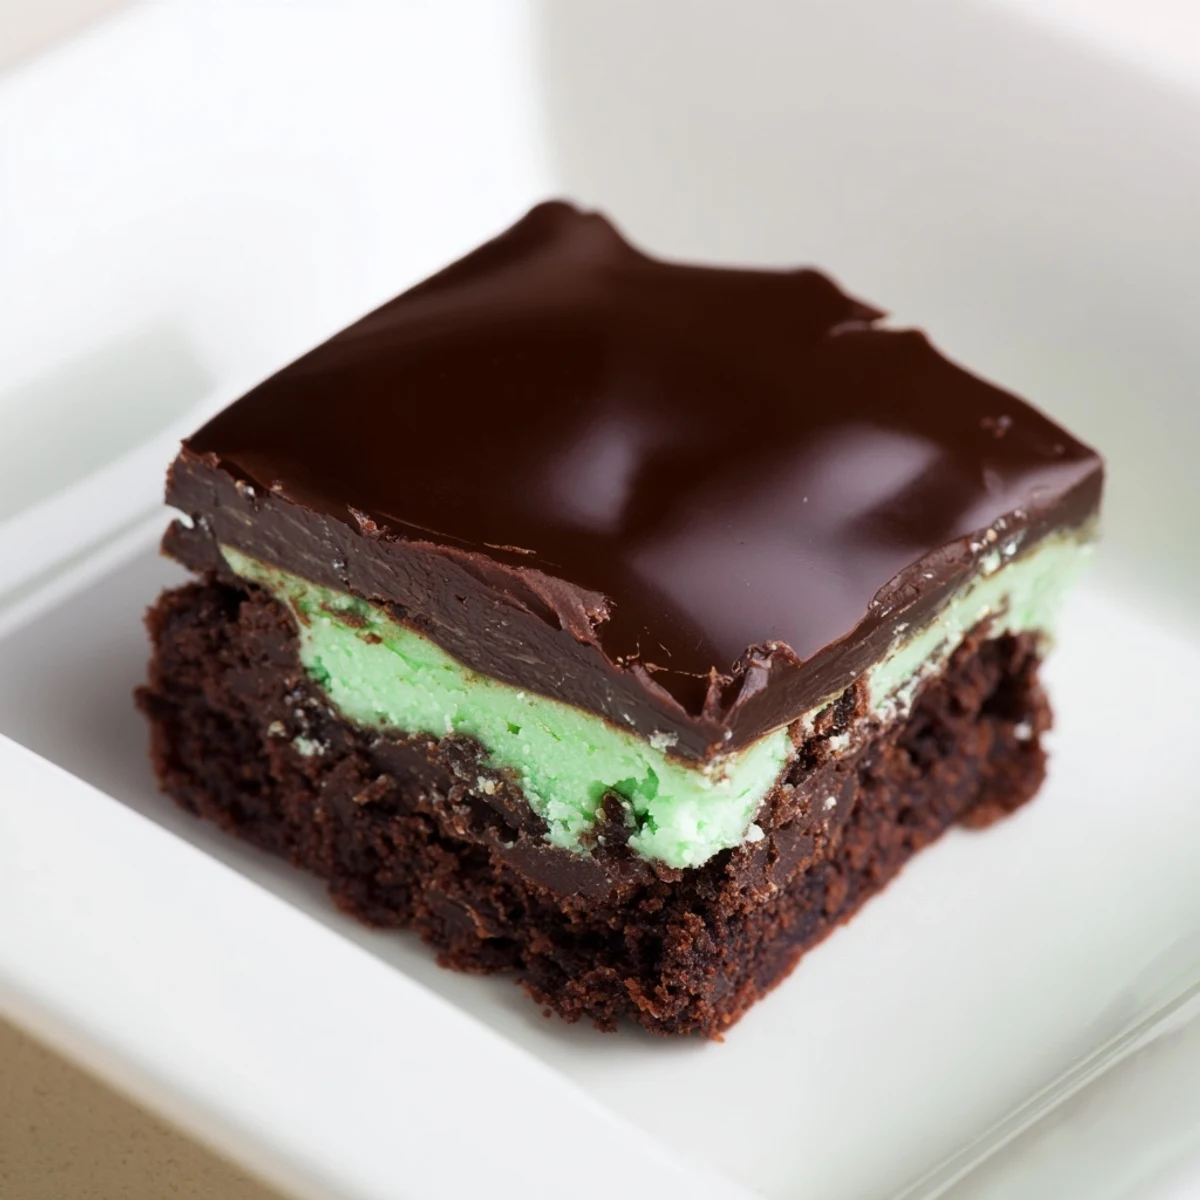
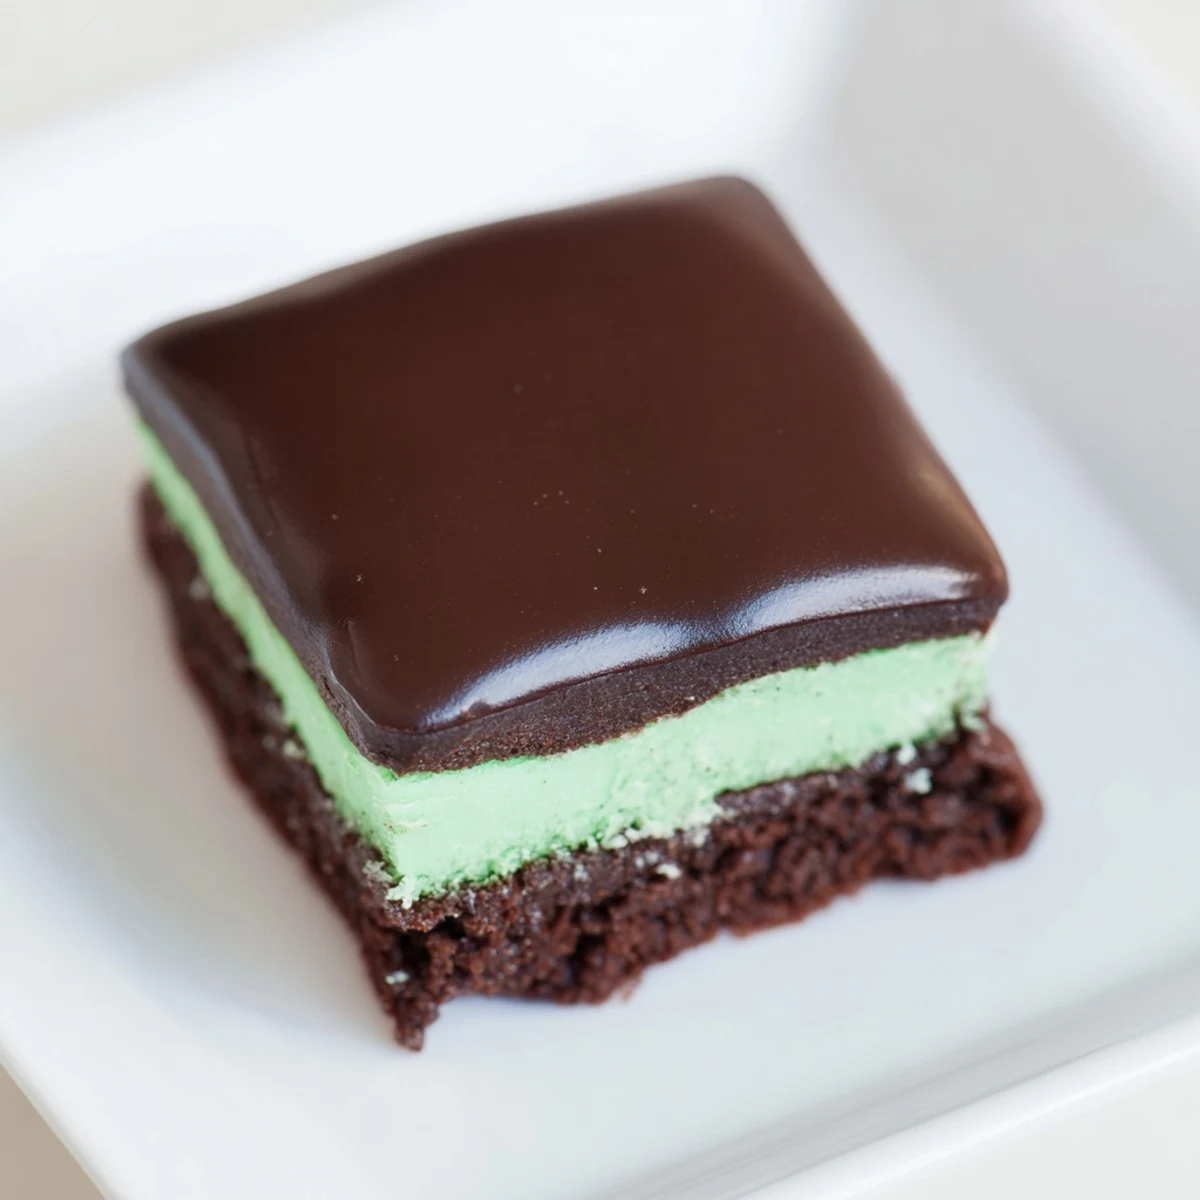
 This three-layer dessert combines rich, fudgy brownies with a refreshing peppermint cream filling and a silky chocolate ganache topping. The brownie base bakes for 25-30 minutes until just set with moist crumbs, then cools completely before adding the whipped mint butter layer. After chilling the mint layer, a smooth ganache made from melted chocolate and cream is poured over the top and chilled until set.
Perfect for chocolate and mint lovers, this medium-difficulty dessert yields 16 pieces and takes about 2 hours total including cooling and chilling time. You can adjust the mint intensity, use dark chocolate for deeper flavor, or store covered in the refrigerator for up to 5 days.
The unmistakable scent of chocolate mingling with fresh mint instantly transports me to my grandfather's garden where mint grew wild along the stone path. I first attempted these three-layer brownies during a winter exam week in college, seeking comfort in the methodical process of creating something delicious amid chaos. The contrast between the fudgy brownie base, cool mint middle, and glossy chocolate top became my signature contribution to gatherings long before I considered myself a baker.
Last Christmas, my nephew David, who supposedly hates mint chocolate, sneaked three of these brownies when no one was looking. His mother caught him with green crumbs around his mouth, and he sheepishly admitted they were too good to pass up, mint and all. That small moment of converting a skeptic made all the careful layering worthwhile, and now these treats are specifically requested whenever the family gathers.
Ingredients
- Unsweetened cocoa powder: After experimenting with Dutch process and natural variants, I found that regular unsweetened cocoa gives these brownies the perfect balance of acidity and richness without overpowering the mint layer.
- Peppermint extract: A little goes a surprisingly long way, so I always measure this over the sink in case my hand slips, having once created what my husband called mint toothpaste brownies.
- Green food coloring: The color is completely optional but adds that visual cue that makes everyone smile when they see the classic mint-chocolate layers.
- Heavy cream: Using cream instead of milk in both the mint layer and ganache creates that melt-in-your-mouth texture that elevates these brownies from good to unforgettable.
Instructions
- Prepare your canvas:
- Preheat your oven to 350°F and line that 8x8 pan with parchment, leaving those wings on the sides for easy brownie removal later. Trust me, those parchment overhangs will save you from trying to dig crumbly brownies out of corners.
- Create the fudgy base:
- Melt your butter slowly in a saucepan until its just liquified, then remove from heat before whisking in sugar, eggs and vanilla. The mixture should look satiny smooth before folding in the dry ingredients with a light touch.
- Bake with patience:
- Spread the batter evenly, taking a moment to smooth the top with your spatula for an even layer. Youll know theyre done when the center is set but a toothpick still shows those promising moist crumbs that signal fudgy perfection.
- Whip the minty middle:
- While the brownies cool completely, beat that butter until its practically floating before adding powdered sugar in gradual additions. The mint extract and food coloring transform this from basic buttercream to the signature layer that makes these brownies special.
- Craft the glossy finish:
- Pour hot cream over your chocolate and butter, then resist the urge to stir immediately. That two-minute wait lets the chocolate melt properly before you create that silky ganache with gentle stirring.
- Layer with care:
- Each layer needs its setting time, so dont rush the chilling steps between adding the mint cream and pouring the ganache. This patience creates those clean, distinct layers that make the first bite so satisfying.
 Pin This
 When I brought these to my first potluck in our new neighborhood, I watched as conversations paused mid-sentence when people took their first bites. A woman I barely knew closed her eyes and whispered, This tastes like Christmas, and suddenly I wasnt the new stranger anymore but the person who brought the green mint brownies. Food has this wonderful way of creating instant connections, and these layered treats have opened more doors for me than any introduction ever could.
Storage Secrets
These brownies develop an even more intense flavor profile after spending a night in the refrigerator, as the mint has time to fully permeate the chocolate layers. Ive learned to make them at least 12 hours before serving, even though the recipe only calls for minimum chilling times. The restraint required not to sample them during this waiting period has improved my patience in ways that extend well beyond the kitchen.
Customization Ideas
The beauty of these brownies lies in their adaptability to personal preference. During a phase when I was exploring natural food colorings, I discovered that a tablespoon of matcha powder creates a lovely mint-green shade while adding subtle earthy notes that complement the peppermint beautifully. For winter holidays, Ive been known to crush candy canes and sprinkle them over the ganache before it sets, creating a festive crunch and extra mint intensity that delights both children and adults.
Serving Suggestions
Despite being decadent on their own, these brownies reach new heights when served slightly chilled with a small scoop of vanilla bean ice cream on the side. The contrast between cold mint and warm vanilla creates this sensory experience that guests always comment on, sometimes even years later.
- For an elegant presentation, cut brownies with a hot, clean knife wiped between each slice for those perfect edges that showcase all three layers.
- When packing for transport, place wax paper between layers to prevent the ganache from sticking to other brownies, preserving that glossy top that took such care to create.
- If serving from the refrigerator, allow brownies to sit at room temperature for 15 minutes first, as the flavors bloom and textures soften just enough to highlight their complexity.
 Pin This
 These triple-layer brownies require a bit more effort than your standard chocolate square, but they create the kind of memorable dessert experience that people talk about long after the last crumb is gone. Each distinct layer tells its own story, coming together in a perfect harmony of texture and flavor.
Recipe FAQs
- → Can I use peppermint extract instead of peppermint flavoring?
-
Yes, peppermint extract works perfectly and is commonly used in this dessert. Start with 3/4 teaspoon and adjust to your taste preference for a stronger or milder mint flavor in the cream layer.
- → How do I prevent the ganache from cracking when cutting?
-
Use a hot, clean knife dipped in warm water and wipe between cuts. Let the ganache set completely at room temperature for 15-20 minutes before cutting for cleaner slices.
- → What's the difference between using milk and heavy cream in the mint layer?
-
Heavy cream creates a richer, creamier texture while milk results in a lighter consistency. Heavy cream is recommended for the best texture and stability, but milk works if that's what you have on hand.
- → Can I make these brownies in advance?
-
Yes, you can prepare them up to 5 days ahead. Store covered in the refrigerator. Assemble completely through the ganache step, then cover and refrigerate. This actually helps the flavors meld together beautifully.
- → Why does my ganache look grainy or separated?
-
Ganache separates when the chocolate is too hot when the cream is added, or if not stirred enough. Always let the cream cool slightly after heating, pour over chocolate, wait 2 minutes, then stir gently until smooth and glossy.
- → Can I substitute the green food coloring?
-
Absolutely. Use gel food coloring for more vibrant color, or skip it entirely for a natural white mint layer. You can also use matcha powder for color and subtle flavor enhancement.
