 Pin This
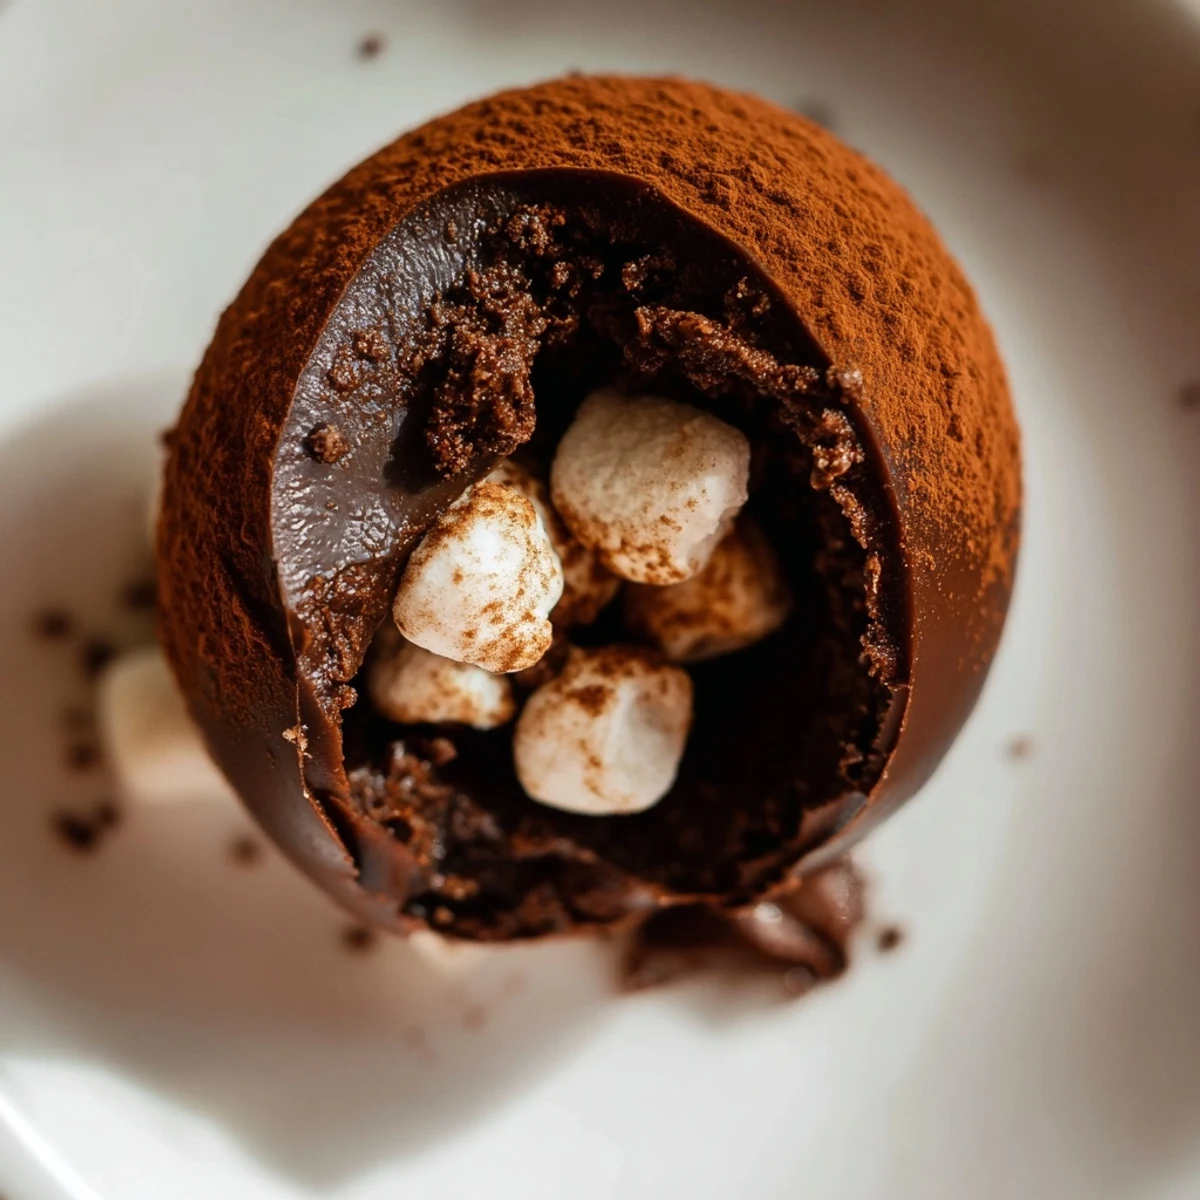
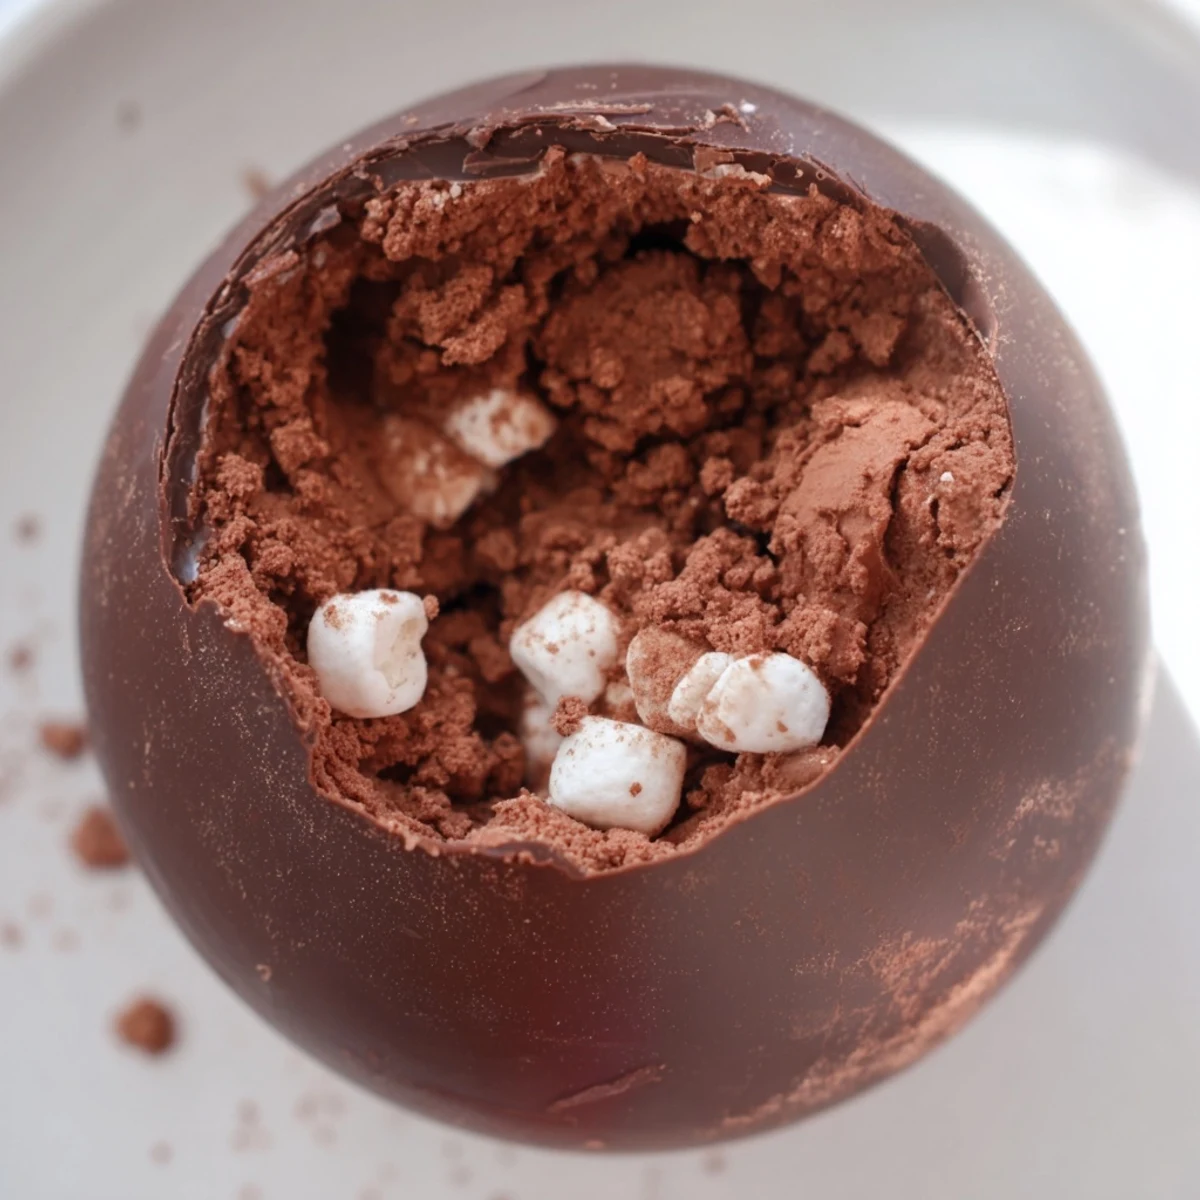
 These rich chocolate spheres feature a smooth semi-sweet shell filled with a blend of cocoa mix and mini marshmallows. When poured over hot milk, they dissolve into a creamy, comforting beverage perfect for cozy moments. The spheres set in silicone molds and can be enhanced with cinnamon or peppermint for extra warmth and flavor. Preparing these treats takes around 40 minutes and yields six delightful servings, providing a fun and indulgent experience.
I'll never forget the first time I made hot cocoa bombs for my niece's birthday party. I'd seen them trending online and thought they looked impossibly fancy, but when I discovered how magical it was to watch the chocolate shell dissolve and release marshmallows into steaming milk, I became completely hooked. Now they're my go-to gift and the first thing people ask me to bring to winter gatherings.
I remember standing in my kitchen on a freezing December afternoon, thinking I'd challenge myself to make something that looked restaurant-worthy. By the time I nailed the sealing technique, I'd made eight cocoa bombs and honestly couldn't stop. That's when I knew this was becoming a seasonal tradition.
Ingredients
- High-quality semi-sweet or milk chocolate, 300 g (chopped or chips): This is where you don't want to skimp. Good chocolate melts smoothly and sets beautifully. I've learned that the cheaper stuff gets grainy and temperamental. Semi-sweet is my sweet spot for that classic hot cocoa vibe, but milk chocolate is richer and more forgiving for beginners.
- Hot cocoa mix, 6 tbsp (store-bought or homemade): If you make your own with cocoa powder, sugar, and a pinch of salt, you control exactly how decadent it gets. Store-bought is totally fine and honestly saves time when you're making these for a crowd.
- Mini marshmallows, 60 g: These are the little treasures that make the magic happen. About 10 per bomb gives you that perfect balance of sweetness and texture.
Instructions
- Get Your Chocolate Ready:
- Chop your chocolate into roughly even pieces and place in a microwave-safe bowl. Heat in 30-second bursts, stirring between each one. You want it smooth and glossy, not broken or grainy. The microwave route takes about 2 minutes total. If you prefer the old-school double boiler method, place a heatproof bowl over simmering water, making sure the bowl doesn't touch the water. Stir constantly until it's perfectly melted. Either way, you'll know it's ready when you can run a spoon through it and see a smooth trail.
- Coat Those Molds:
- This is where the magic begins. Grab your silicone half-sphere molds (5 cm diameter is ideal). Using a pastry brush or the back of a small spoon, coat the inside of each mold with a generous layer of melted chocolate. Go slow and make sure you get an even coat all the way up to the rim. It should look like a chocolate shell is already forming.
- First Chill and Strengthen:
- Pop those molds in the refrigerator for 10 minutes. This sets the first layer just enough. Then brush on a second, slightly thinner layer of chocolate. This is your insurance policy against cracks and ensures your bomb will be sturdy enough to seal. Pop back in the fridge for 10 to 15 minutes until completely firm. When you press gently with your finger, it should feel solid with just a tiny give.
- Release the Shells:
- Carefully flex the silicone molds to loosen the chocolate domes. If they're stubborn, pop the molds in the freezer for 5 minutes to make them more pliable. Once released, you'll have 12 beautiful half-spheres waiting to become something special.
- The Filling Moment:
- Take 6 half-spheres and fill each with about 1 tablespoon of hot cocoa mix, spreading it across the bottom. Then add roughly 10 mini marshmallows. Don't overstuff or sealing becomes tricky, but don't be shy either. These cocoa bombs are all about that generous filling.
- The Part Where Magic Happens (The Seal):
- This is the step that looks intimidating but is actually your best friend once you understand it. Warm a dinner plate in the microwave for about 30 seconds. Take an empty half-sphere and gently press the rim against the warm plate for just 2 to 3 seconds until you see a thin line of chocolate start to melt. Immediately flip it onto your filled half-sphere and hold for a few seconds while the chocolate bonds them together. It's like you're gluing two chocolate domes with their own melted edges. Do this one by one until all your bombs are sealed. If a seal doesn't look perfect, you can always touch it up by gently warming that seam against the plate again.
- The Finishing Touches:
- If you want to get fancy, drizzle extra melted chocolate over the top of each bomb or sprinkle festive toppings like crushed peppermint, cocoa powder, or colored sugar while the chocolate is still slightly tacky. Let everything set at room temperature for at least 30 minutes, or pop them back in the fridge if you're impatient like me.
 Pin This
 Last winter, my mom brought a cocoa bomb to a difficult holiday gathering where everyone was a little tense. The moment she poured hot milk and watched that chocolate shell open up, releasing marshmallows in a little cloud, the entire room fell silent. Then someone laughed and said it felt magical, and suddenly everyone relaxed. That's when I realized these aren't really about chocolate at all. They're about creating a moment of wonder.
Flavor Variations That Clicked
Once you master the basic technique, the filling is where you get to play. I've experimented with so many combinations and discovered what works beautifully in those little spheres. Cinnamon is a natural choice, adding warmth without overpowering the chocolate. I sprinkle about an eighth of a teaspoon into the cocoa mix before sealing. For a peppermint twist, I crush candy canes and mix them with the cocoa powder, which gives you that festive flavor without grittiness. Crushed ginger cookies mixed into the filling create this sophisticated spice that caught my partner completely off guard.
When You're Missing Something
Don't have half-sphere molds? You can absolutely adapt. I've used small bowls and even pressed chocolate into ramekins to create different sized domes. The key is thickness, not exact shape. Dark chocolate adds a deeper flavor if you're not a fan of sweet, and white chocolate becomes this luxurious canvas where peppermint or eggnog flavors really shine. Sometimes I add a tiny pinch of instant coffee to deepen the chocolate flavor, which sounds odd until you taste it and realize it's what was missing all along.
Storage and Keeping It Fresh
These bombs keep beautifully when you treat them right. Store them in an airtight container in a cool, dry place where chocolate stays happy. They last up to two weeks, though I've never had any last that long because people eat them as soon as they spot them. If you're making these days ahead, store them in the fridge if your kitchen tends to be warm. Room temperature is fine for most climates, but chocolate can get temperamental in humidity. One more thing: if you're gifting these, pop them in a nice box with a tag explaining the whole pour-and-watch-it-open thing, because half the joy is knowing exactly what's about to happen.
- Keep them away from strong-smelling foods because chocolate is surprisingly absorbent of odors
- If chocolate gets dull or streaky from temperature changes, that's just bloom and they still taste amazing
- You can absolutely make these a week or two ahead and freeze them, which I do when I'm giving them as gifts
 Pin This
 These hot cocoa bombs transformed the way I think about giving gifts and treating myself on cold days. There's something about the ritual of watching that chocolate shell melt that makes even an ordinary afternoon feel special.
Recipe FAQs
- → What chocolate works best for the shells?
-
High-quality semi-sweet or milk chocolate provides a smooth, sturdy shell that melts evenly.
- → How do I seal the chocolate spheres properly?
-
Gently warming the edges on a warm plate softens the chocolate, allowing halves to fuse securely.
- → Can I customize the filling flavors?
-
Yes, adding cinnamon or crushed peppermint candies enhances the cocoa and marshmallow blend.
- → How should these spheres be stored?
-
Keep them in an airtight container in a cool, dry place for up to two weeks to maintain freshness.
- → Are there any allergens to consider?
-
They contain milk and soy from chocolate and cocoa; commercial chocolate may also have nut traces.
