 Pin This
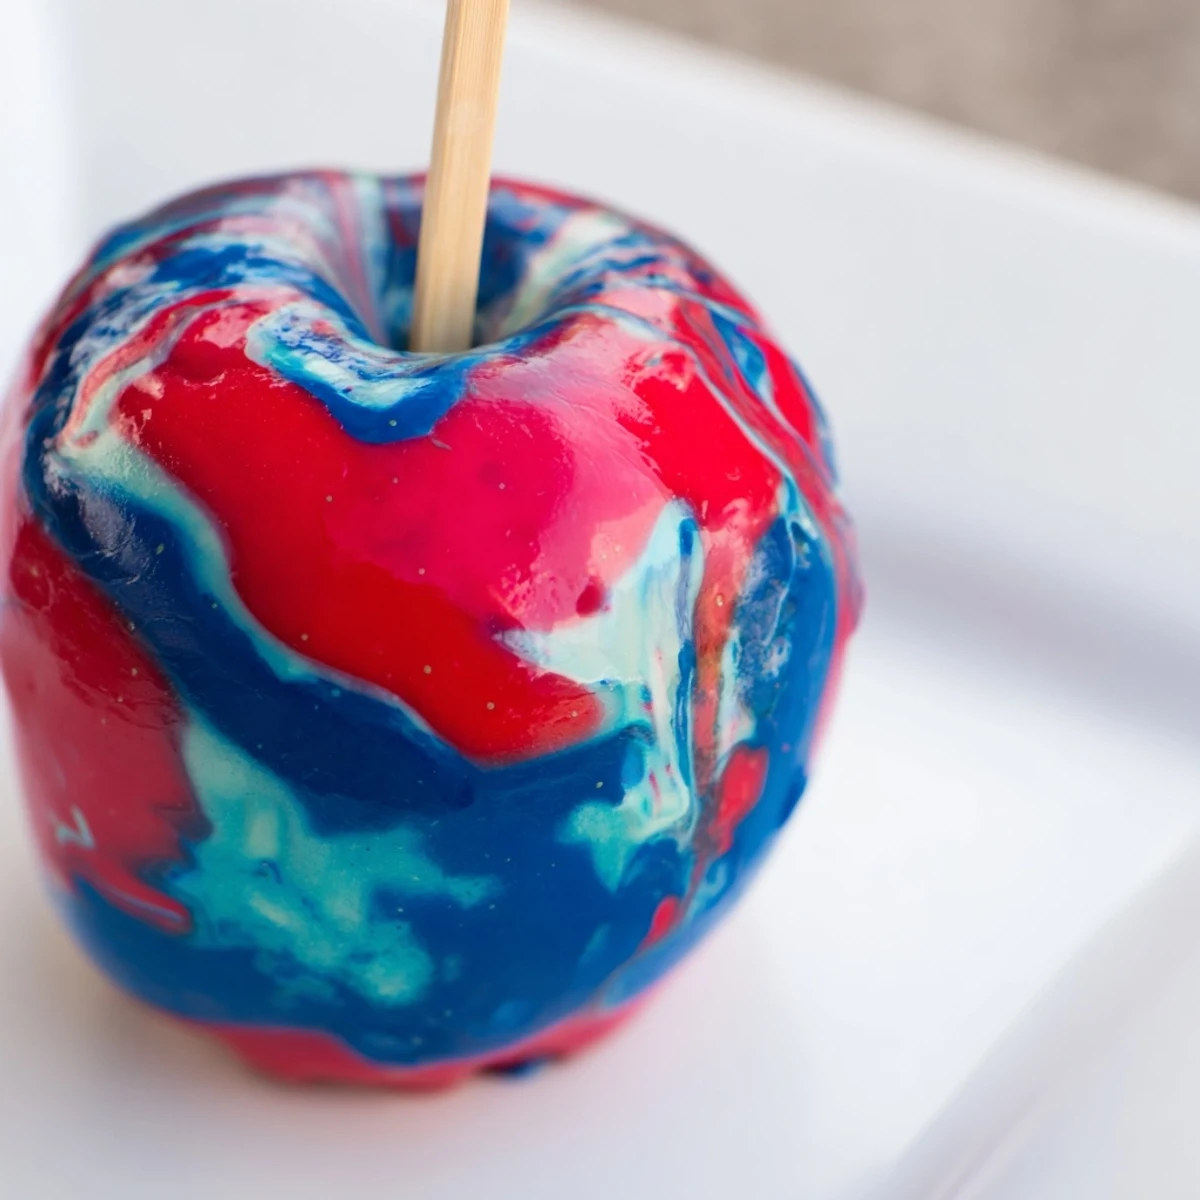
 These marbled apples feature crisp, juicy fruit covered in a glossy candy coating infused with swirls of red, blue, and white colors. Preparing the candy shell requires heating sugar mixture to the hard crack stage, then swiftly swirling gel colors before dipping each apple. The result is a stunning marbled finish perfect for parties and celebrations. Allow apples to cool and harden for a delightful crisp bite with a visually captivating surface.
The first time I attempted marbled candy apples, I stood in my kitchen mesmerized as swirling ribbons of red, blue and white danced across the glossy surface. My daughter's Halloween party was the next day and these became the instant showstopper that disappeared before any other treat.
Last autumn I made a batch for our neighborhood potluck and watched adults gravitate toward them like moths to a flame. Something about that whimsical swirled coating brings out the child in everyone.
Ingredients
- 8 medium apples: Granny Smith or Fuji varieties work beautifully because their crisp texture holds up against the hard candy shell and their tartness balances the intense sweetness
- 8 sturdy wooden sticks: Insert them firmly into the stem end about halfway through the apple so they stay secure during dipping
- 2 cups granulated sugar: This forms the base of your candy coating and creates that satisfying glasslike crunch when you bite through
- 3/4 cup water: Helps dissolve the sugar initially and affects how your candy syrup develops
- 1/2 cup light corn syrup: Prevents crystallization and keeps your candy coating smooth and glossy instead of grainy
- 1/2 tsp vanilla extract: An optional touch that adds warm depth to balance the pure sugar flavor
- Red blue and white gel food coloring: Gel coloring creates the most vibrant distinct marbling unlike liquid which can make the mixture too thin
Instructions
- Prep your station:
- Line a large baking sheet with parchment paper or a silicone mat then push wooden sticks into the stem end of each dried apple making sure they feel secure
- Make the candy base:
- Combine sugar water and corn syrup in a heavy-bottomed saucepan and stir over medium heat until the sugar completely dissolves and the mixture looks clear
- Reach the right temperature:
- Turn heat to high and let the syrup boil without stirring until your candy thermometer hits 300°F which is the crucial hard crack stage that gives you that perfect shatter
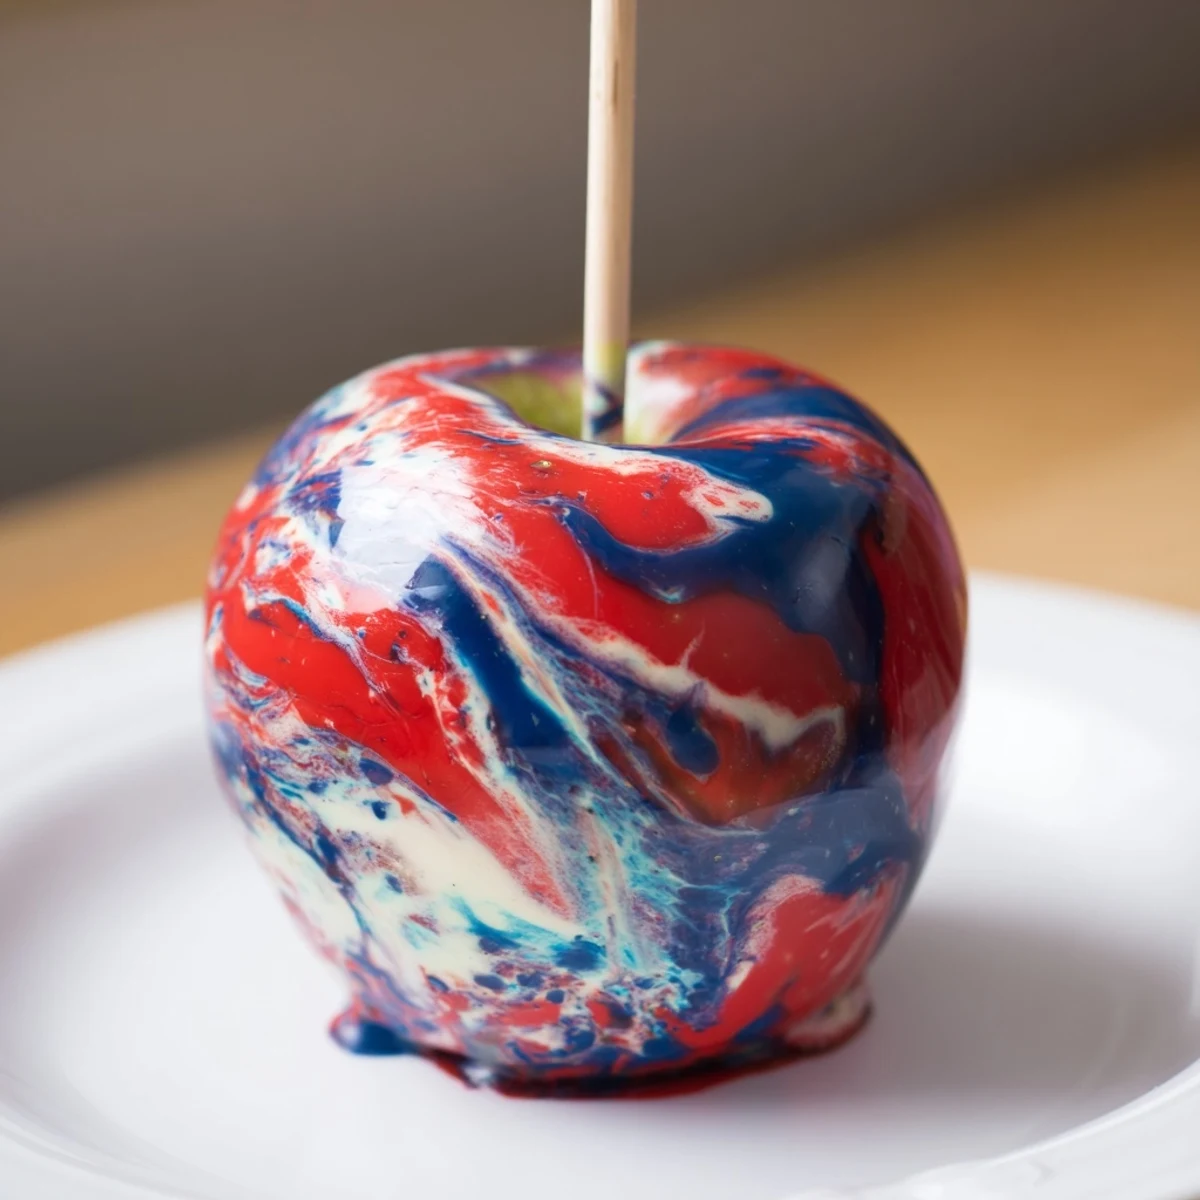
- Create the marble magic:
- Remove from heat immediately stir in vanilla if using then add drops of each gel color and gently swirl with a skewer just enough to see streaks not full blending
- Dip and swirl:
- Hold an apple by the stick dip it into the hot syrup turning it as you go to catch those gorgeous marble patterns then let excess drip for a moment before placing on your prepared sheet
- Set and serve:
- Repeat with remaining apples swirling the syrup briefly between each dip to keep the marble effect alive then let them cool completely for about 15 minutes until the shell is rock hard
 Pin This
 My friend Sarah called me midpanic once when her syrup started crystallizing into a grainy mess. We learned together that washing down the sides of the pan with a wet pastry brush early prevents those stubborn sugar crystals from ruining the whole batch.
Choosing Your Colors
I keep a small notebook of color combinations that worked beautifully. Red and gold create a sunset effect while purple and blue make something straight out of a fairy tale. Sometimes less is more with just two colors swirling together.
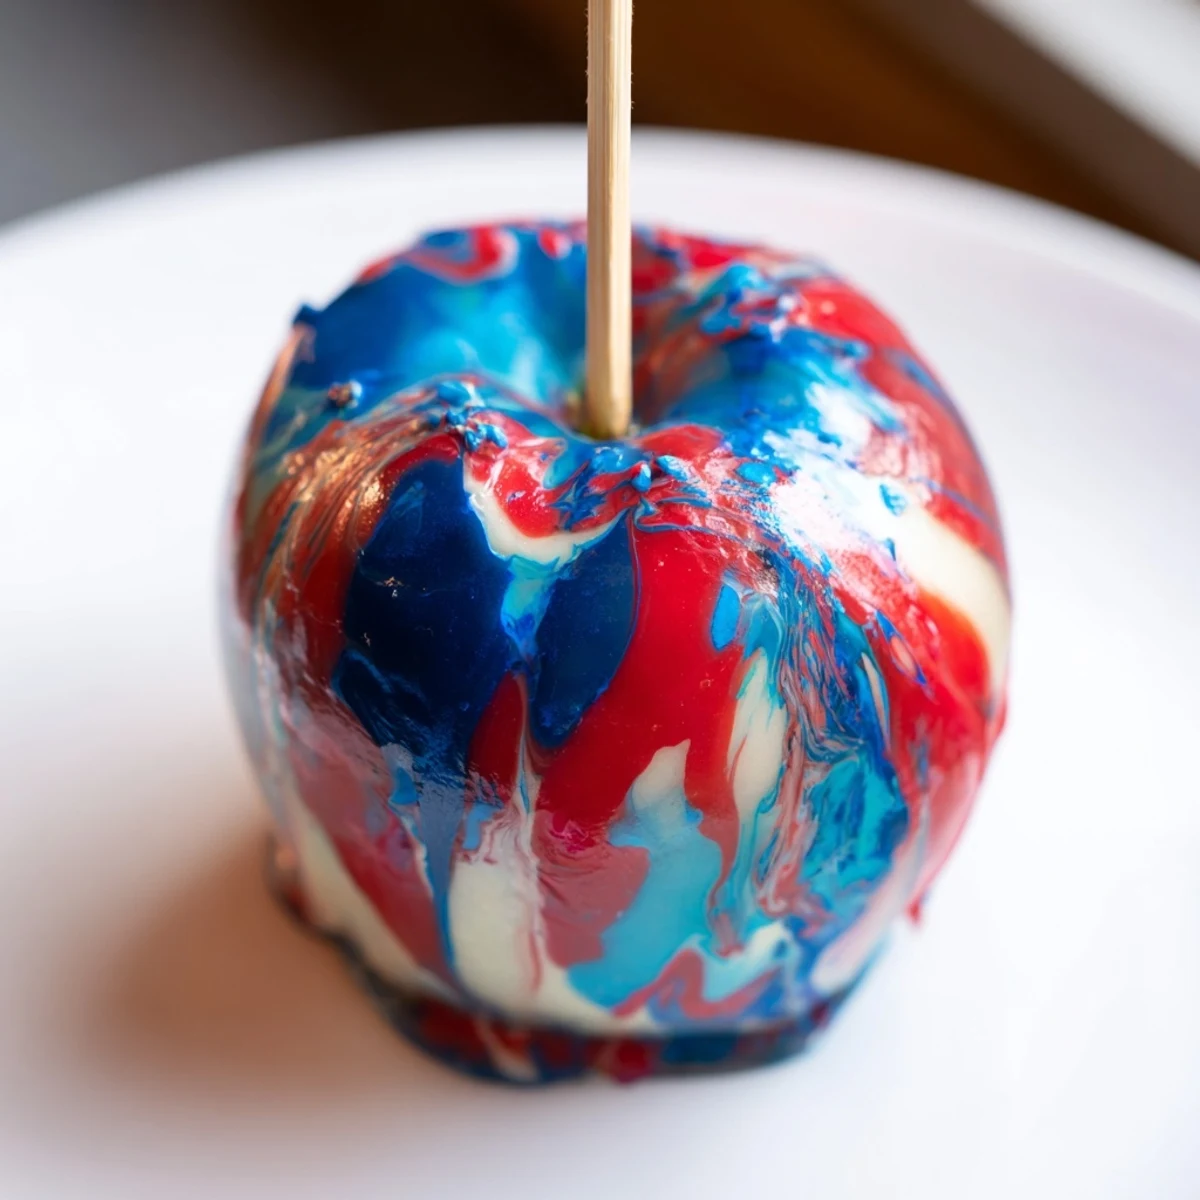
The Dipping Technique
The angle you hold the apple changes how the marble pattern forms. Tilting it slightly as you pull it out creates dramatic streaks while rotating it horizontally gives you a softer more blended look. Both are stunning in their own way.
Troubleshooting Like a Pro
Even experienced candy makers run into issues sometimes. The good news is most problems have simple fixes once you know what to look for.
- If your coating turns grainy you likely stirred too early after reaching temperature
- Syrup too thick to dip? Warm it gently for just ten seconds over low heat
- Bubbles appearing? Let the syrup rest off heat for thirty seconds before dipping
 Pin This
 These marbled candy apples never fail to make people smile and that spark of delight is exactly why I keep making them year after year.
Recipe FAQs
- → What types of apples work best for marbled coating?
-
Firm apples like Granny Smith or Fuji hold up well and provide a crisp texture that complements the candy shell.
- → How do I achieve the marbled color effect?
-
Gently swirl drops of red, blue, and white gel food coloring into the hot sugar syrup without mixing fully. This creates streaked, marbled patterns when apples are dipped.
- → What temperature should the candy syrup reach?
-
The syrup needs to reach the hard crack stage at about 300°F (150°C) to form a firm, glossy coating.
- → Can the candy coating be reheated if it hardens before dipping all apples?
-
Yes, gently rewarm the syrup over low heat to restore its fluidity for dipping remaining apples.
- → How should coated apples be stored?
-
Store them at room temperature for up to 24 hours to maintain the candy shell's crispness and avoid moisture buildup.
- → Are there any allergen concerns with this candy coating?
-
The coating contains corn syrup, so check for corn allergies. The preparation is gluten- and nut-free otherwise.
