 Pin This
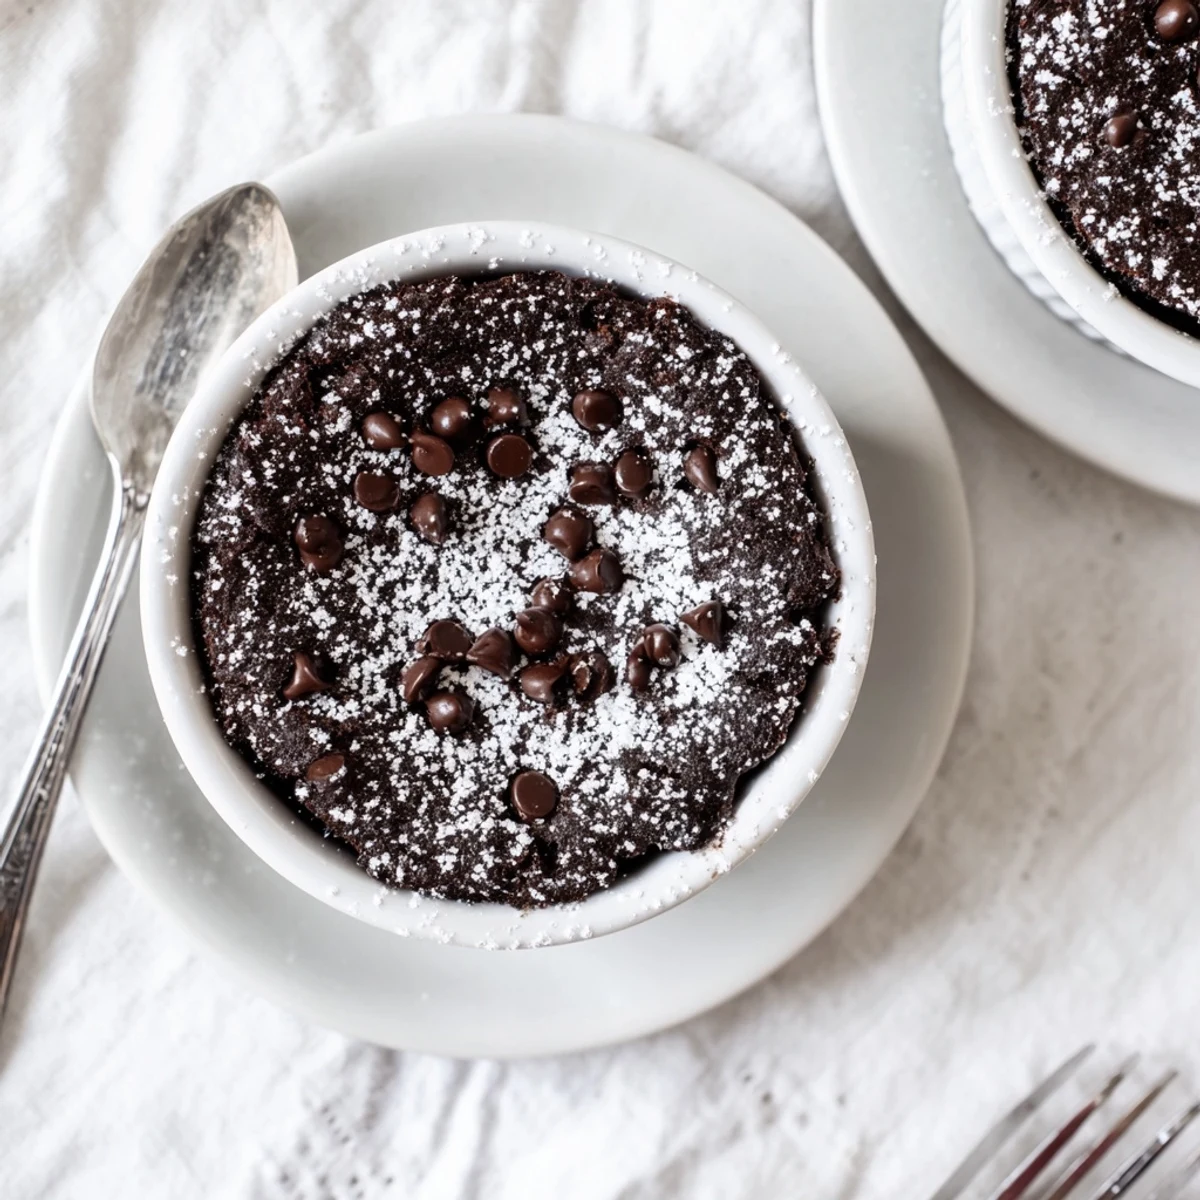
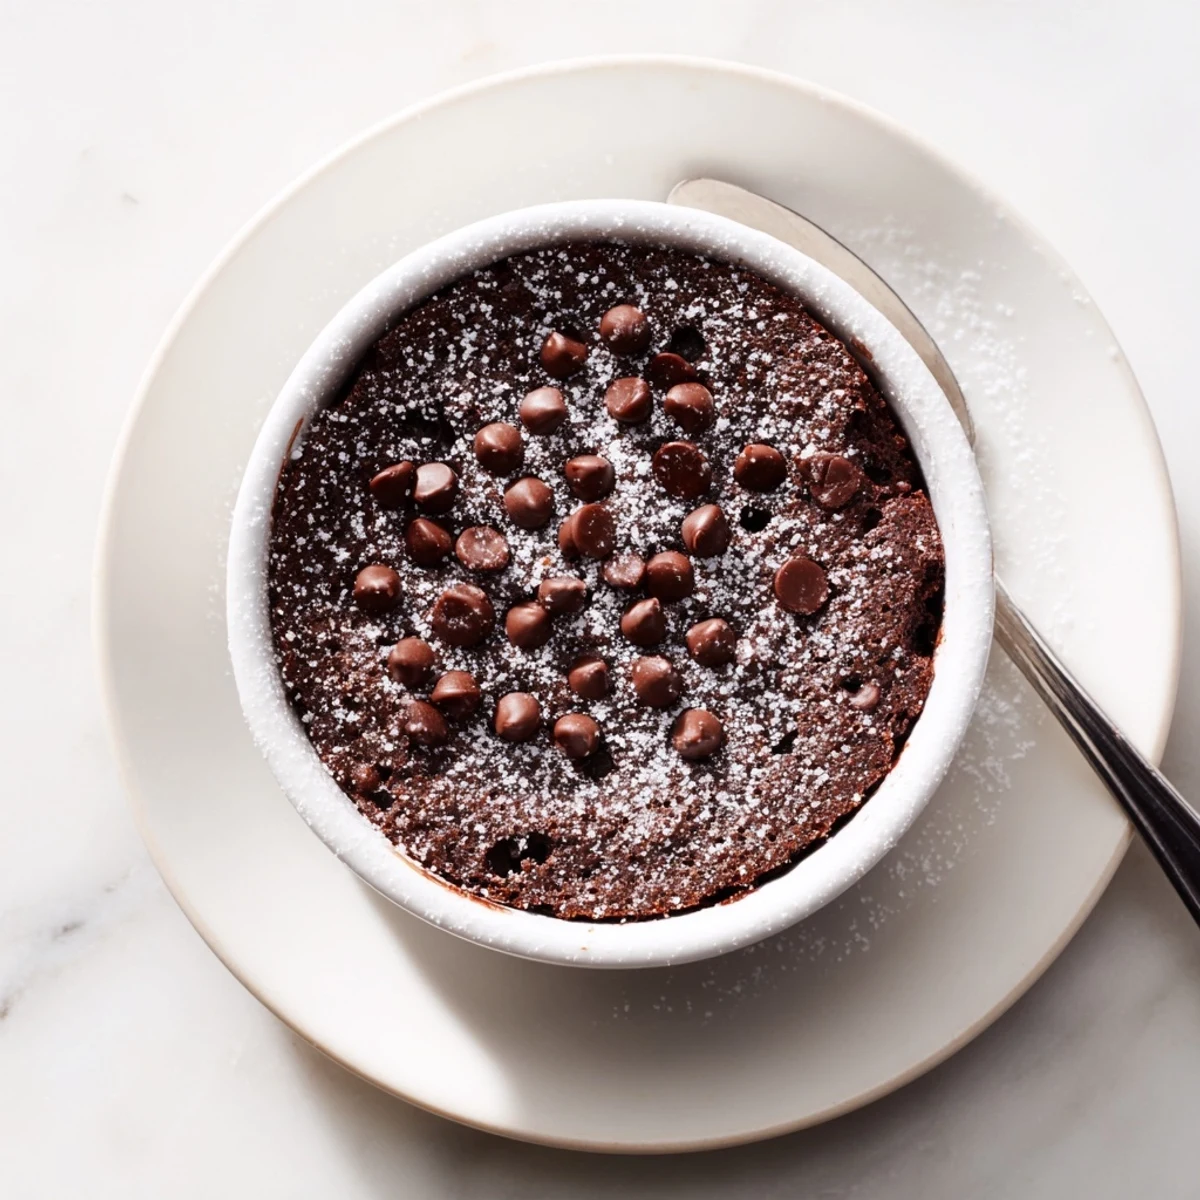
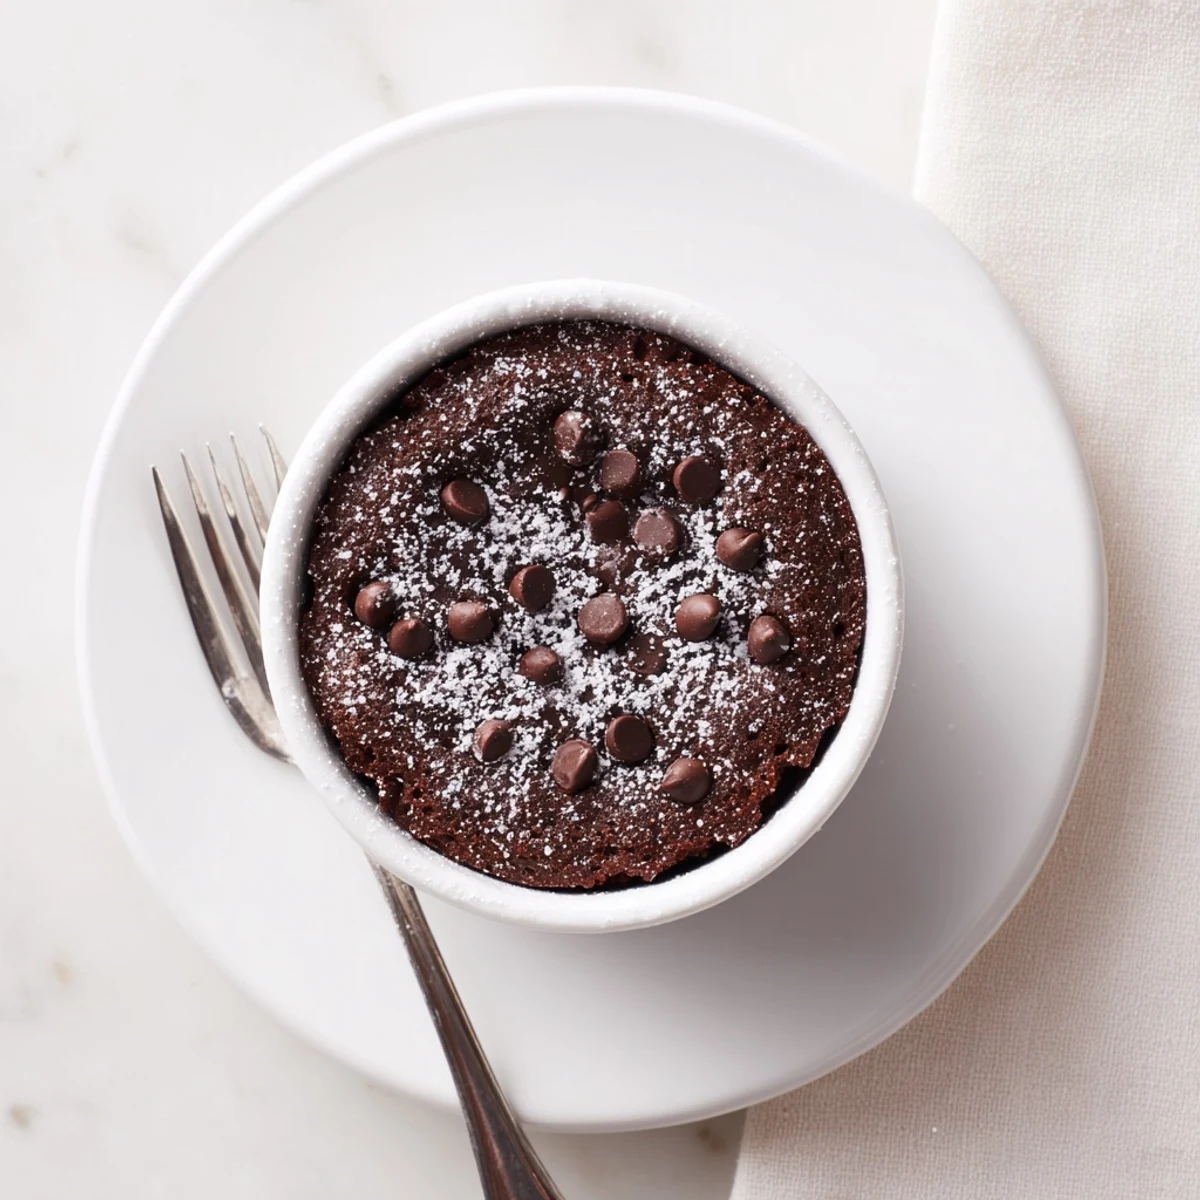
 These mini chocolate cakes deliver rich, decadent flavor in perfectly portioned 4-inch servings. The batter comes together quickly with pantry staples, creating a moist crumb with deep chocolate taste. Fresh from the oven in just 18 minutes, these individual cakes emerge with a tender texture that pairs beautifully with powdered sugar dusting, fresh berries, or a scoop of vanilla ice cream.
The recipe yields two servings, making it ideal for date nights or treating yourself to something special. The straightforward technique involves whisking dry and wet ingredients separately, then combining them just until incorporated for the tenderest result. Optional chocolate chips create melty pockets throughout, while espresso powder amplifies the cocoa intensity if desired.
The rain was hitting my kitchen window last Tuesday when I got that sudden, desperate chocolate craving. Not the store-bought candy bar kind, but something warm and freshly baked that would make the whole apartment smell like a bakery.
My roommate walked in mid-bake, lured by the smell, and asked if there was enough to share. We ended up eating them straight from the ramekins with two spoons, chocolate smeared on our chins like children.
Ingredients
- 1/3 cup (40 g) all-purpose flour: The structure that holds everything together, dont pack it down when measuring
- 2 tbsp (12 g) unsweetened cocoa powder: Dutch-processed gives you that deeper, darker chocolate flavor
- 1/4 tsp baking powder: Just enough lift to make these tender without becoming dry or spongy
- 1/8 tsp salt: The secret to intensifying chocolate flavor
- 2 tbsp (25 g) granulated sugar: Minimal sweetness keeps these sophisticated rather than cloying
- 1 large egg: Room temperature eggs blend more smoothly into the batter
- 2 tbsp (30 ml) milk: Whole milk creates the most tender crumb
- 2 tbsp (28 g) unsalted butter, melted: Let it cool slightly so it doesnt cook the egg when you mix it in
- 1/4 tsp vanilla extract: Pure vanilla makes all the difference
- 1 oz (28 g) semi-sweet chocolate chips: These melt into pockets of gooey chocolate throughout the cake
Instructions
- Get your oven ready:
- Preheat to 350°F (175°C) and grease two 4-inch ramekins with butter, getting into all the corners
- Whisk the dry team:
- In a small bowl, combine the flour, cocoa, baking powder, salt, and sugar until no cocoa lumps remain
- Blend the wet ingredients:
- Whisk the egg, milk, melted butter, and vanilla in another bowl until the mixture looks glossy and smooth
- Bring them together:
- Pour the wet mixture into the dry and stir with a spatula just until you no longer see dry flour
- Add the chocolate:
- Fold in the chocolate chips gently so you dont knock air out of the batter
- Divide and conquer:
- Split the batter evenly between your prepared ramekins, tapping each on the counter to release air bubbles
- Bake until perfect:
- Slide them into the oven for 16 to 18 minutes, checking for moist crumbs rather than clean when you test with a toothpick
- The waiting game:
- Let them rest in the ramekins for 5 minutes before running a knife around the edge and turning them out
 Pin This
 Last Valentine's Day I made these with a tiny heart drawn in powdered sugar on top. My partner said it was better than any restaurant dessert weve ever had.
Serving Ideas That Make It Special
Dust them with powdered sugar right before serving for that snow-topped look. A scoop of vanilla ice cream melting into the warm cake creates the most incredible sauce. Fresh raspberries or a drizzle of caramel takes it over the top.
Making It Your Own
That pinch of espresso powder mentioned in the notes really does make the chocolate flavor sing. Sometimes I swap the chips for chopped walnuts when I want something crunchy. A tiny bit of cinnamon in the dry mix adds warmth.
Storage And Make-Ahead Tips
These are best eaten the same day theyre baked, but theyll keep in an airtight container for one day. To reheat, pop them in the microwave for 15 seconds. You can also mix the dry and wet ingredients separately the night before and combine them when youre ready to bake.
- Mix the batter in a liquid measuring cup to pour directly into the ramekins
- If you only have one ramekin, bake one after the other and eat the first while the second bakes
- Double the recipe for four cakes, but keep an eye on the baking time
 Pin This
 Theres something deeply satisfying about making your own dessert from scratch in less than half an hour, especially when it tastes this good.
Recipe FAQs
- → Can I make these mini cakes ahead of time?
-
Yes, these cakes store well for up to 2 days at room temperature when wrapped tightly. They actually develop deeper flavor after sitting for a few hours. Warm briefly in the microwave before serving for that fresh-baked texture.
- → What size ramekins work best?
-
Four-inch ramekins or mini cake pans are ideal for this yield. If using standard 6-ounce ramekins, the batter will create thinner cakes that bake faster—check for doneness around 12-14 minutes.
- → How do I know when the cakes are done baking?
-
Insert a toothpick into the center—it should emerge with a few moist crumbs clinging to it, not completely clean. The edges will pull slightly away from the ramekin, and the tops will feel set but springy to gentle pressure.
- → Can I double this recipe for more servings?
-
Absolutely. Simply multiply all ingredients by the number of batches needed. You may need to bake in shifts unless you have multiple ramekins that fit in your oven simultaneously. The baking time remains the same.
- → What's the best way to add chocolate chips?
-
Fold the chocolate chips into the batter gently after combining wet and dry ingredients. Use a silicone spatula and fold just 2-3 times to distribute evenly without overworking the batter, which could make the cakes tough.
- → Can I make these dairy-free?
-
Substitute plant-based milk for regular milk and use dairy-free butter or coconut oil. The texture remains excellent, though the flavor profile shifts slightly. Dairy-free chocolate chips complete the transformation.
