 Pin This
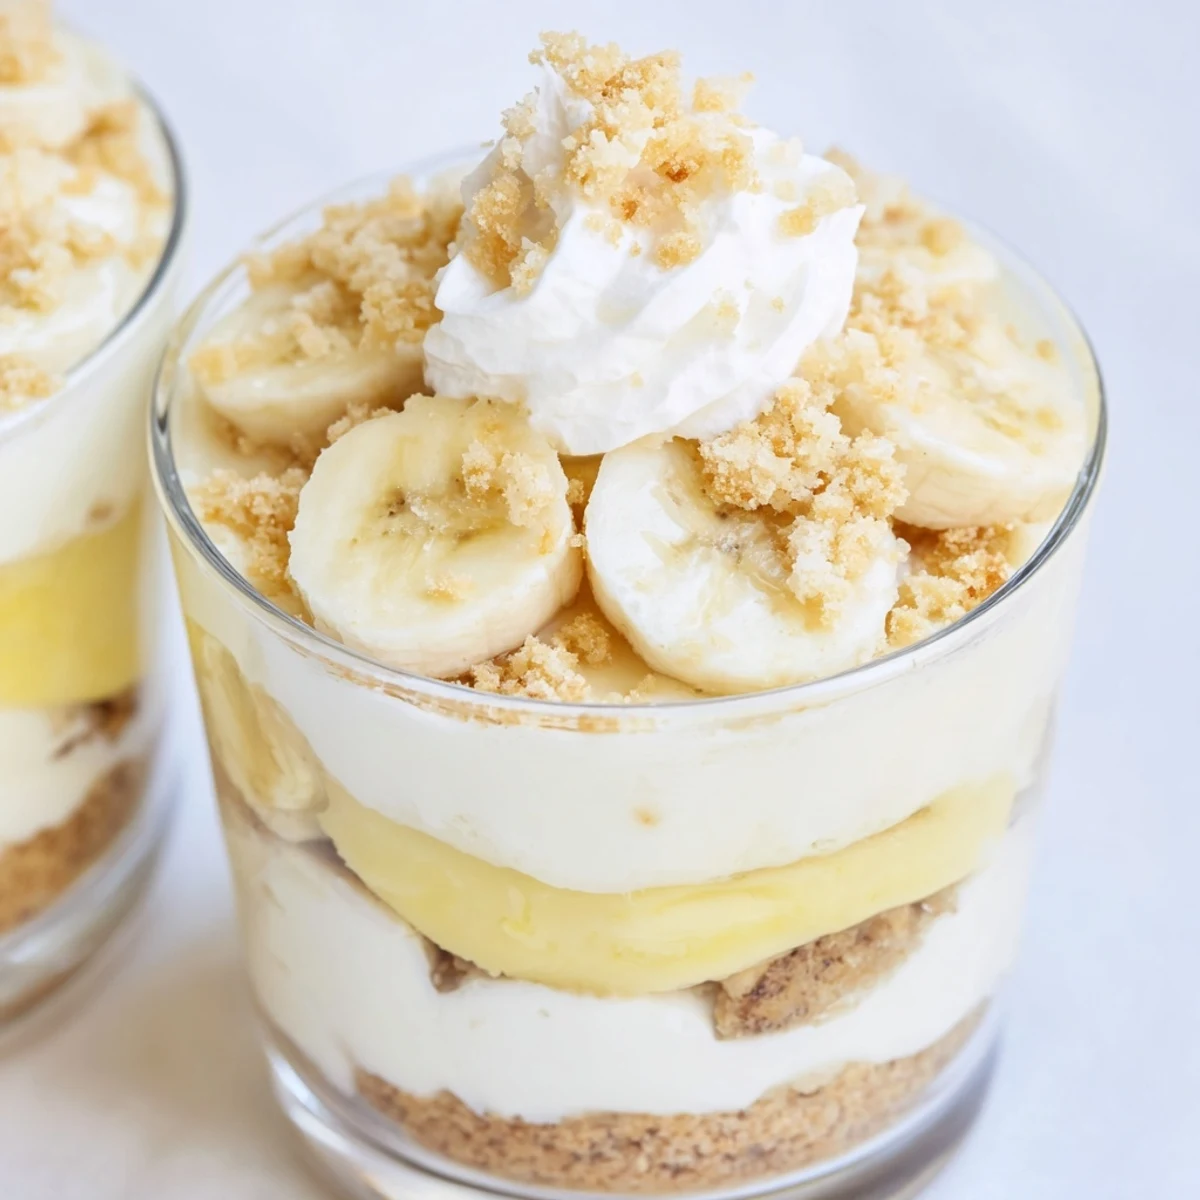
 These individual cups feature a buttery vanilla wafer crust topped with silky cheesecake filling, sweet banana pudding layer, and fresh sliced bananas. The no-bake preparation comes together in just 20 minutes, though chilling time is essential for the perfect creamy texture.
The combination of rich cream cheese, light whipped cream, and nostalgic banana pudding creates an irresistible layered dessert. Each cup offers satisfying crunch from the crumbs, velvety smoothness from the fillings, and natural sweetness from ripe bananas.
Perfect for parties, potlucks, or everyday treats, these cups can be prepared up to 24 hours in advance. The individual portions make serving effortless and ensure everyone gets their own perfect portion of this classic American dessert.
The summer our air conditioner broke, my kitchen became the one room I actually wanted to be in. I stumbled onto this recipe while desperate for something sweet that wouldn't require turning on the oven, and now these little cups have become my go-to for every gathering.
Last summer I made these for my daughter's birthday instead of a traditional cake. Watching six people simultaneously scrape their spoons against the bottom of their cups, trying to get every last bit of that crumb crust, was the best review I could have asked for.
Ingredients
- Vanilla wafer cookies: Crushing these yourself creates better texture than store-bought crumbs, and the butter binds them into something that tastes like childhood
- Unsalted butter: Melted just enough to coat the crumbs without making them soggy—the foundation that holds everything together
- Cream cheese: Let this soften completely on the counter first, and your cheesecake layer will be silkier than anything from a bakery
- Heavy whipping cream: Cold from the fridge is non-negotiable here—it whips up faster and holds its shape longer
- Instant banana pudding mix: The shortcut that makes this recipe accessible on a weeknight while still delivering that unmistakable banana flavor
- Ripe bananas: Slice these right before assembling so they stay fresh and don't turn brown on you
Instructions
- Build the buttery crust:
- Mix the crushed wafers with melted butter until every piece is coated, then press about two tablespoons into the bottom of each cup. The crust should feel firm but not compacted—like a gentle hug for what comes above.
- Whip up the cheesecake base:
- Beat the softened cream cheese with sugar and vanilla until it's smooth and free of lumps. In another bowl, whip that cold heavy cream until stiff peaks form, then fold it in gently to keep all that air you just worked so hard to create.
- Make the pudding layer:
- Whisk the instant pudding mix with cold milk for exactly two minutes. It will seem thin at first, but keep going and suddenly it will thicken into something you can actually work with.
- Layer it all together:
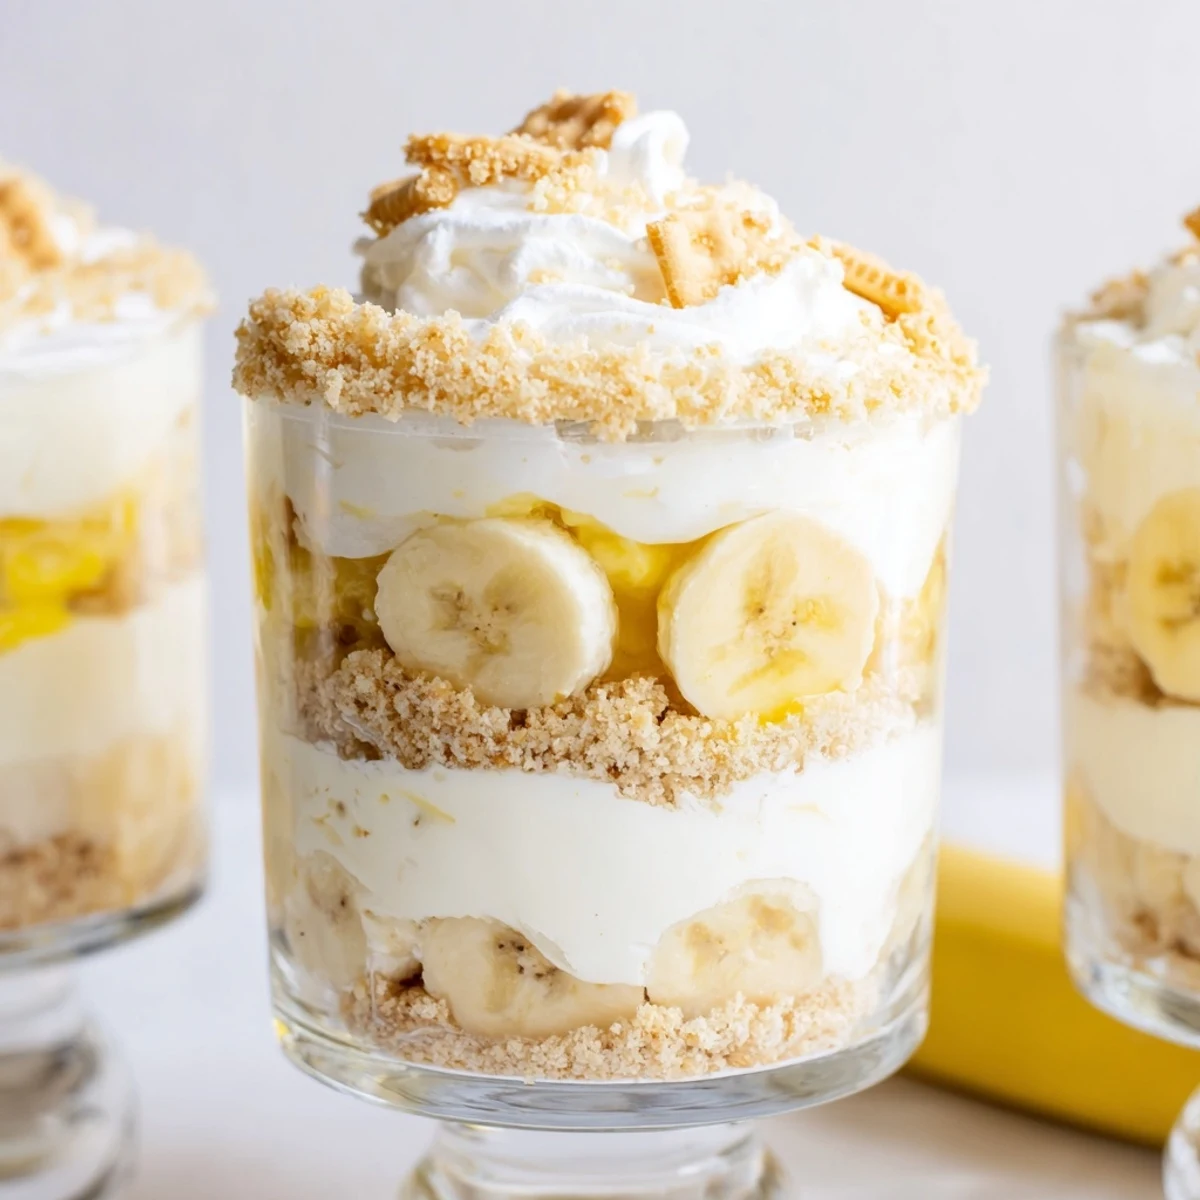
- Spoon half the cheesecake mixture over the crust, add a ring of banana slices, then cover with the banana pudding. Finish with the remaining cheesecake mixture on top, creating those beautiful distinct layers that make these cups so special.
- Add the finishing touches:
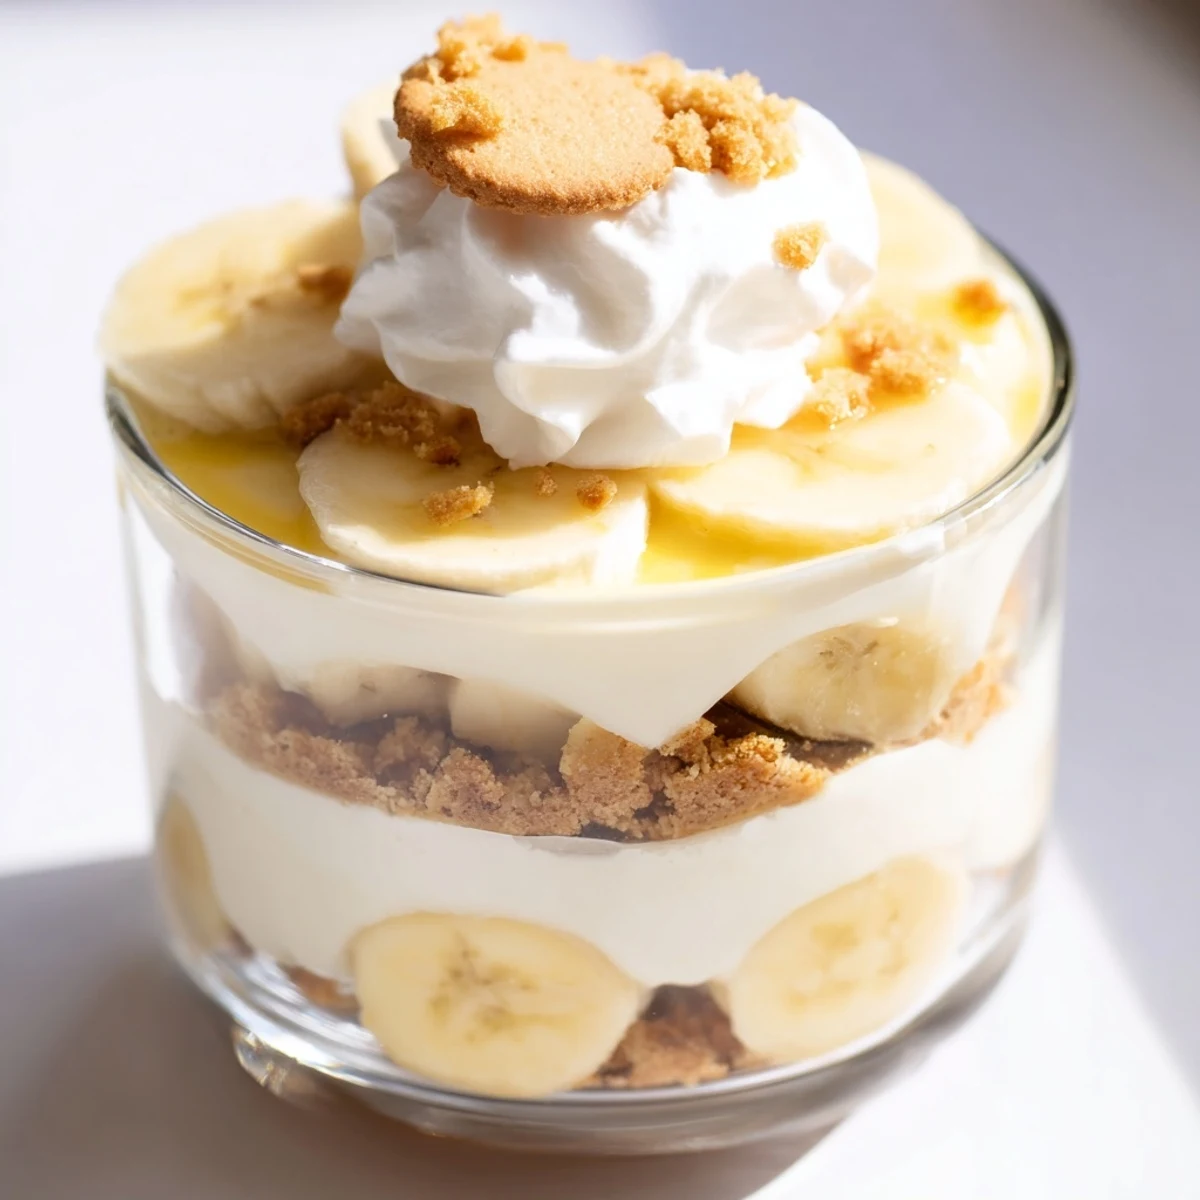
- Sprinkle extra wafer crumbs on top, arrange a few more banana slices, and add a dollop of whipped cream if you are feeling fancy. Cover and let them chill for at least two hours—the hardest part is waiting.
 Pin This
 My friend Sarah claims these cups saved her dinner party when she forgot to make dessert until an hour before guests arrived. Now she keeps vanilla wafers in her pantry just in case.
Making Ahead
You can assemble these cups up to 24 hours in advance, which is exactly the kind of flexibility I need when hosting. Just wait to add the fresh banana slices and final crumb topping until right before serving so everything stays crisp and vibrant.
Serving Suggestions
Clear glass cups or mason jars show off the layers beautifully, but honestly any small vessel will work. These are rich enough that smaller portions are perfect, and individual servings mean no one has to share.
Customization Ideas
A dash of cinnamon in the crust adds warmth that pairs unexpectedly well with the banana. Sometimes I'll drizzle a little caramel on top or swap half the wafers for graham crackers when I want something different.
- Try adding a layer of crushed pineapple between the cheesecake and pudding for a tropical twist
- A sprinkle of sea salt on top highlights all the sweet flavors in the best way
- For extra crunch, toast some wafer crumbs in the oven before sprinkling them on top
 Pin This
 These cups have become the dessert I make when I want people to feel taken care of without spending hours in the kitchen. Sometimes the simplest things are exactly what someone needs.
Recipe FAQs
- → Can I make these cups ahead of time?
-
Yes, prepare these cups up to 24 hours in advance. Store covered in the refrigerator and add fresh banana slices and whipped cream just before serving to prevent browning.
- → How do I prevent bananas from turning brown?
-
Toss sliced bananas lightly in lemon juice before adding to the cups. Alternatively, add banana slices immediately before serving to minimize oxidation time.
- → Can I use homemade pudding instead of instant mix?
-
Yes, homemade vanilla pudding infused with mashed banana works beautifully. Allow the pudding to cool completely before layering to maintain the distinct texture of each layer.
- → What size cups work best for this dessert?
-
Use 6-8 ounce dessert cups, mason jars, or clear glass bowls. The transparent vessels showcase the beautiful layers and make serving easy.
- → Can I substitute the vanilla wafers?
-
Graham crackers, gingersnaps, or buttery shortbread cookies make excellent crust alternatives. Crush about 1 cup of cookies to replace the vanilla wafers.
- → How long should I chill the cups before serving?
-
Refrigerate for at least 2 hours to allow the layers to set properly. This chilling time ensures the cheesecake filling firms up and flavors meld together beautifully.
