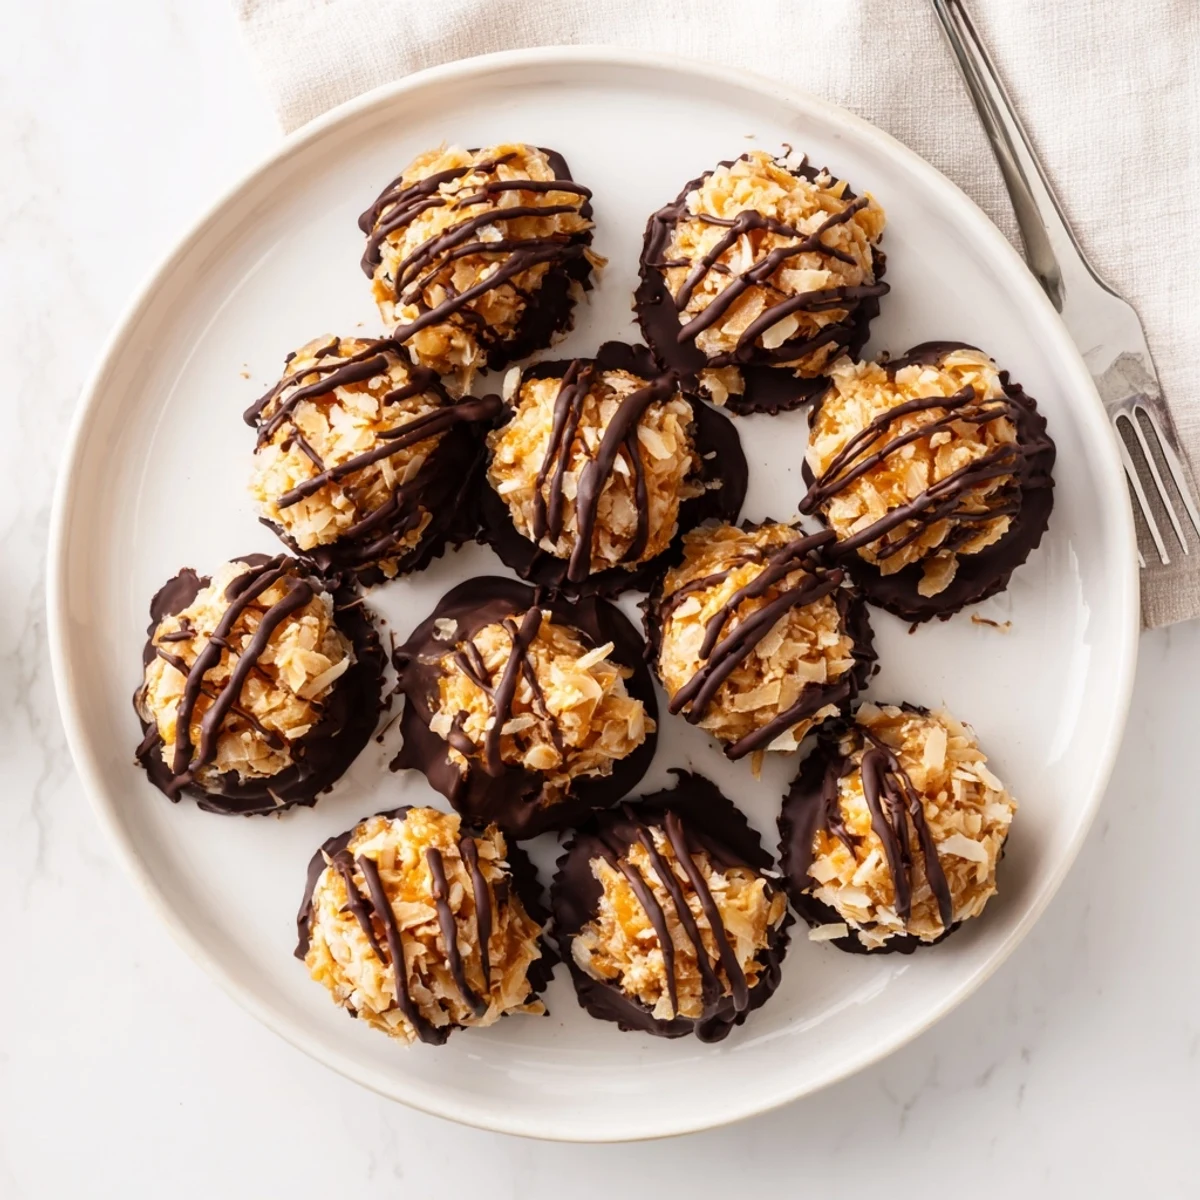
 Pin This
 These no-bake treats capture everything wonderful about classic Samoa cookies—sticky dates form the base, topped with sweet almond butter caramel and toasted coconut, all enrobed in dark chocolate. Each bite delivers that perfect chocolate-coconut-caramel trio we crave.
The process comes together quickly: blend the base ingredients, press into bites, top with the caramel mixture, then dip in melted chocolate. After 30 minutes in the refrigerator, you'll have 16 portable treats perfect for snacking, sharing, or dessert platters.
Customize these bites easily—swap almond flour for oat flour to make them nut-free, or try cashew butter instead of almond butter. The result is always a rich, satisfying treat that feels indulgent while being made with whole ingredients.
My college roommate Sam (short for Samantha, not the cookie) would buy a box of Samoas every Sunday night and we'd split them while studying. Years later, I tried recreating that caramel-coconut-chocolate magic from scratch. The first attempt was a sticky disaster that ended up all over my hair somehow. These little bites became the redemption story.
Last summer I made these for a patio gathering and my friend Sarah literally stopped mid conversation to ask what was in her mouth. She doesnt even like coconut but ate four of them. Now theyre the most requested thing at every get together and I always double the recipe because one batch vanishes in minutes.
Ingredients
- Pitted dates: These natural sweeteners create the sticky base that holds everything together without refined sugar
- Unsweetened shredded coconut: Toast half of it for that caramel layer to bring out a nutty depth flavor
- Almond flour: Provides structure and a subtle buttery taste that complements the chocolate perfectly
- Cocoa powder: A little goes a long way to mimic the chocolate cookie part of the original
- Creamy almond butter: Creates the luscious caramel texture when blended with maple syrup
- Dark chocolate: The finishing touch that makes these feel indulgent and complete
Instructions
- Prep your workspace:
- Line a baking sheet with parchment paper before you start because the mixture gets sticky fast and you will thank yourself later
- Make the chocolate base:
- Pulse everything in your food processor until it sticks together when squeezed it should look like crumbly brownie dough
- Shape the bites:
- Roll tablespoons into balls then flatten them slightly into little patties about the size of a cookie
- Create the caramel:
- Whisk the almond butter and maple syrup until silky smooth then fold in your toasted coconut
- Assemble:
- Top each base with a generous spoonful of the caramel mixture and press gently so it stays put
- Chocolate moment:
- Melt the dark chocolate with coconut oil until glossy then dip each bite halfway and drizzle the rest over the top
- Set and serve:
- Let them chill for 30 minutes until firm then try not to eat them all at once
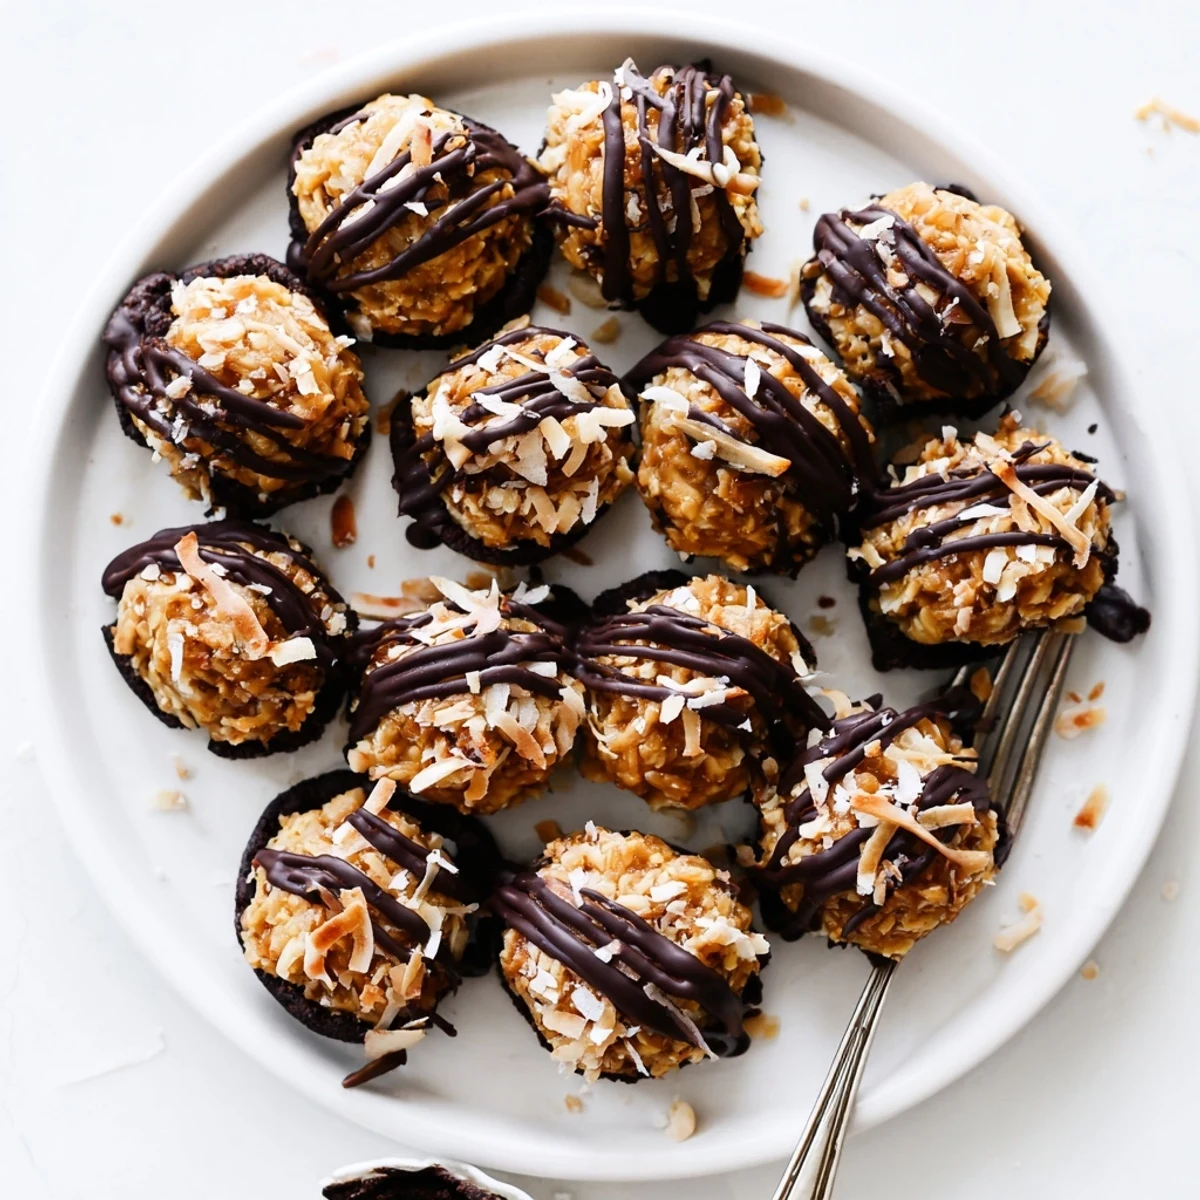 Pin This
 My three year old niece helped me make these last Christmas and she was so proud she told everyone at dinner that she was a chef. Her little hands were perfect for rolling the balls even if she ate more coconut than made it into the bowl. Now every time I make them I think of her chocolate smeared face and how food becomes memory before it even hits your mouth.
Make Ahead Magic
I always keep a batch in the freezer for unexpected cravings or when friends drop by. They thaw in about 10 minutes on the counter and nobody ever suspects they werent made fresh that day. The texture stays perfect and honestly I think they taste even better cold.
Coconut Secrets
Not all shredded coconut is created despite what the bags look like. The fine shred creates the best texture in the base while larger flakes work beautifully for the toasted topping. Do not use sweetened baking coconut unless you want these to taste like candy overload. The natural sweetness from dates is plenty.
Perfect Pairings
These bites are incredible with a morning coffee or afternoon tea. The bitter coffee balances the sweet caramel in ways that will ruin you for regular cookies. They also pair beautifully with vanilla ice cream if you want to go full dessert mode.
- Try them with an oat milk latte for extra richness
- Crumbled over vanilla yogurt feels like having dessert for breakfast
- One bite with a cup of peppermint tea is surprisingly perfect
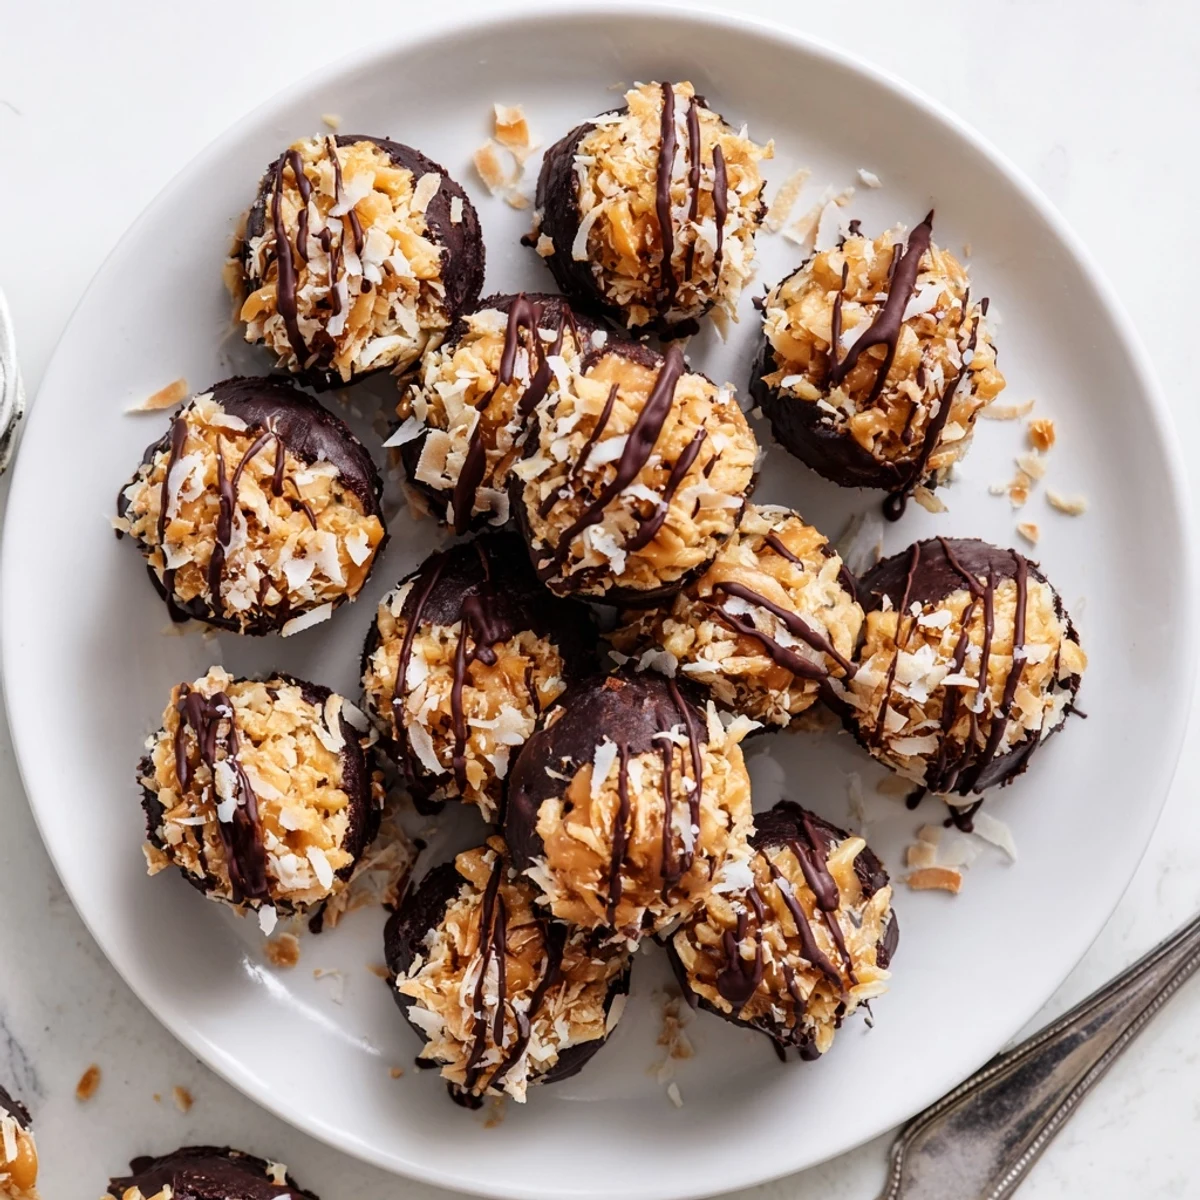 Pin This
 Hope these bring you as much joy as they have brought to my kitchen and the people I love sharing them with.
Recipe FAQs
- → How long do these keep in the refrigerator?
-
Store these bites in an airtight container in the refrigerator for up to 2 weeks. The chocolate coating helps them stay fresh, and the cold temperature keeps the texture perfectly firm.
- → Can I freeze these bites?
-
Yes, these freeze beautifully for up to 3 months. Place them in a single layer on a baking sheet to freeze initially, then transfer to a freezer-safe container. Thaw in the refrigerator for 30 minutes before serving.
- → What can I use instead of almond butter?
-
Cashew butter, peanut butter, or sunflower seed butter all work wonderfully in the caramel layer. Each brings a slightly different flavor profile while maintaining that creamy, sticky texture needed for the topping.
- → Do I need to toast the coconut for the caramel layer?
-
While not strictly necessary, toasting the coconut adds a wonderful nutty flavor and golden color to the caramel layer. Simply spread coconut on a baking sheet at 350°F for 5-7 minutes, stirring occasionally until golden.
- → Can I make these without a food processor?
-
The food processor makes quick work of blending the sticky date base, but you can finely chop dates by hand and mix with the other ingredients in a bowl. The texture will be slightly chunkier but still delicious.
- → What type of chocolate works best for coating?
-
Dark chocolate with 60-70% cocoa creates the best contrast to the sweet caramel and coconut. The coconut oil helps the chocolate set properly and gives it a nice snap when you bite into it.
