 Pin This
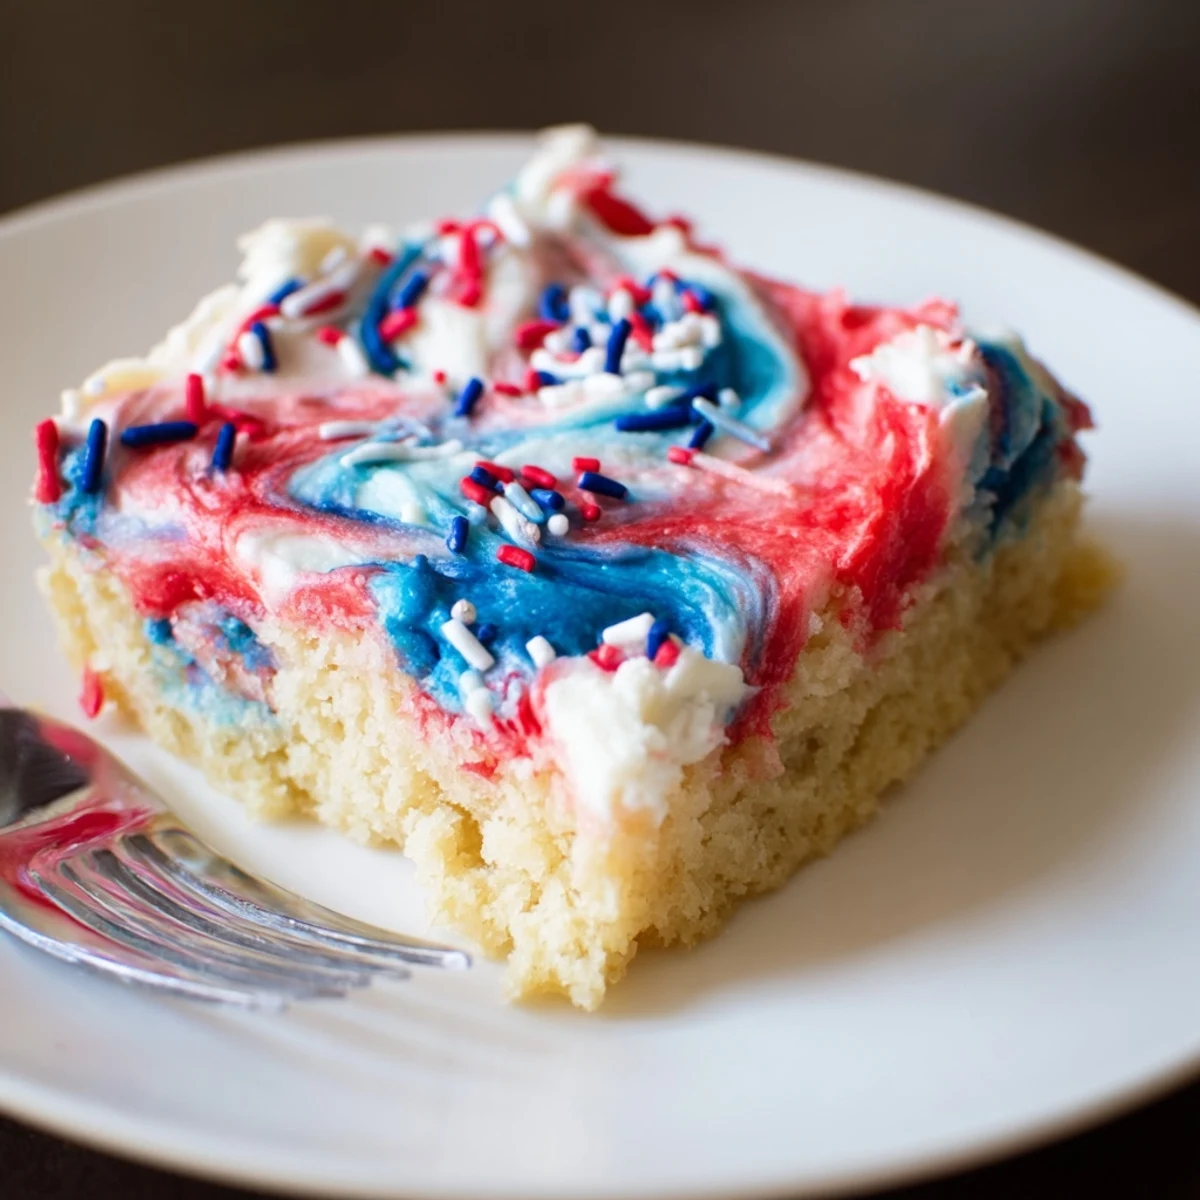
 These patriotic sugar cookie bars yield 24 soft, buttery squares baked in a 9"x13" pan. Dough is made by creaming butter and sugar, adding eggs and vanilla, then folding in flour, baking powder, and salt. Bake 18–22 minutes and cool fully. Beat a simple buttercream, divide into three bowls, tint red and blue, then swirl or section the frosting and top with red, white, and blue sprinkles. Store airtight at room temperature up to 3 days.
The hum of ceiling fans and the sizzle of a backyard grill were in full swing the first afternoon I brought out a pan of these Patriotic Sugar Cookie Bars. With every swipe of frosting and swirl of color, I caught the faint scent of vanilla and butter drifting alongside the laughter of my family rooting for teams in a fiercely competitive water balloon toss. Something about transforming classic sugar cookies into a batch of brightly frosted bars made the holiday feel instantly more festive, simple, and stress-free. Honestly, it was impossible not to smile once red, white, and blue sprinkles started scattering everywhere.
Last July, while my neighbor Trish and I took turns sneaking tiny spoonfuls of frosting straight from the bowl, her five-year-old ended up in charge of sprinkle distribution—which, needless to say, was extremely generous. It turned an ordinary baking session into a sweet, sticky display of freedom that may have involved more giggles than actual decorating prowess. I credit those chaotic stripes and swirls for kickstarting an enthusiastic debate about the best way to slice cookie bars: neat squares or wild, jagged diamonds. Either way, not a crumb survived the fireworks.
Ingredients
- Unsalted butter: Using softened butter makes it easy to achieve that fluffy creamed texture for both dough and frosting; leave it out while you gather the rest of your ingredients.
- Granulated sugar: Don't skimp since its balance with the butter creates the signature tender crumb that makes a sugar cookie so nostalgic.
- Eggs: Room temperature eggs blend more smoothly, which I learned keeps the bars soft and even.
- Pure vanilla extract: This is the backbone of all gentle, warm cookie flavor—a splash more doesn’t hurt if you love vanilla as much as I do.
- All-purpose flour: Always spoon and level your flour rather than scooping, to avoid dry bars (trust me—I learned the hard way).
- Baking powder: This gives the cookies lift without making them cakey.
- Salt: Only a pinch, but absolutely necessary to balance the sweetness and let all the flavors sing.
- Powdered sugar: Sifted for smooth, dreamy frosting without any lumps.
- Heavy cream or milk: Start slow, add by the tablespoon, and adjust to get perfectly spreadable (not runny) frosting.
- Red and blue gel food coloring: Gel offers vibrant color without watering down your frosting.
- Red, white, and blue sprinkles: The finishing touch for maximum celebration; star-shaped ones make everything instantly more festive.
Instructions
- Prep your pan:
- Grab a 9x13 baking pan and line it with parchment paper so the bars lift right out—no stuck edges here.
- Cream the base:
- Beat the butter and sugar until it turns pale and fluffy, almost like soft clouds, then take a second to admire the transformation.
- Add eggs and vanilla:
- Mix in eggs one at a time and the vanilla, watching the batter become extra smooth and glossy.
- Blend the dries:
- Whisk flour, baking powder, and salt in a separate bowl so everything gets evenly dispersed, then slowly combine with the wet ingredients just until the dough pulls together.
- Spread and bake:
- Smooth the dough evenly into the pan with a spatula, pressing it gently into the corners; bake until just golden at the edges and barely set in the center, about 18-22 minutes.
- Cool completely:
- Let the entire pan cool on a rack since patience here means the frosting won’t melt off (no matter how tempting it smells).
- Whip the frosting:
- Beat butter for a minute, then gradually add powdered sugar and vanilla, drizzling in heavy cream until the mixture turns creamy and billowy—give it an extra whip for maximum fluff.
- Divide and tint:
- Separate the frosting into three bowls and tint two with red and blue gel coloring; leave the third white, then get creative with your swirling or striping.
- Decorate with flair:
- Dollop spoonfuls of each colored frosting across the cooled bars and use an offset spatula to swirl a festive marbled pattern; shower on the sprinkles right away so they stick.
- Slice and serve:
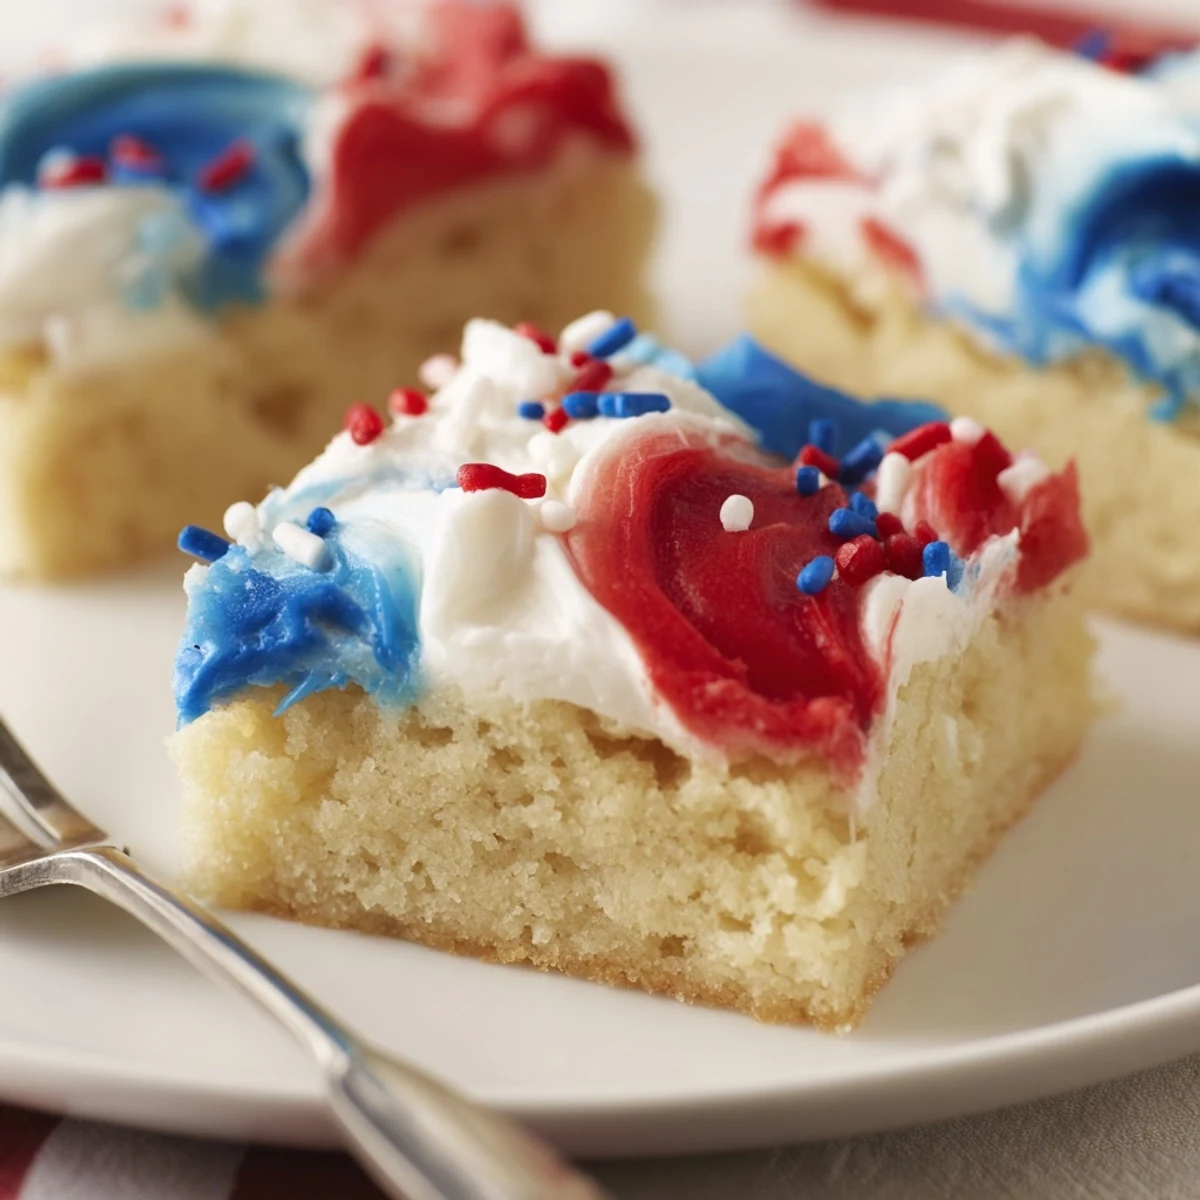
- Cut the bars into tidy squares or go rogue for jagged diamond shapes, then stack high on a platter for the table.
 Pin This
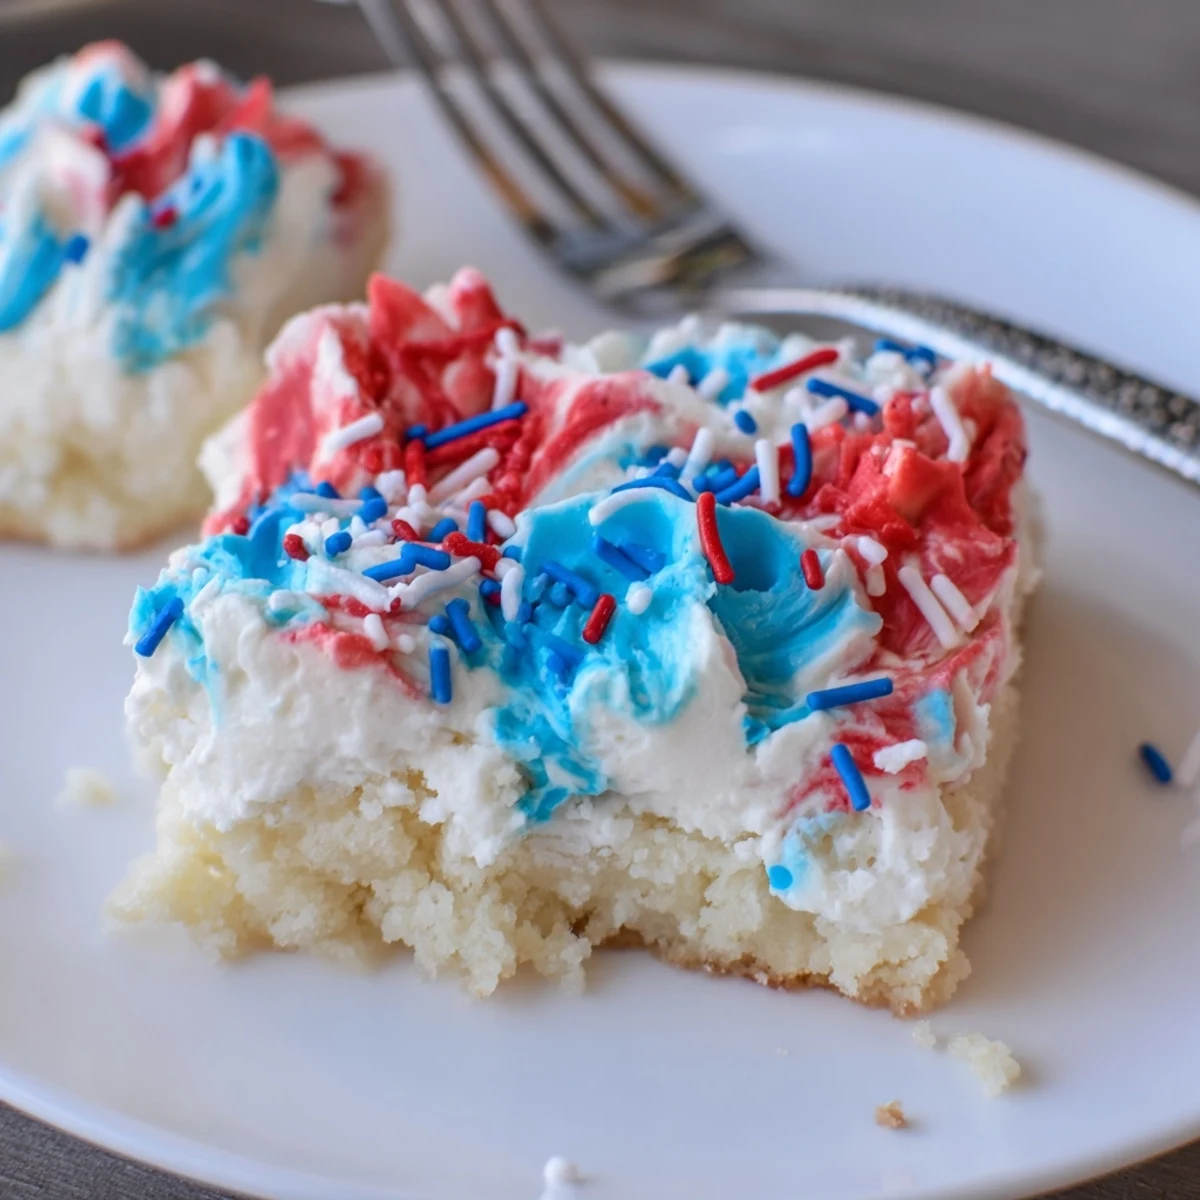
 An afternoon spent in the kitchen became unexpectedly memorable when these bars showed up at the block party: people paused mid-conversation to ask for the recipe between mouthfuls. Someone even jokingly asked if I'd hired a professional decorator, never suspecting a five-year-old had handled the sprinkles.
Get Creative With The Toppings
Sprinkles might be the most fun, but over time I’ve tried everything from edible glitter to crushed freeze-dried raspberries for extra color and crunch. Friends have brought their own jars of jimmies and nonpareils, turning decorating into half the celebration. Everyone’s proudest addition seems to be the tiny edible stars that wink under sunlight.
Making Them Ahead or Storing Leftovers
These sugar cookie bars stay soft for days when stored correctly—the trick is keeping them in an airtight container at room temperature to avoid dryness. If you need to prepare in advance, bake the bars a day ahead, then wait to frost and decorate until a few hours before serving for the freshest look. Leftovers have a habit of disappearing before you need to worry, though a chilled piece makes a quiet midnight treat.
Kitchen Lessons From Summer Parties
I learned that inviting people to help—no matter their age or skill level—always makes dessert more memorable and the kitchen more joyful. Letting go of perfectly neat stripes or uniform sprinkles brought genuine laughter and happy little accidents to each pan. Honestly, nobody remembers if a bar is crooked, but they remember how much fun it was to make.
- Let bars cool fully before frosting for cleaner swirls.
- Use parchment paper for effortless removal and tidy slices.
- Keep plenty of napkins handy: frosting and sprinkles know how to travel.
 Pin This
 I hope these cookie bars add a burst of color and celebration to your Independence Day—or really, any day calling for a sweet, simple treat worth sharing. Enjoy making (and swirling and sprinkling) them just as much as eating them.
Recipe FAQs
- → How long should I bake the bars?
-
Bake in a 350°F (175°C) oven for 18–22 minutes. The edges should be lightly golden and the center set; avoid overbaking to keep the bars tender.
- → How do I keep the bars soft and buttery?
-
Cream the butter and sugar until light, measure flour accurately, and stop mixing once the dry ingredients are incorporated. Remove from the oven as soon as the center is set to retain a soft crumb.
- → What’s the best way to tint the frosting vibrant red and blue?
-
Use concentrated gel food coloring for bright hues without thinning the buttercream. Start with a small amount and build color gradually to avoid overworking the frosting.
- → Can I make these ahead of time?
-
Yes. You can bake and cool the bars, then frost right before serving. Store unfrosted bars tightly wrapped at room temperature for up to 3 days, or freeze uncut for up to 2 months and thaw before frosting.
- → Any tips for getting clean slices?
-
Chill the frosted pan briefly so the buttercream firms slightly, then use a sharp knife wiped clean between cuts. Warm the knife under hot water and dry it for extra-smooth edges.
- → Are there easy ingredient swaps?
-
Stick with unsalted butter for flavor control; you can use milk instead of cream in the frosting, but adjust for consistency. For almond notes, add 1/2 tsp almond extract to the dough.
