 Pin This
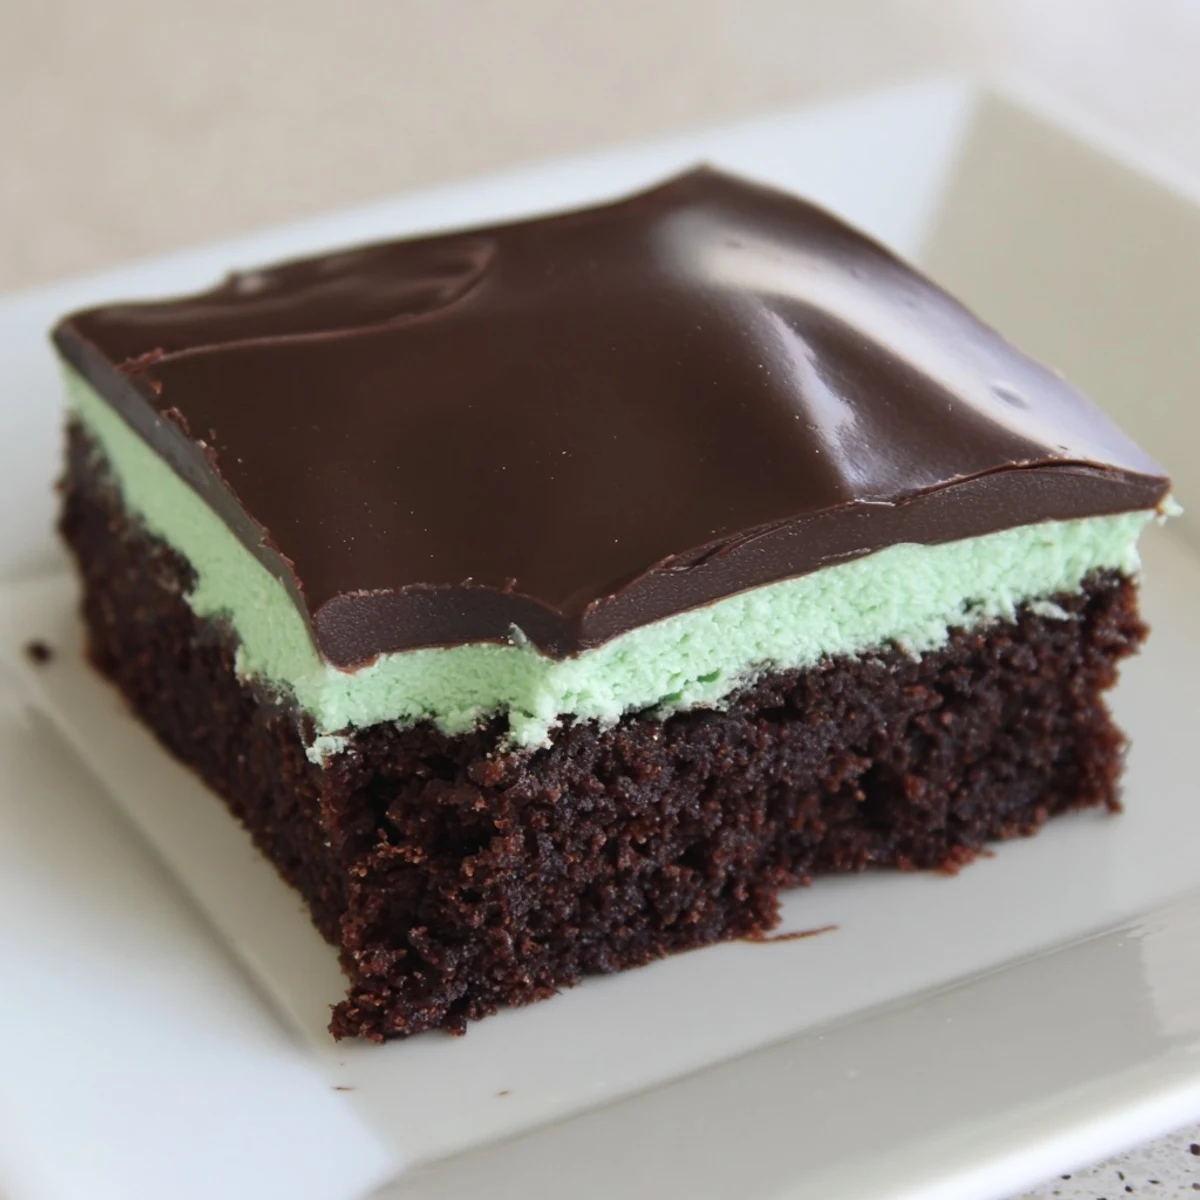
 These brownies offer a rich chocolate base paired with a cool, vibrant mint cream layer, finished with a smooth chocolate ganache. The blend of fudgy texture and refreshing mint makes them ideal for festive occasions or simple indulgence. Preparation involves baking a moist cocoa-infused batter, spreading a creamy mint topping, and pouring a glossy ganache before chilling to set the layers perfectly.
The first time I made these, my kitchen smelled like a chocolate mint factory, which honestly is not a problem I ever expected to complain about. My roommate wandered in with this skeptical look and asked what kind of chemistry experiment I was running now. That skepticism vanished about ten minutes later when she hovered over the pan, watching the glossy ganache set.
I brought a batch to my friend's St. Patrick's Day party last year, fully expecting them to sit next to the store-bought cookies while everyone gravitated toward the safest options. Instead, people kept asking who made the green brownies, and suddenly I was being texted for the recipe at 11 PM. Now they are requested at every gathering.
Ingredients
- Unsalted butter: Use room temperature butter for the mint cream layer so it whips up light and fluffy without any lumps
- Granulated sugar: This creates that crackly top on the brownie layer that everyone fights over
- Large eggs: Room temperature eggs incorporate better into the batter, giving you a smoother, more even texture
- Vanilla extract: Do not skip this even though it seems minor, it balances the intense chocolate and mint flavors
- Unsweetened cocoa powder: Dutch process cocoa gives you that deep, dark chocolate flavor without being bitter
- All-purpose flour: Measure this by spooning it into your measuring cup and leveling off, do not scoop directly or you will pack too much in
- Salt and baking powder: Just enough to lift the chocolate and give structure without making the brownies cakey
- Powdered sugar: Sifting this first prevents any lumpy surprises in your otherwise silky mint cream
- Peppermint extract: Start with a half teaspoon and taste, you can always add more but you cannot take it back
- Green food coloring: Gel coloring gives you a more vibrant shade with less liquid, which keeps your cream layer from getting too soft
- Semi-sweet chocolate chips: These strike the perfect balance for the ganache, sweet enough but still intense
- Heavy cream: This creates that luxurious pouring consistency that sets up into something you can actually cut through cleanly
Instructions
- Get your oven ready:
- Preheat to 350°F and line your pan with parchment, letting the edges hang over like handles because you will thank yourself later
- Mix the brownie batter:
- Melt the butter first, then whisk in the sugar until it is not grainy anymore before adding the eggs, and fold in the dry ingredients just until you do not see dry streaks
- Bake until barely done:
- The center should still have a little wobble and a toothpick should come out with moist crumbs, not clean, because they keep cooking in the pan
- Whip up the mint cream:
- Beat that butter until it is pale and fluffy, then slowly add the powdered sugar while mixing on low so you do not end up with a sugar cloud all over your kitchen
- Add the mint magic:
- Mix in the peppermint extract and food coloring, tasting as you go, and remember that the mint flavor gets stronger as it sits
- Spread and chill:
- Drop dollops of the mint cream over the cooled brownie and gently spread to the edges, then pop the whole pan in the fridge for at least 30 minutes
- Make the ganache:
- Heat the cream until it is just starting to bubble around the edges, pour it over the chocolate chips, and literally walk away for two minutes before stirring
- Finish and chill again:
- Pour that glossy ganache over the mint layer and tilt the pan to spread it evenly, then chill until everything is firm enough to cut cleanly
 Pin This
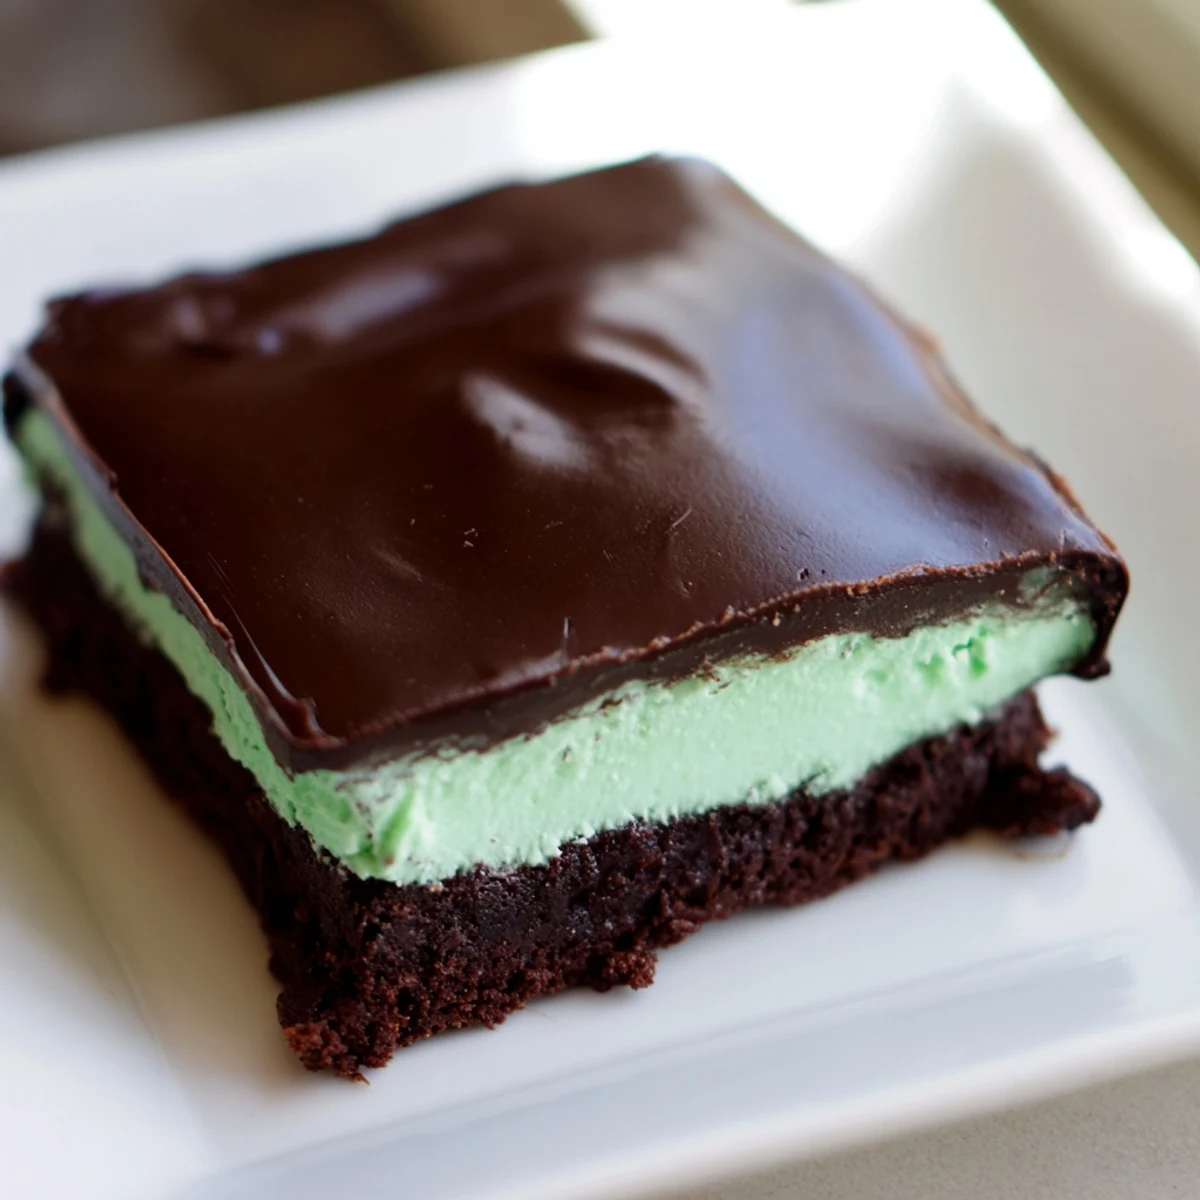
 My niece helped me make these last Christmas, and she took the green food coloring job very seriously, turning the mint cream the most vibrant shade of spring green I have ever seen. We ate the uneven corner pieces while they were still slightly warm and she declared that this was the best thing she had ever made, even though she mostly just supervised the coloring part.
Making Them Ahead
You can make the brownie base a day ahead and keep it wrapped at room temperature, then add the mint and ganache layers the next day. The whole assembled brownie keeps beautifully in the fridge for up to three days, but the texture is best if you let them sit at room temperature for about 15 minutes before serving.
Getting The Layers Right
The secret to clean layers is patience, which I admit is not my strong suit when chocolate is involved. I have learned that rushing the cooling step results in the mint cream melting into the brownie, which still tastes good but looks like a mint chocolate swamp instead of the layered masterpiece you are going for.
Serving And Storing
Cut these into small squares because they are surprisingly rich and people will want to try multiple flavors. Store them in the fridge if the weather is warm or if your kitchen runs hot, otherwise they are fine on the counter for a day or two in an airtight container.
- Use a sharp knife and run it under hot water for the cleanest cuts
- Place the whole pan in the freezer for 15 minutes before slicing if the ganache is still too soft
- These freeze exceptionally well, just wrap individual portions in plastic and thaw overnight
 Pin This
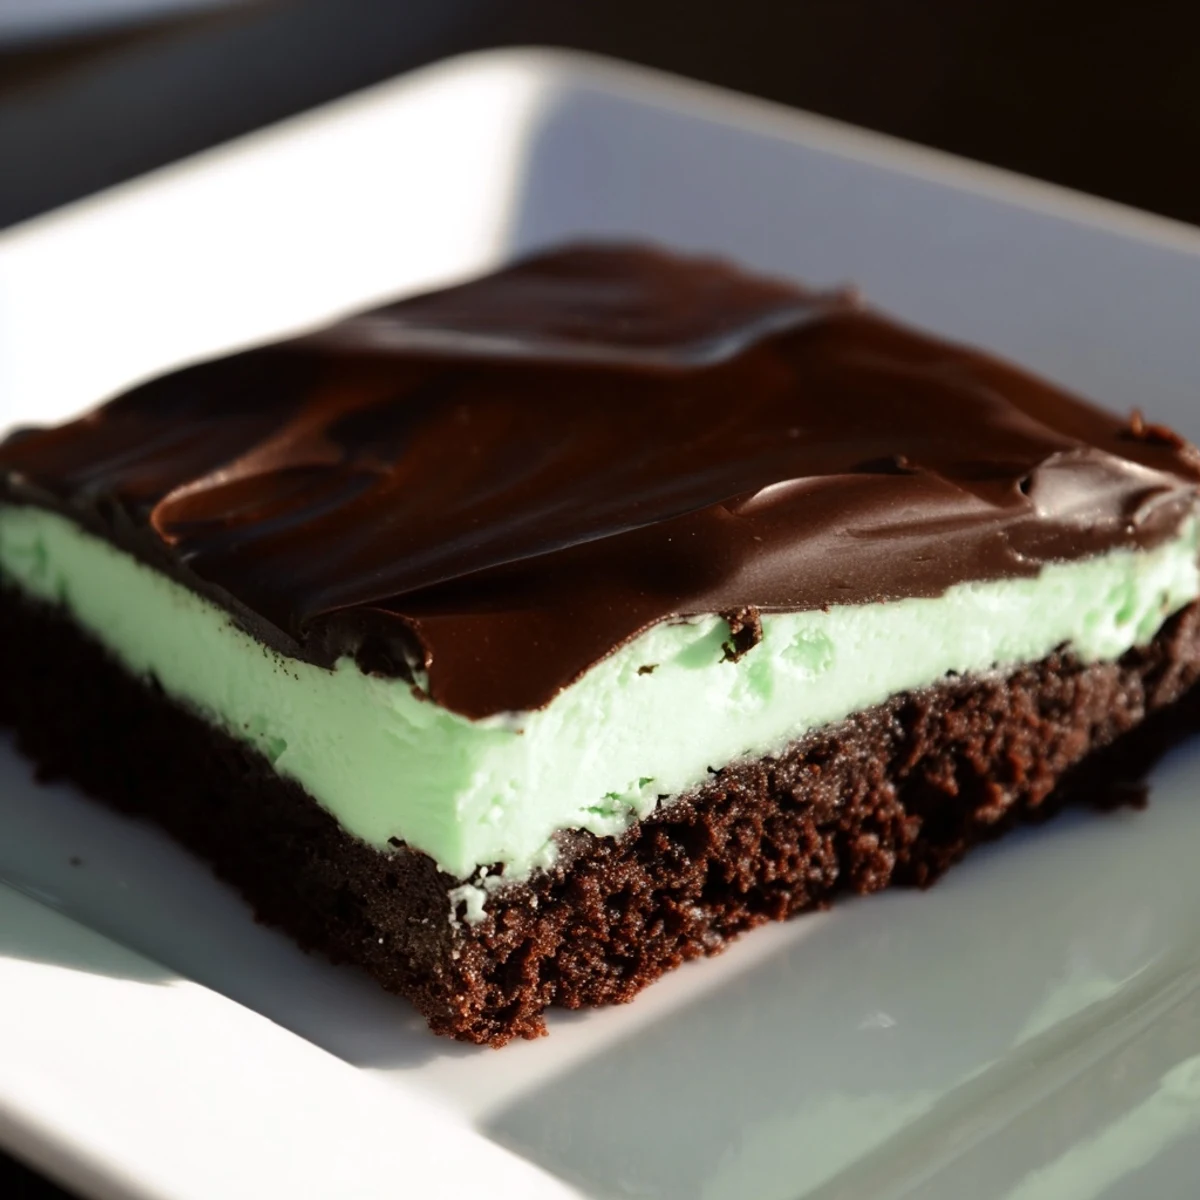
 These have become my go-to when I need something that feels special but does not require me to be a pastry chef to pull off. Plus, watching people's faces when they bite through that chocolate ganache into the cool mint layer never gets old.
Recipe FAQs
- → How do I achieve the mint flavor in the cream layer?
-
Use peppermint extract combined with powdered sugar and softened butter to create a smooth, flavorful mint cream. Adjust extract quantity to your taste.
- → What is the best way to get a glossy ganache topping?
-
Heat the cream until just simmering, pour over chocolate chips and butter, then stir gently until completely smooth and shiny before pouring over the brownies.
- → Can I prepare these brownies in advance?
-
Yes, chilling the layered brownies for at least an hour allows flavors to meld and the ganache to set, making them easier to slice and serve.
- → What texture should the brownie base have?
-
The base should be moist and fudgy, with a slight crackly top, achieved by carefully mixing cocoa powder and baking just until a toothpick comes out with moist crumbs.
- → Are there any tips for vibrant green mint cream?
-
Use gel-based green food coloring for a bright shade without altering the cream's consistency or flavor.
- → Can I customize the mint layer?
-
Yes, adding finely chopped mint chocolate or adjusting milk amount can tweak texture and mint intensity to your liking.
