 Pin This
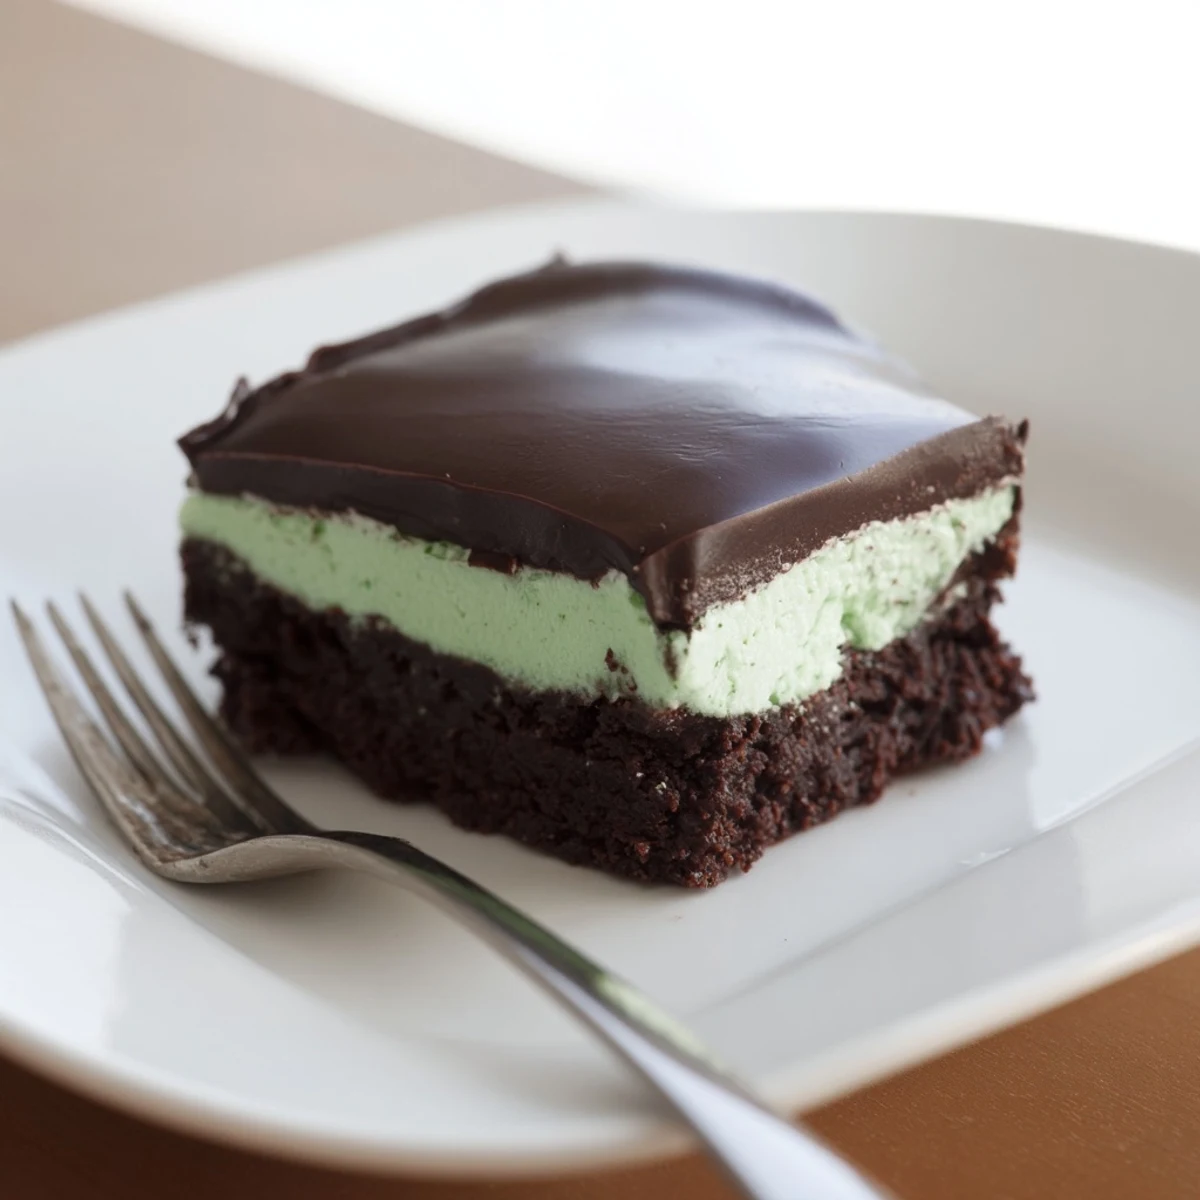
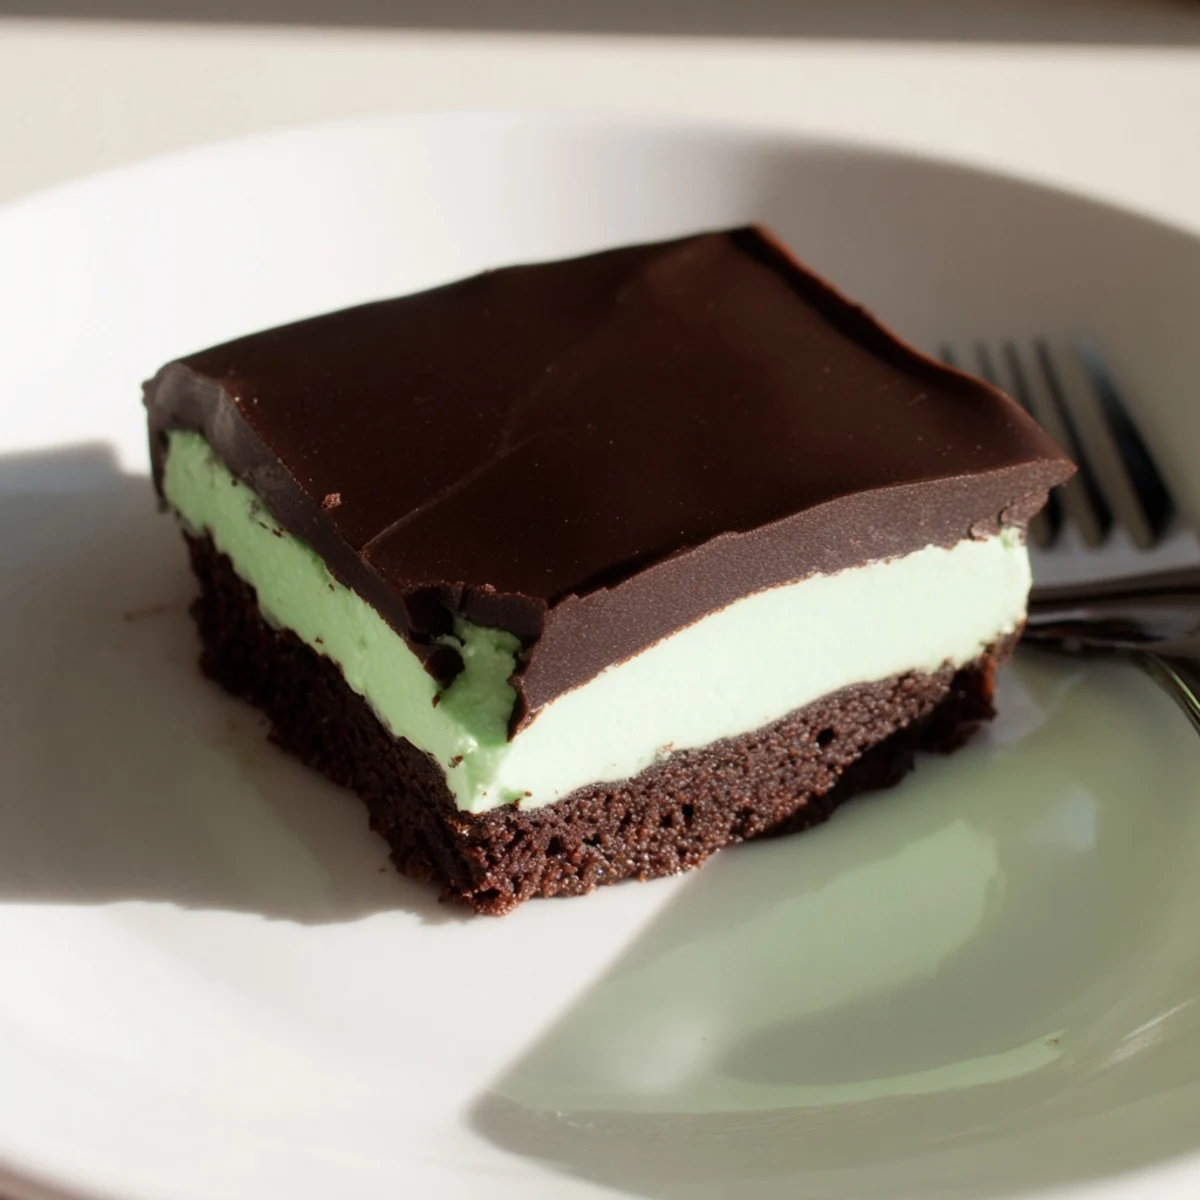
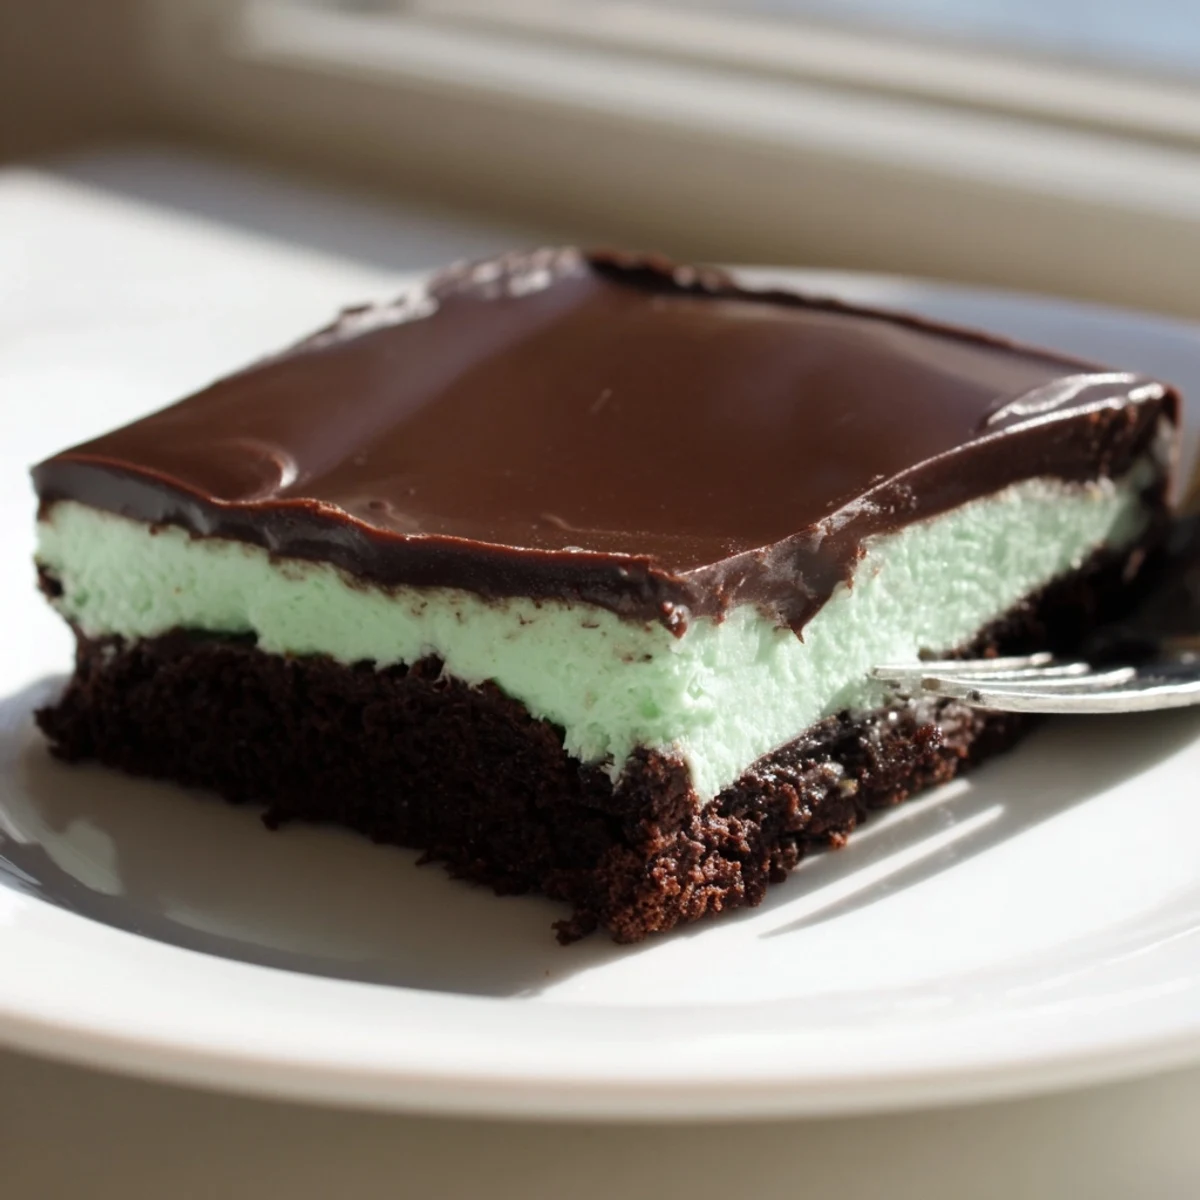
 Enjoy a decadent treat featuring rich, fudgy brownies topped with a refreshing mint cream layer and a silky chocolate ganache. This dessert balances the deep chocolate flavor with cool peppermint notes, creating a festive delight ideal for gatherings or any chocolate-mint craving. The process includes baking the dense brownie base, spreading a smooth mint layer, then finishing with a glossy ganache, chilled to set for clean slicing.
The first time I made these mint brownies, my kitchen smelled like chocolate and memories. It was a rainy Tuesday afternoon and I was craving something that felt like celebration without needing an actual occasion. That cool mint layer hitting the rich fudge base? Absolute magic.
I brought a batch to my friend Sarahs St. Patricks Day party last year. Her husband, who claims he hates mint chocolate anything, ate three squares in ten minutes. Now he asks me specifically when Im making the green brownies again.
Ingredients
- Unsalted butter: Use room temperature butter for the mint layer so it whips up fluffy and light
- Semisweet chocolate chips: Good quality chocolate makes all the difference here since it is the star of the show
- Granulated sugar: This creates that crackly, shiny top on the brownies we all love
- Large eggs: Room temperature eggs incorporate better into the batter for that fudgy texture
- Vanilla extract: Pure vanilla extract enhances the chocolate flavor beautifully
- All purpose flour: Do not overmix this or your brownies will turn cakey instead of fudgy
- Salt: Just enough to balance the sweetness and deepen the chocolate flavor
- Powdered sugar: Sift it first to avoid lumps in your mint cream layer
- Whole milk: Warmed slightly it helps dissolve the powdered sugar smoothly
- Peppermint extract: Start with less than you think, a little goes a long way
- Green food coloring: Gel coloring works best without altering the cream consistency
- Heavy cream: Heat it until it is steaming but not boiling for the silkiest ganache
Instructions
- Preheat your oven and prepare the pan:
- Line your 8x8 inch baking pan with parchment paper, leaving those edges hanging over like handles. Trust me, you will thank yourself later when lifting the brownies out becomes effortless.
- Melt the chocolate and butter:
- Set a heatproof bowl over simmering water and stir the butter and chocolate chips together until smooth. Take your time here, rushing can seize the chocolate and nobody wants that.
- Build the batter:
- Whisk in the sugar until it is dissolved, then add those eggs one at a time like they are VIP guests. Fold in the flour and salt gently, just until you no longer see dry streaks.
- Bake to perfect fudgy consistency:
- Spread the batter evenly and bake for 25 to 30 minutes. You want a toothpick to come out with moist crumbs, not completely clean. That is the secret to fudgy instead of dry.
- Whip up the mint cream:
- Beat that softened butter until it is pale and fluffy. Gradually add the powdered sugar, then the milk and peppermint extract. Add green food coloring drop by drop until you reach that perfect minty shade.
- Layer and chill:
- Spread the mint cream over your completely cooled brownies. Pop the pan in the fridge for at least 30 minutes so this layer sets up nice and firm.
- Create the ganache topping:
- Heat your cream until it is steaming hot, then pour it over the chocolate chips and butter. Let it sit for 2 minutes, then stir until it is glossy and smooth. Pour over the chilled mint layer.
- The final chill and slice:
- Refrigerate for another 30 to 45 minutes until the ganache is set. Use a warm sharp knife for the cleanest cuts, wiping it between slices for those picture perfect squares.
 Pin This
 My daughter now requests these for every school bake sale. There is something about that green peeking through the chocolate that makes people smile before they even take a bite.
Making These Gluten Free
I have made these with a 1 to 1 gluten free flour blend and honestly, no one could tell the difference. The texture stays just as fudgy and the mint layer is naturally gluten free anyway.
Getting That Perfect Green Color
Gel food coloring is my go to because it does not add extra liquid like traditional drops can. Start with a tiny amount and build up, remembering that the color deepens slightly as the cream chills.
Storage and Serving Tips
These brownies actually taste better on day two when the flavors have had time to mingle. Keep them refrigerated and let them sit at room temperature for about 15 minutes before serving for the best texture.
- Warm your knife under hot water and wipe it dry between cuts for those bakery style edges
- Add crushed candy canes on top in December for an extra festive holiday touch
- Cut them small, these are rich and a little goes a long way
 Pin This
 Every time I make these, someone asks for the recipe. That mint chocolate combination is just pure comfort in a pretty little green package.
Recipe FAQs
- → What kind of chocolate is best for the brownie base?
-
Semisweet chocolate chips work well for a balanced sweetness and rich chocolate flavor in the brownie base.
- → How do I achieve the mint cream’s green color?
-
Add a few drops of green food coloring gradually to the mint cream until you reach the desired shade.
- → Can I make these without dairy?
-
To make a dairy-free version, substitute butter and heavy cream with plant-based alternatives like coconut oil and coconut cream.
- → What’s the best way to get clean cuts on the brownies?
-
Use a sharp knife warmed with hot water before slicing and cut when the ganache is fully chilled and set.
- → Can I add texture on top of the ganache?
-
Yes, crushed peppermint candies or chocolate shavings add a festive crunch and enhance the presentation.
