 Pin This
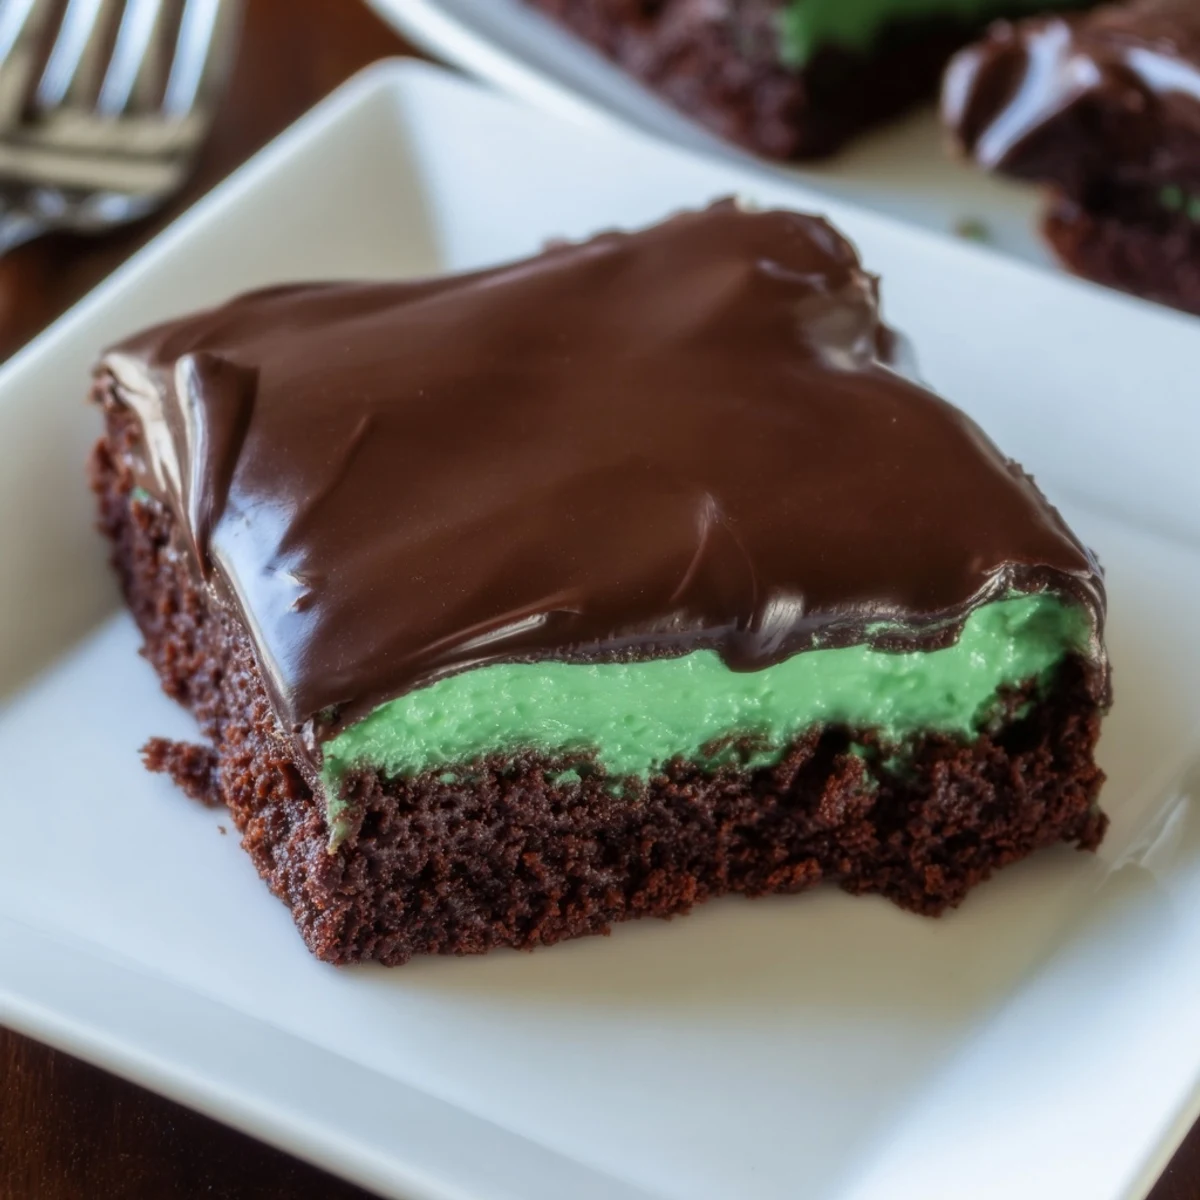
 These shamrock mint brownies offer a rich, fudgy base infused with chocolate and butter. A smooth, creamy mint layer adds a fresh burst of flavor while a glossy chocolate ganache provides a decadent finish. The process involves melting chocolate and butter, folding in dry ingredients gently, and baking to a moist texture. After cooling, the mint cream is spread and chilled before topping with the silky ganache. Ideal for celebrations or satisfying sweet cravings, these brownies balance cool mint and chocolate richness perfectly.
The first time I made these mint brownies, my kitchen smelled like chocolate and peppermint had collided in the best possible way. I was testing recipes for a St. Patricks Day party and honestly couldnt stop sneaking bites of the mint cream layer straight from the bowl. These ended up being the first thing to disappear from the dessert table, with people actually asking if I'd mind sharing the recipe before they'd even finished their last bite.
Last March I brought a batch to my book club and watched my usually reserved friend Sarah close her eyes after the first bite. She later confessed she'd been dreaming about mint and chocolate together for weeks but never attempted making it herself. Now she texts me every time she spots fresh mint at the grocery store, reminding me of that evening when we all sat around picking green flecks out of our teeth and laughing.
Ingredients
- Unsalted butter: Room temperature butter cream into the mint layer like a dream, so don't rush this step or you'll end up with tiny butter lumps
- Semi-sweet chocolate: I've learned that chopping a good quality bar melts more evenly than chocolate chips, which have stabilizers that resist smooth melting
- Granulated sugar: This creates that gorgeous crackly top on brownies when it melts against the hot butter and chocolate mixture
- Large eggs: Let these come to room temperature too—cold eggs can cause the chocolate to seize into a grainy mess that never recovers
- Vanilla extract: Pure vanilla makes a difference here since there are so few ingredients in the brownie base
- All-purpose flour: Don't be tempted to swap in cake flour or these brownies won't have that dense fudgy texture we're after
- Unsweetened cocoa powder: Dutch process cocoa gives a deeper, smoother chocolate flavor that stands up to the bold mint
- Salt: Just enough to make all the flavors pop without making these taste salty
- Softened butter: For the mint layer, this should be so soft you can easily press your finger into it
- Powdered sugar: Sifting this first prevents those tiny white lumps that never quite beat out no matter how long you mix
- Whole milk: Heavy cream makes the mint layer too thick and rich—milk keeps it spreadable and light
- Peppermint extract: Start with less than you think you need because this stuff is potent and can quickly overpower everything else
- Green food coloring: Gel coloring works better than liquid since it won't thin out your frosting
- Heavy cream: For the ganache, don't use anything with less fat content or it won't set properly
Instructions
- Prep your pan:
- Line that 8-inch square pan with parchment, letting the edges hang over like little handles—this makes lifting the whole batch out feel like magic instead of wrestling with stuck corners.
- Melt the base:
- Set your saucepan over the lowest heat possible and melt butter with chopped chocolate, stirring constantly until the mixture looks like dark silk.
- Build the batter:
- Whisk in sugar until it disappears, then beat in eggs one at a time until they're fully incorporated before adding vanilla.
- Add the dry ingredients:
- Sift flour, cocoa, and salt directly into the warm chocolate mixture and fold until just combined—those streaks of flour should vanish but stop the moment they do.
- Bake to fudgy perfection:
- Spread the batter evenly and bake for 25 to 30 minutes until a toothpick emerges with moist crumbs, not wet batter.
- Make the mint cream:
- Beat softened butter until creamy, then gradually add powdered sugar, milk, peppermint, and enough green coloring to reach your desired shade.
- Layer on the mint:
- Spread the mint cream over completely cooled brownies and chill for at least 30 minutes so it firms up enough to hold that chocolate layer.
- Create the ganache:
- Pour hot cream over chopped chocolate and butter, let it sit for exactly 2 minutes, then stir until glossy and smooth.
- Finish with chocolate:
- Spread the ganache over the chilled mint layer and refrigerate for at least an hour until set.
- Clean cuts:
- Use the parchment to lift the whole batch onto a cutting board, then wipe your knife with a damp cloth between every cut for those picture perfect edges.
 Pin This
 My sister requested these for her birthday instead of cake, and watching her carefully choose the corner piece made me realize how special recipes become part of family stories. Now every March she texts me reminding me it's time for our annual mint brownie day, as if I could ever forget.
Getting the Right Mint Balance
I once went overboard with peppermint extract and ended up with brownies that tasted like toothpaste—my husband politely ate two but I could tell he was struggling. Start with half the recommended amount, taste, and add more drop by drop until the mint feels present without being aggressive.
Making These Ahead
These actually improve after sitting in the refrigerator overnight, letting the mint flavor mellow and permeate the brownie layer. I've made them up to three days ahead and they stayed perfectly fresh wrapped tightly in the fridge.
Serving Suggestions
These brownies are rich enough that small squares feel satisfying, which means a single batch stretches further than you'd expect. I like to let them sit at room temperature for about 15 minutes before serving so the chocolate ganache softens slightly.
- A glass of cold milk cuts through the richness beautifully
- Irish coffee pairs surprisingly well with the mint chocolate combo
- Sprinkle with crushed Andes mints right after pouring the ganache for extra minty crunch
 Pin This
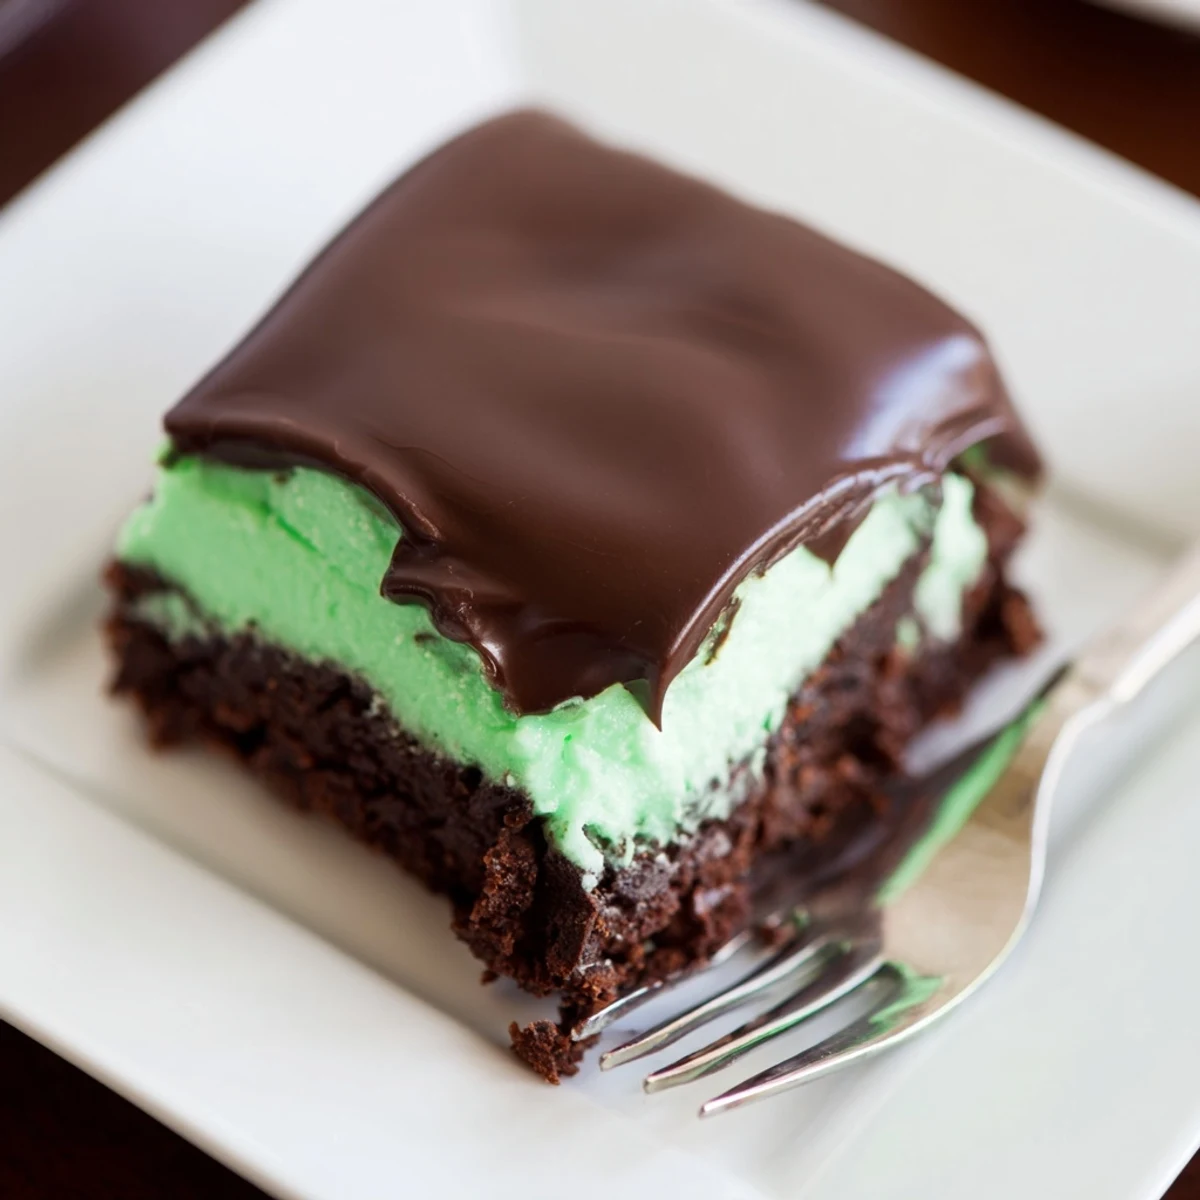
 There's something satisfying about cutting into these and seeing those perfect green and chocolate layers, like you've created something much more complicated than it actually is. Hope these become part of your March traditions too.
Recipe FAQs
- → How do I achieve a fudgy texture for the brownies?
-
Melt the butter and chocolate gently without overheating, then fold in the flour and cocoa just until combined to ensure a moist, fudgy consistency.
- → What gives the mint layer its smooth, creamy texture?
-
Beating softened butter with powdered sugar, milk, and peppermint extract until smooth creates a silky, spreadable mint cream layer.
- → Can I substitute dark chocolate for the ganache?
-
Yes, using dark chocolate in the ganache results in a less sweet, more intense chocolate finish that complements the mint beautifully.
- → How long should the brownies chill before serving?
-
After spreading the mint layer, chill at least 30 minutes, then after adding ganache, chill for another hour to set the layers properly.
- → What is the best way to cut the brownies cleanly?
-
Use a sharp knife and wipe the blade between cuts to maintain clean edges and prevent smearing of the layers.
- → How can I intensify the mint flavor in the layers?
-
Add an extra 1/4 teaspoon of peppermint extract to the mint cream layer for a fresher, stronger mint taste.
