 Pin This
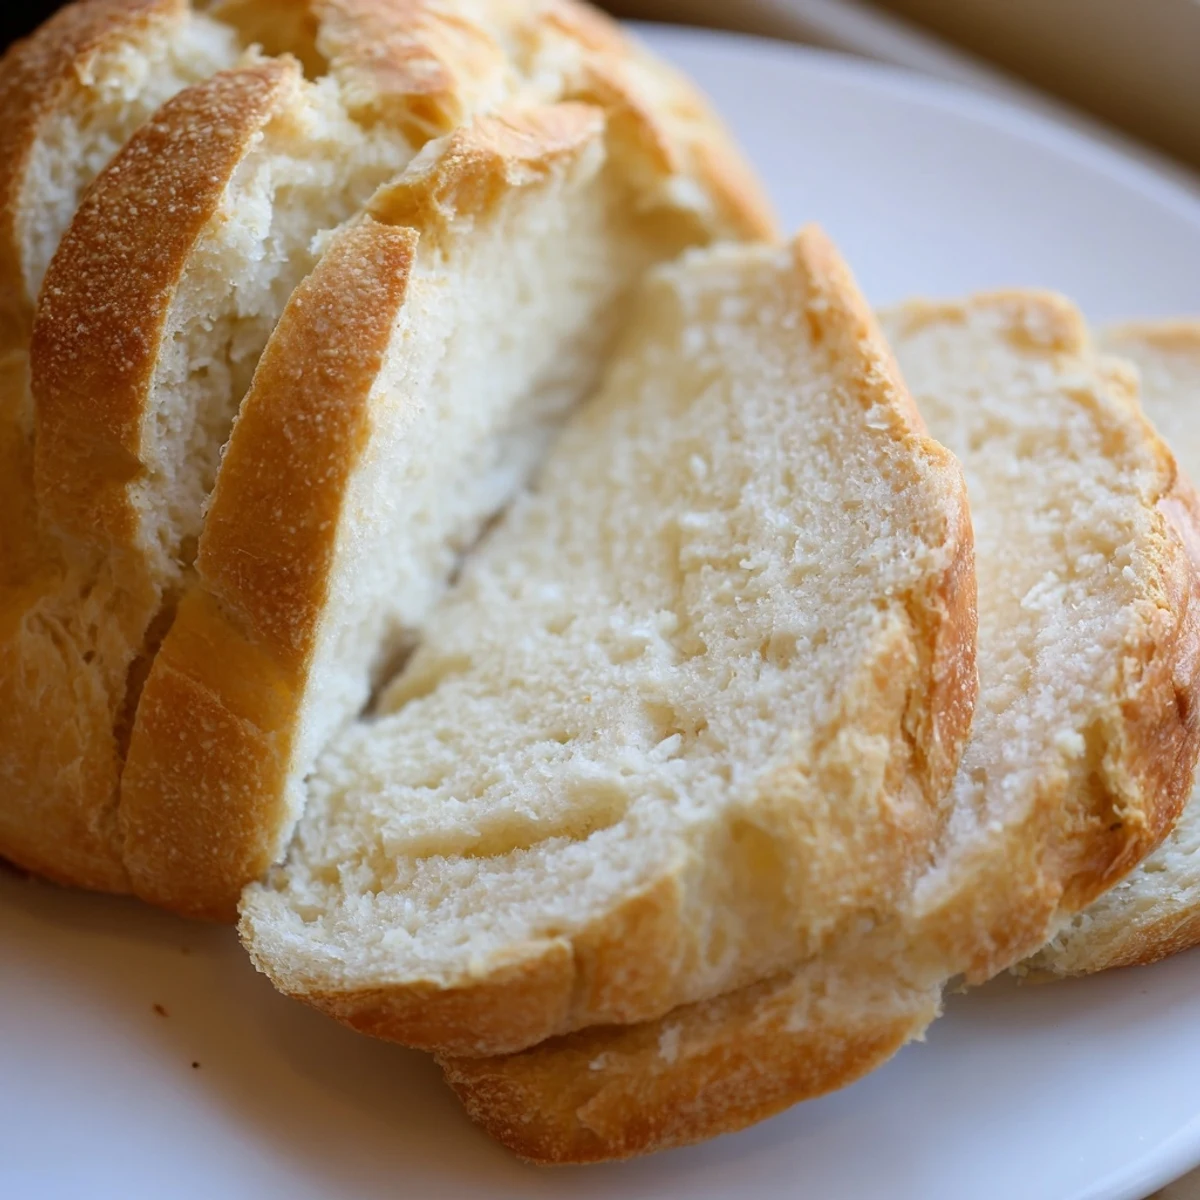
 This skillet-baked method delivers warm, homemade bread without needing an oven. The dough comes together with basic pantry staples and rises in about an hour. Cooked slowly over gentle heat, the bread develops a golden crust while staying tender inside. Ideal for emergency baking, camping trips, or anyone wanting fresh bread without heating up the kitchen.
The smell of fresh bread has this way of making an apartment feel like home, even when everything else is chaos. I discovered this stovetop method during a summer when my oven was broken and I was too stubborn to call the landlord. Now I make it more often than oven bread because there is something deeply satisfying about cooking a loaf on the stove while rain taps against the kitchen window.
My roommate walked in while I was flipping the bread for the first time and stared at me like I was performing kitchen magic. We ate the entire loaf standing at the counter with butter melting into each warm slice and that moment of bread fueled conversation is one of my favorite memories from that apartment.
Ingredients
- All purpose flour: The protein structure here does all the heavy lifting for that soft interior
- Instant yeast: Works quickly and reliably without needing activation first
- Sugar: Just enough to feed the yeast and help browning
- Salt: Essential for flavor and controlling the fermentation
- Olive oil: Keeps the dough tender and helps with that lovely golden crust
- Warm water: Should feel like bath temperature, about 110 degrees F
Instructions
- Mix your dry ingredients:
- Whisk the flour, yeast, sugar, and salt together in a large bowl until everything is evenly distributed
- Bring it together:
- Pour in the warm water and olive oil, stirring with a wooden spoon until you have a shaggy, sticky dough
- Knead until smooth:
- Turn onto a floured surface and knead for about 8 minutes until the dough feels silky and bounces back when you poke it
- Let it rise:
- Place in an oiled bowl, cover with a damp cloth, and find the warmest spot in your kitchen for an hour
- Shape the loaf:
- Gently deflate the dough and form it into a round, tucking the edges underneath for a smooth top
- Prep the pan:
- Coat your skillet with olive oil and place the dough in the center
- First side down:
- Cover tightly and cook over the lowest heat for 15 minutes, checking that the bottom is not burning
- The flip:
- Carefully turn the bread over, cover again, and cook another 12 to 15 minutes until golden and hollow sounding
- Rest before slicing:
- Let cool on a wire rack for at least 15 minutes because cutting into hot bread ruins the texture
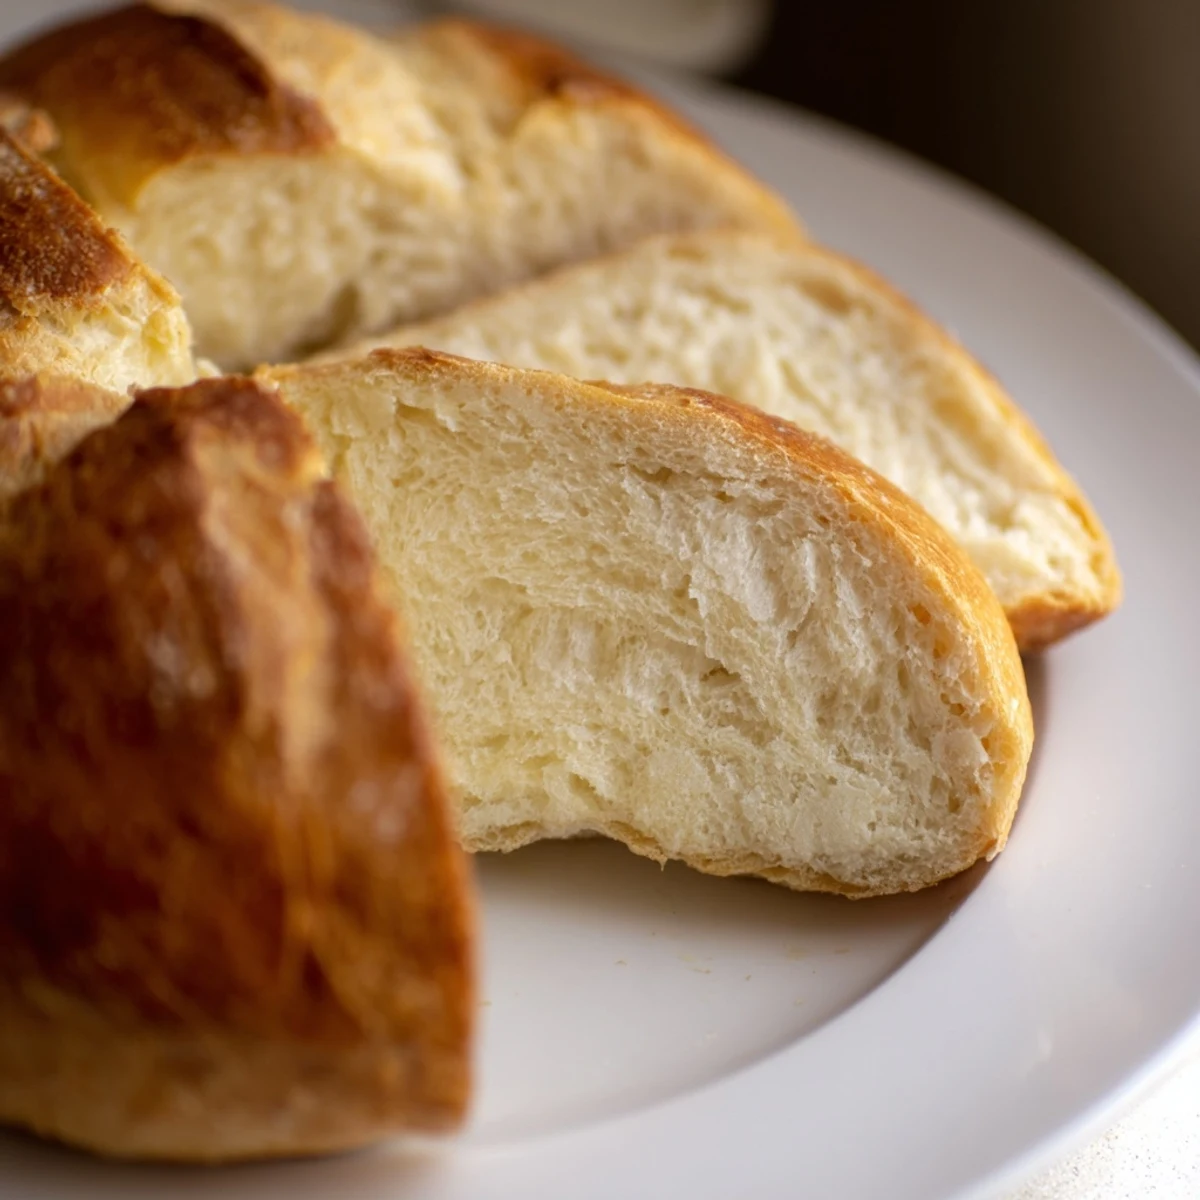 Pin This
 This bread has become my go to when friends are coming over and I want something warm and waiting. The first time I served it at dinner, someone asked if I had secretly bought it from a bakery, which might be the best cooking compliment I have ever received.
Choosing The Right Pan
A heavy bottomed skillet is crucial because it distributes heat evenly and prevents hot spots that will scorch your bread. Cast iron works beautifully, but a good quality stainless steel or nonstick pan will do the job just as well.
Adding Flavor Variations
The basic recipe is perfect on its own, but mixing in dried herbs like rosemary or thyme takes it to another level. I have also added minced garlic or grated parmesan directly into the dough with incredible results.
Serving Suggestions
This bread deserves to be eaten warm, maybe with salted butter or a dish of good olive oil for dipping. It also makes the most amazing toast the next morning, if somehow you have leftovers.
- Try it alongside soups and stews
- Use it for sandwiches with melted cheese
- Cube and toast it for croutons
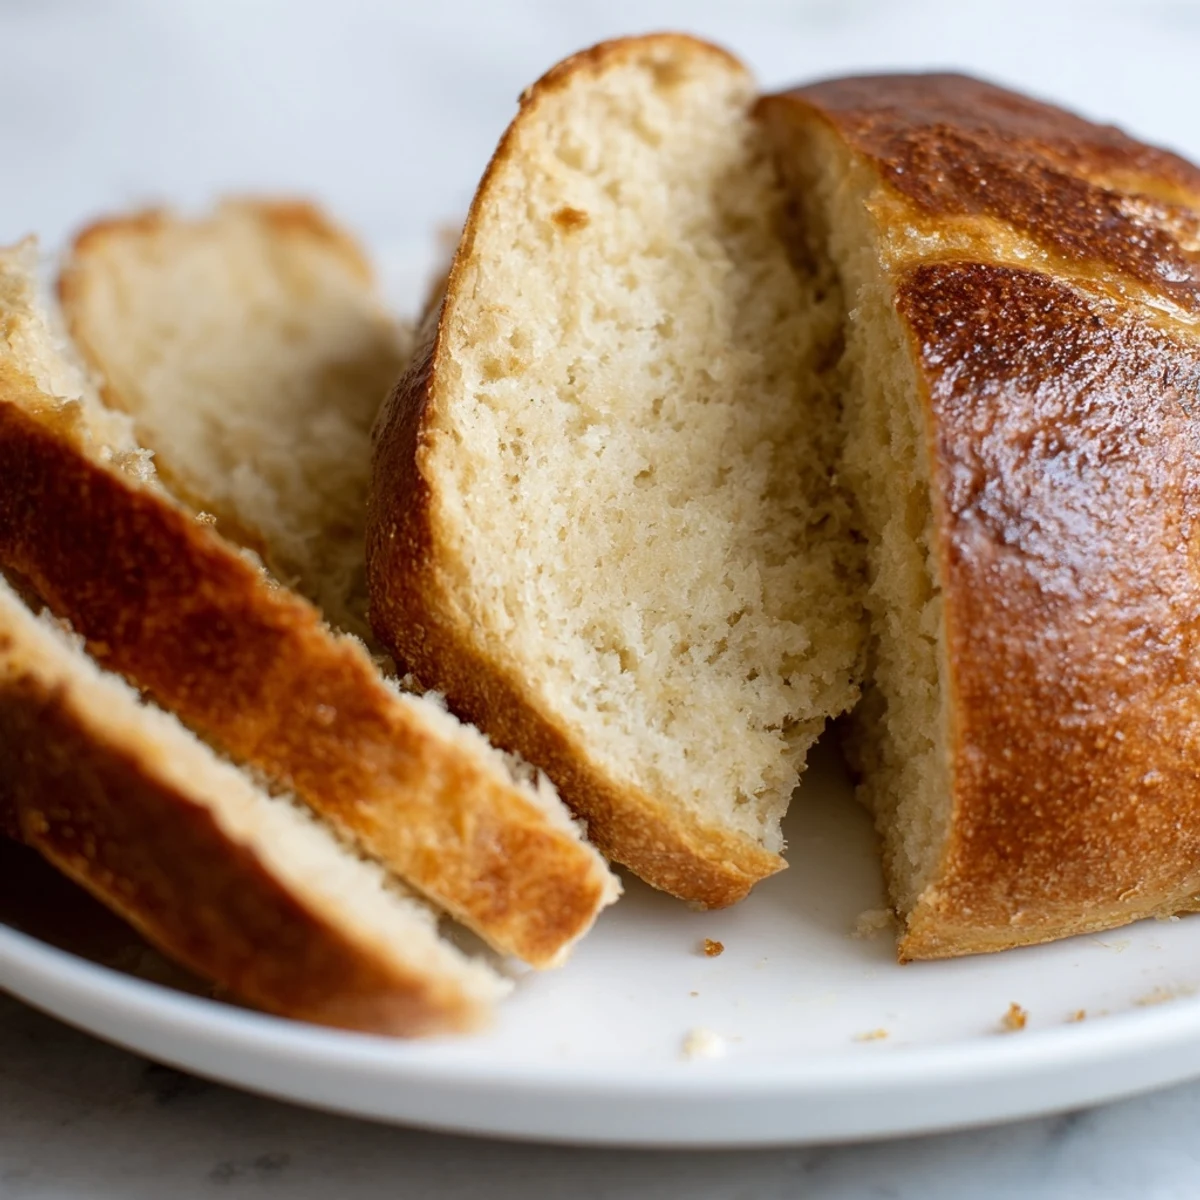 Pin This
 There is something primal about making bread with nothing but a bowl and a pan, connecting you to generations of cooks who made do with whatever they had. Every time I lift that lid and see the golden crust, I feel a little kitchen magic.
Recipe FAQs
- → Why make bread on the stovetop?
-
Perfect for apartments without ovens, summer days when you want to avoid heating the kitchen, or times when you crave fresh bread but can't wait for traditional baking methods.
- → What pan works best for stovetop bread?
-
A heavy-bottomed skillet or cast iron pan with a tight-fitting lid ensures even heat distribution and proper steam retention during the low-and-slow cooking process.
- → How do I know when the bread is done?
-
The finished loaf sounds hollow when tapped and has golden-brown coloring on both sides. An instant thermometer inserted into the center should read at least 190°F.
- → Can I add mix-ins to the dough?
-
Dried herbs like rosemary, thyme, or oregano work beautifully. You can also fold in shredded cheese, garlic powder, or even chopped olives during the kneading stage.
- → Why must the heat be so low?
-
Gentle heat allows the bread to cook through completely without burning the bottom before the interior finishes baking. This mimics the steady, ambient heat of an oven.
- → How should I store stovetop bread?
-
Best enjoyed the same day while warm. Store leftovers in a sealed bag at room temperature and reheat in a dry skillet or toaster for that fresh-baked taste again.
