 Pin This
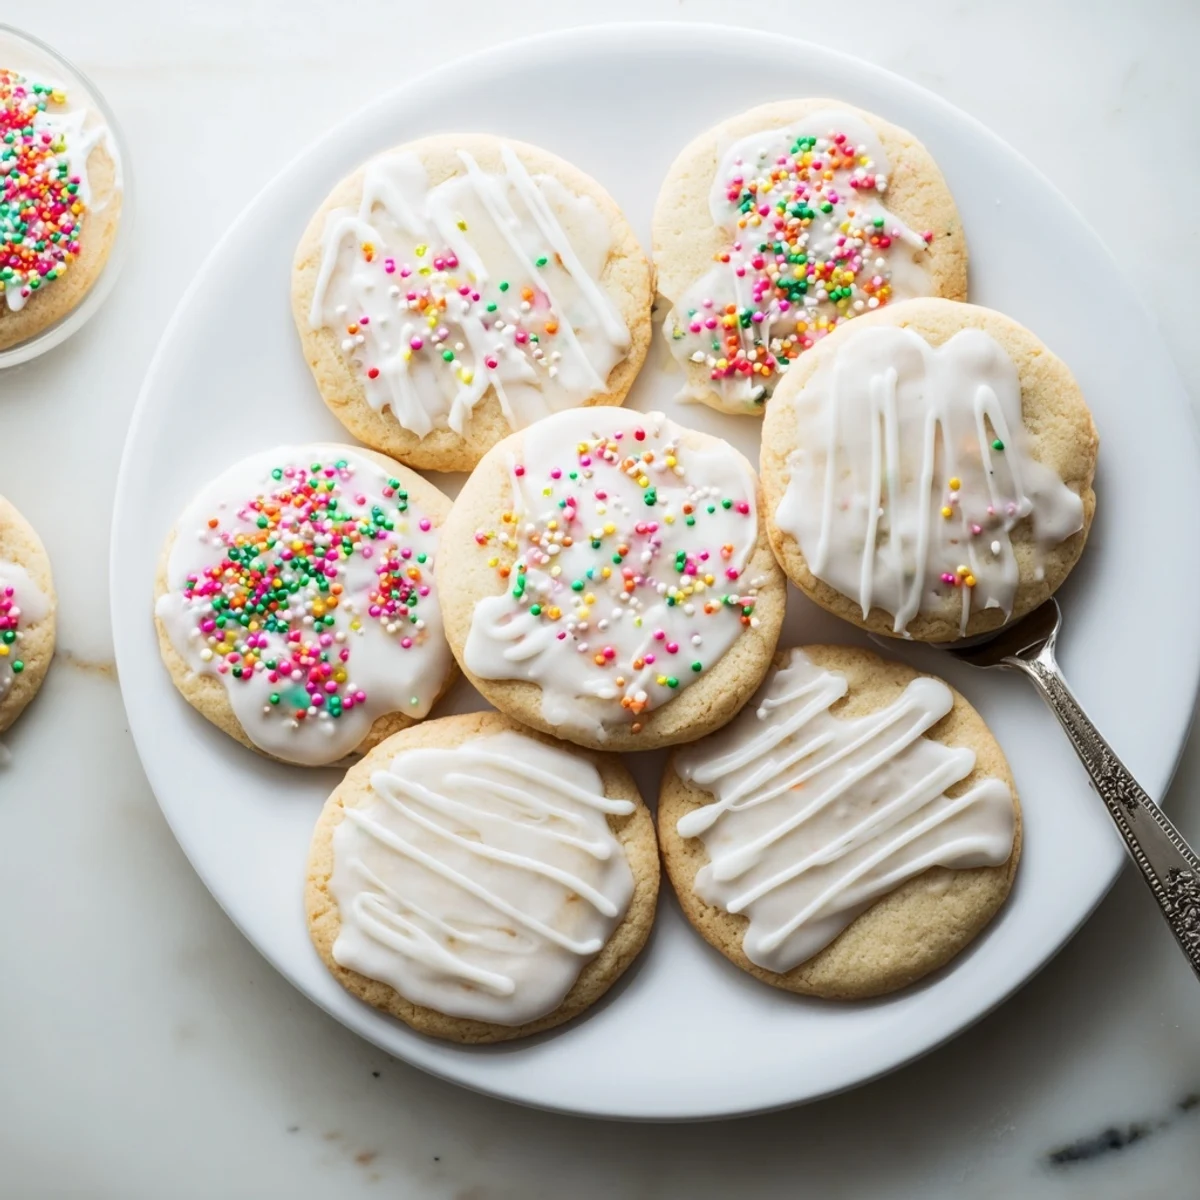
 Craft a professional-quality cookie decoration with this simple icing that achieves a flawless glossy finish. The secret ingredient of light corn syrup creates that smooth, professional sheen while ensuring the coating dries firm enough for stacking and storing. Perfect for holiday treats, birthday celebrations, or everyday cookie decoration, this versatile base can be tinted any color and adjusted for different decorating techniques.
The kitchen counter was covered in cookie disasters before I finally cracked the code on icing. My first attempts looked like melted puddles, then rock hard glass that threatened your teeth. This recipe struck that perfect balance where it spreads like silk but sets up firm enough to stack. Now my kids actually fight over who gets to decorate the cookies instead of just eating them.
Last Christmas, my niece and I spent an entire afternoon decorating cookies with this icing while watching terrible holiday movies. She was so proud of her messy, colorful creations that she insisted we photograph every single one before anyone could eat them. Those photos are still my favorite thing from that whole season.
Ingredients
- 2 cups powdered sugar: Sifting first prevents those frustrating lumps that clog your piping tips and ruin smooth finishes
- 2 to 3 tablespoons milk: Start with less and add gradually, different brands absorb differently
- 1 tablespoon corn syrup: This is the secret ingredient that gives the icing that beautiful glossy shine
- 1/2 teaspoon vanilla extract: Pure extract makes a noticeable difference in depth of flavor
- Food coloring: Gel colors give more vibrant results without thinning the consistency
Instructions
- Mix your base:
- Whisk powdered sugar, 2 tablespoons milk, corn syrup and vanilla until completely smooth and glossy
- Find your consistency:
- Add remaining milk 1/2 teaspoon at a time until thick but pourable, it should flow off the spoon but hold its shape briefly
- Color if desired:
- Divide into bowls and stir in food coloring drop by drop, remembering colors deepen slightly as they dry
- Decorate immediately:
- Work quickly while icing is fresh, dipping cookies or piping designs before it begins to set
- Let it set:
- Leave cookies undisturbed at room temperature for at least 4 hours until completely dry to the touch
 Pin This
 My daughter made these for her class Valentine party and came home beaming because even the kids who never eat gluten free cookies raved about them. Watching her gain confidence in the kitchen through something as simple as perfect icing has been such a gift.
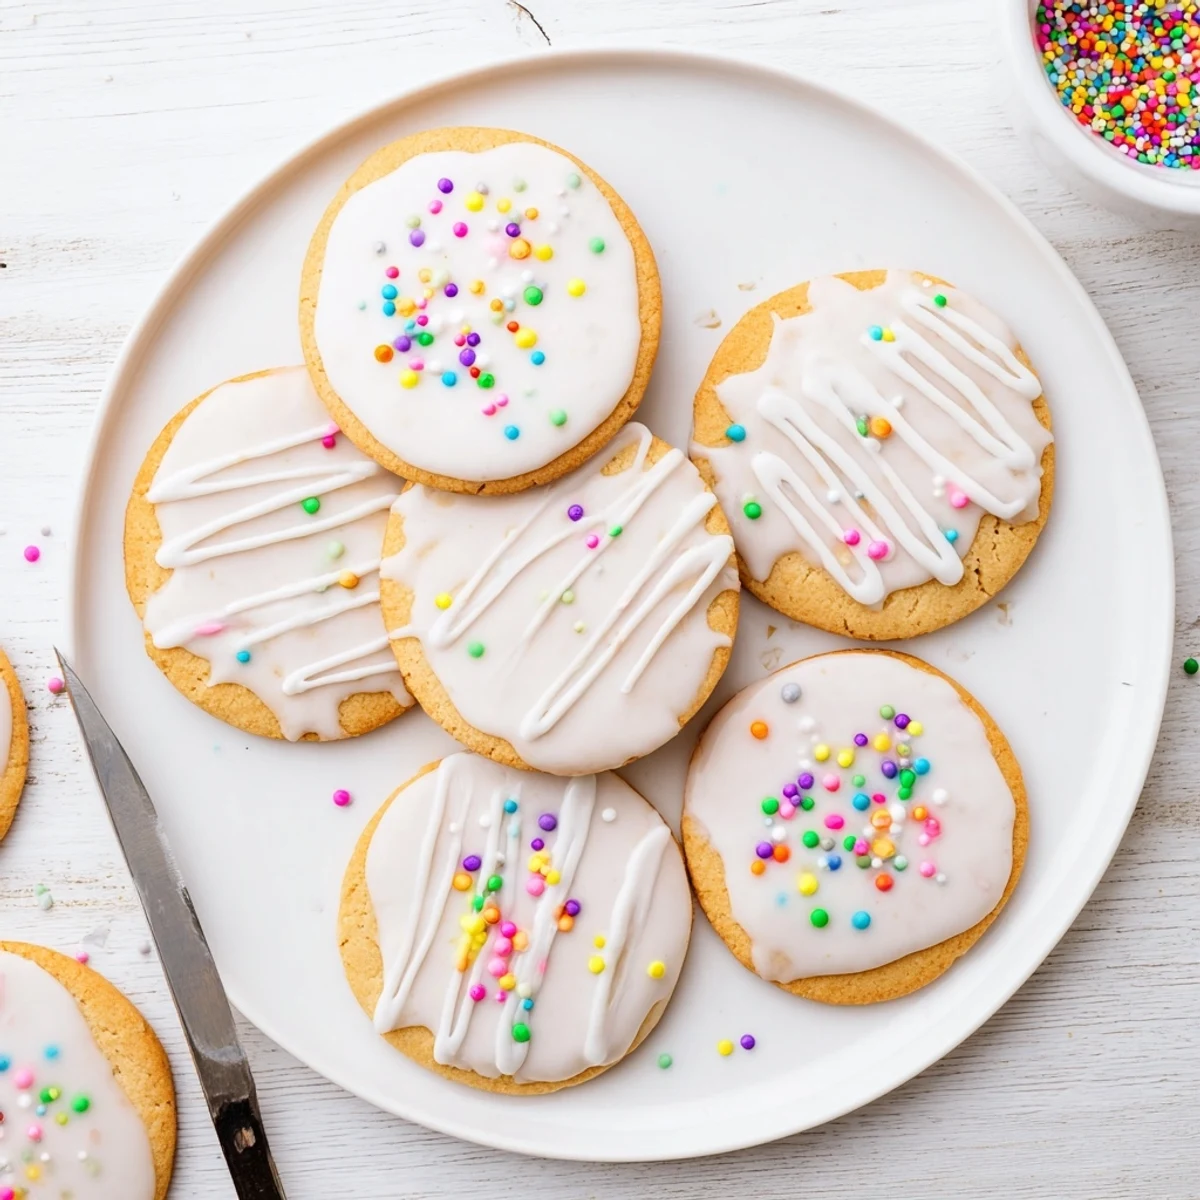
Getting The Right Consistency
Thick icing holds detailed lines while thinner icing creates those beautiful flooded backgrounds that look professionally done. I keep a small cup of water handy to thin as needed and a separate bowl of extra powdered sugar to thicken back up if I go too far.
Color Like A Pro
Gel food coloring delivers intense color without affecting texture, while liquid food coloring works fine for pastels and lighter shades. Mix a test batch first since colors always look different once they dry on the actual cookie.
Storage And Troubleshooting
Leftover icing keeps surprisingly well in the refrigerator for up to a week. Let it come to room temperature and give it a good stir before using, you might need to add a few drops of milk to get it back to the right consistency again.
- If icing develops tiny cracks after drying, you added too much milk
- For sparkle that stays put, add sprinkles while icing is still wet
- Corn syrup substitutes like honey work but will change the flavor profile
 Pin This
 Theres something magical about watching plain cookies transform into tiny edible works of art. This recipe makes it possible every single time.
Recipe FAQs
- → How long does the icing take to dry completely?
-
Allow decorated cookies to dry at room temperature for at least 4 hours. For best results, let them set overnight before stacking or storing to ensure the coating is completely firm.
- → Can I make this icing ahead of time?
-
Yes, store leftover icing in an airtight container in the refrigerator for up to 1 week. Bring to room temperature and stir well before using. You may need to add a few drops of milk to restore the original consistency.
- → What consistency should the icing be for different techniques?
-
For dipping or spreading, aim for thick but pourable consistency like honey. For detailed piping work, add more powdered sugar to create a thicker mixture that holds its shape.
- → Can I use alternatives to corn syrup?
-
While corn syrup provides the best glossy finish and proper drying texture, you can substitute with golden syrup or maple syrup. The final consistency and shine may vary slightly.
- → Why is my icing too thick or runny?
-
If too thick, add milk 1/2 teaspoon at a time until pourable. If too runny, sift in additional powdered sugar gradually until you reach the desired consistency. Always adjust slowly.
