 Pin This
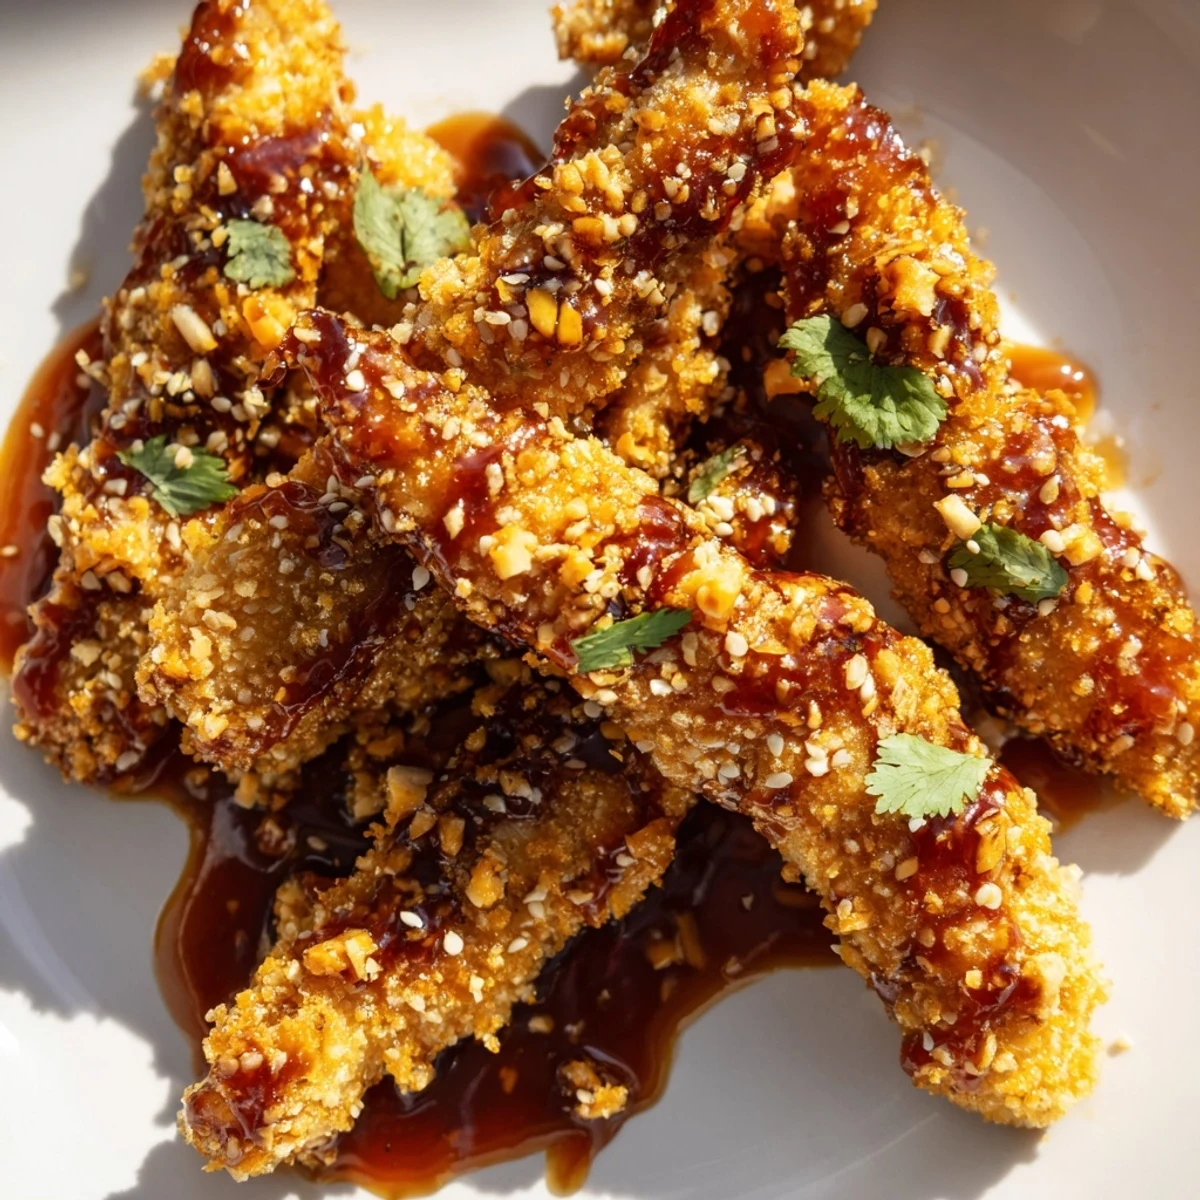
 These Thai sticky chicken fingers feature tender strips of chicken coated in crispy panko breadcrumbs, then tossed in a luscious sweet chili glaze. The sauce brings together honey, soy sauce, rice vinegar, Sriracha, garlic, and fresh ginger for a balance of sweet, tangy, and spicy flavors.
Simply bake or air fry the breaded chicken until golden, simmer the sticky Thai sauce in minutes, and toss everything together. Finished with fresh cilantro and toasted sesame seeds, they make an irresistible appetizer or main course that comes together in just 40 minutes.
The smell of sweet chili and toasted sesame oil hitting a hot pan is enough to make anyone wander into the kitchen asking what is for dinner. These Thai sticky chicken fingers came out of a rainy Tuesday experiment when the takeout menu felt too far away and the fridge had chicken that needed a purpose. That first batch disappeared in ten minutes flat, and now they show up at nearly every casual gathering I host.
A friend once bet me she could eat an entire platter by herself, and honestly I almost let her because watching people lose composure over chicken fingers is one of life's small joys. I have made these for game nights, beach picnics, and one memorable evening when the power went out and we cooked them on a camp stove.
Ingredients
- Chicken (600 g boneless, skinless breasts or thighs): Thighs stay juicier but breasts work beautifully if that is what you have on hand, just do not overcook them.
- Salt and black pepper: A simple seasoning in the flour layer that wakes up the meat underneath all that sauce.
- All purpose flour (1 cup): The foundation of the breading station, gives the egg something to grip.
- Large eggs (2): Beaten smooth, they act as the glue between flour and panko, and room temperature eggs coat more evenly.
- Panko breadcrumbs (1 cup): The secret to that shatteringly crisp exterior, regular breadcrumbs work but panko is worth the trip to the store.
- Vegetable oil (2 tbsp): Just enough to help the coating go golden in the oven without deep frying.
- Sweet chili sauce (1/3 cup): The backbone of the sticky glaze, bring a fruity warmth that balances everything.
- Honey (1/4 cup): Adds body and sweetness that caramelizes slightly when the sauce simmers.
- Soy sauce (2 tbsp): Drops in a salty, umami depth that keeps the sweetness from going too far.
- Rice vinegar (2 tbsp): A bright acidic note that makes the sauce taste lively rather than heavy.
- Sriracha (1 tbsp, optional): For anyone who likes a little fire, adjust up or down depending on your crowd.
- Garlic (2 cloves, minced): Freshly minced always beats jarred here because the raw bite mellows beautifully in the simmer.
- Fresh ginger (1 tsp, grated): A tiny amount that adds warm complexity without announcing itself too loudly.
- Toasted sesame oil (1 tbsp): Stirred in at the end, it gives the sauce an unmistakable Thai aroma.
- Fresh cilantro (2 tbsp chopped, plus garnish): Folded into the warm sauce and scattered on top, it brings freshness and color.
- Sesame seeds (1 tbsp): A final sprinkle that adds a subtle nutty finish and makes the platter look finished.
Instructions
- Set up your cooking station:
- Preheat your oven to 220 degrees C (425 degrees F) or set your air fryer to 200 degrees C (390 degrees F), then line a baking sheet with parchment and give it a light coat of oil or set a wire rack on top.
- Build the breading line:
- Arrange three shallow bowls in a row, flour seasoned with salt and pepper in the first, beaten eggs in the second, and panko in the third, because organization here saves you from sticky fingers everywhere.
- Coat the chicken:
- Take each strip through flour, then egg, then panko, pressing the breadcrumbs on firmly so they actually stick, and lay them on the baking sheet with a little space between each one.
- Bake or fry until golden:
- Drizzle or spray the strips with oil, then bake for 18 to 20 minutes or air fry for about 15, flipping halfway through, until the coating is deeply golden and the chicken is cooked through.
- Make the sticky Thai sauce:
- While the chicken works its magic, whisk sweet chili sauce, honey, soy sauce, rice vinegar, Sriracha, garlic, ginger, and sesame oil in a saucepan over medium heat, letting it bubble for 3 to 4 minutes until it thickens slightly and coats the back of a spoon.
- Bring it all together:
- Drop the hot crispy chicken fingers straight into the warm sauce and toss gently with tongs until every piece is glossy and coated, then transfer to a platter, scatter with extra cilantro and sesame seeds, and serve immediately while the crunch lasts.
 Pin This
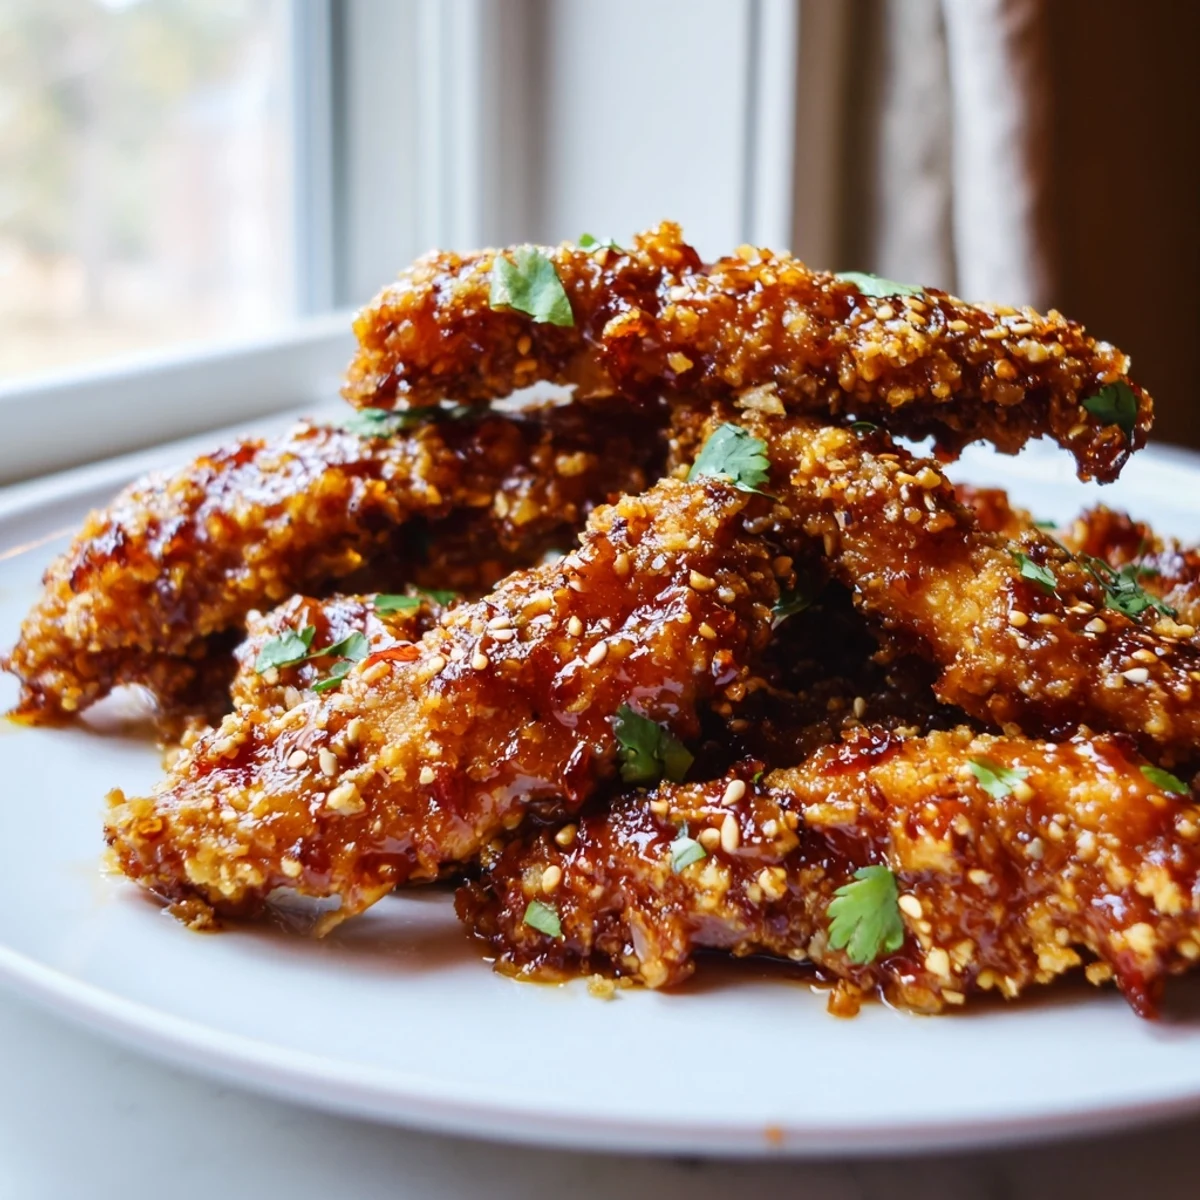
 There is something about a platter of sticky, glistening chicken fingers that turns grown adults into happy children at a table. These have a way of making any ordinary weeknight feel like a small celebration.
Serving Ideas That Actually Work
Pile them alongside jasmine rice and quick pickled cucumbers for a full meal, or serve them naked on a cutting board with toothpicks for a party setup that disappears fast.
Making Them Your Own
Swap the Sriracha for gochujang if you want a deeper, fermented heat, or add a squeeze of lime juice to the sauce at the end for extra brightness.
Storage and Reheating
Keep any leftover chicken and sauce separate in the fridge for up to three days, then reheat the strips in an air fryer or hot oven for a few minutes before tossing in freshly warmed sauce.
- Store sauce in a jar in the fridge and it stays good for a week.
- Freeze uncoated chicken strips for up to a month, then bread and cook from thawed.
- Always taste the sauce before tossing, and adjust the heat or sweetness to your liking.
 Pin This
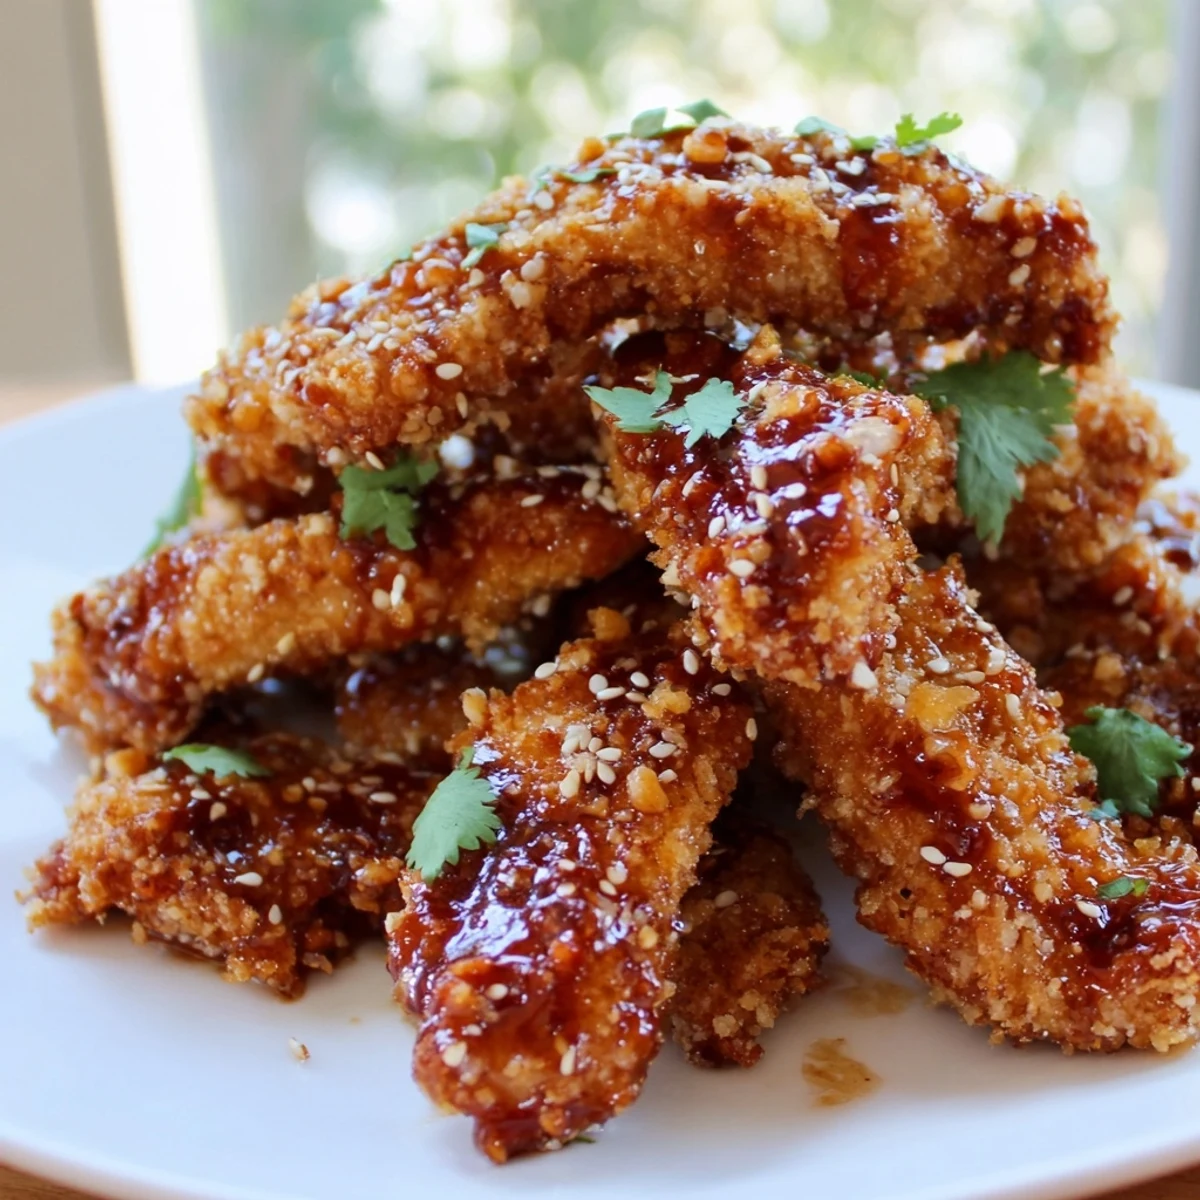
 Once you make these once, you will find yourself reaching for sweet chili sauce and honey on autopilot whenever chicken appears in the kitchen. They are simple, sticky, and absolutely worth every finger licking moment.
Recipe FAQs
- → Can I make Thai sticky chicken fingers in an air fryer?
-
Yes, air frying works beautifully for these chicken fingers. Set your air fryer to 200°C (390°F) and cook for about 15 minutes, flipping halfway through, until the coating is golden and the chicken is cooked through.
- → How do I adjust the spice level of the sticky Thai sauce?
-
The Sriracha is optional, so you can omit it entirely for a milder sauce suited to kids or heat-sensitive palates. For more spice, increase the Sriracha to 2 tablespoons or add a pinch of red pepper flakes to the glaze.
- → What should I serve with Thai sticky chicken fingers?
-
They pair well with steamed jasmine rice, fresh vegetable sticks like cucumber and carrots, or a simple Asian slaw. A crisp Riesling or cold lager beer also complements the sweet and spicy flavors nicely.
- → Can I make this dish gluten-free?
-
Absolutely. Swap the all-purpose flour and panko breadcrumbs for gluten-free alternatives, and use tamari or a certified gluten-free soy sauce. Always double-check labels on sweet chili sauce and Sriracha as well.
- → How do I keep the chicken fingers crispy after coating them in sauce?
-
Toss the chicken fingers in the warm sauce just before serving to maintain maximum crispiness. If you need to hold them, keep the cooked chicken and sauce separate, then combine at the last minute for the best texture.
- → Can I use chicken thighs instead of breasts?
-
Chicken thighs work great and actually stay juicier thanks to their higher fat content. Cut them into even strips and follow the same breading and cooking process. Both boneless skinless thighs and breasts deliver excellent results.
