 Pin This
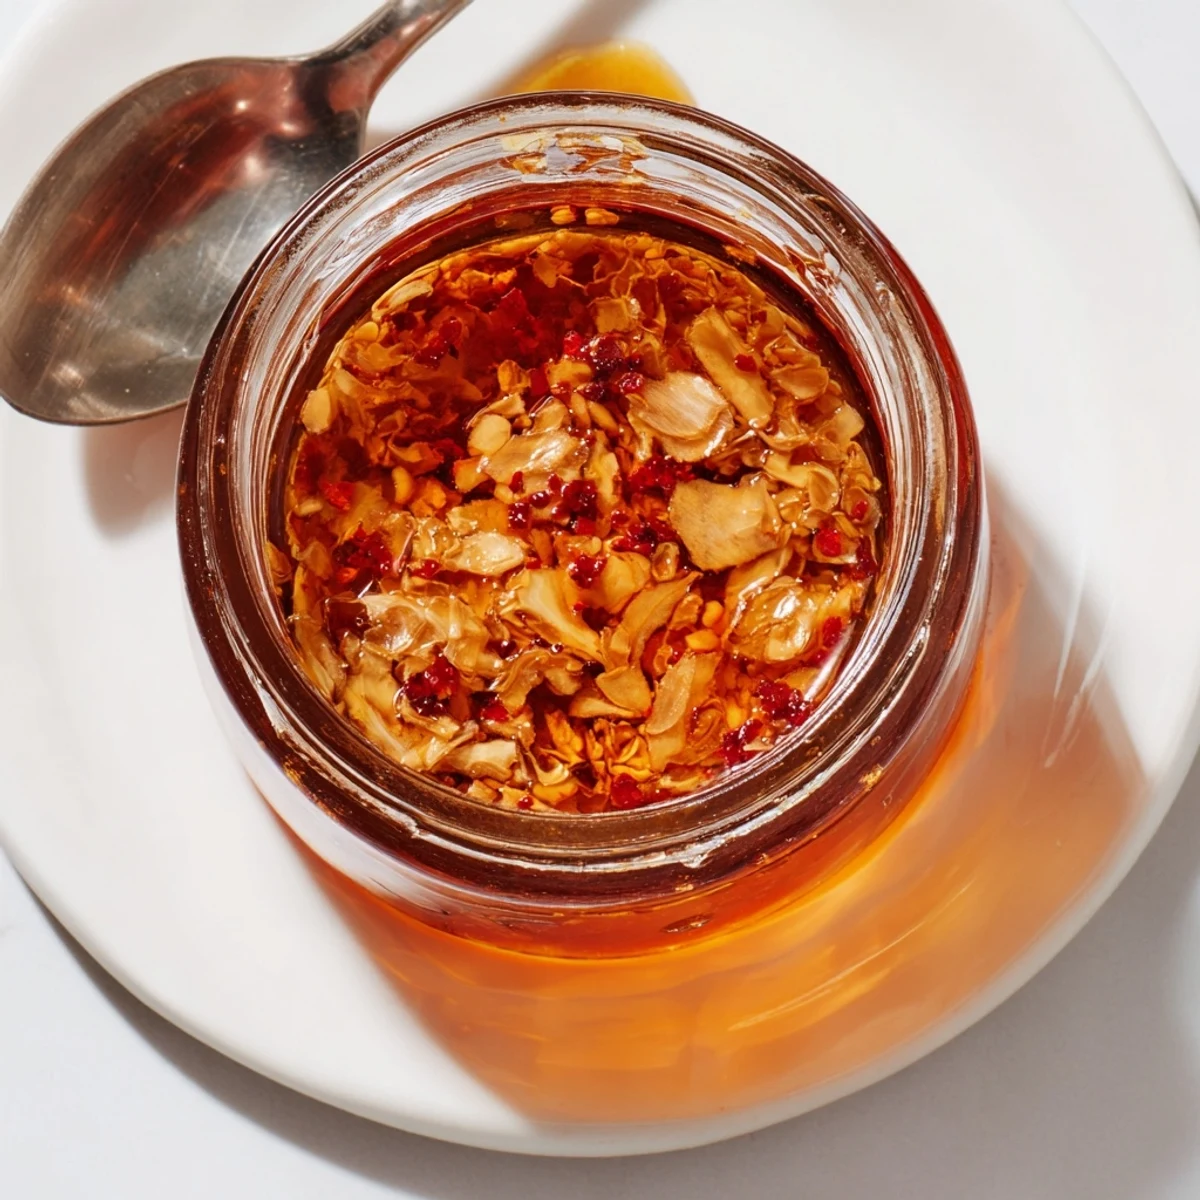
 This homemade version replicates the beloved Trader Joe's staple with crispy fried shallots and garlic bloomed in aromatic oil infused with red pepper flakes, smoked paprika, and Sichuan peppercorns. The process involves frying aromatics until golden, then pouring warm oil over spices to release their essential oils and deepen the flavor profile.
Store this versatile condiment in an airtight jar in the refrigerator for up to a month. The textures and flavors continue to meld over time, making it even more delicious. Adjust heat levels by varying red pepper flakes, and add mushroom powder for extra umami depth.
I first attempted making this after staring longingly at those little jars at the grocery store, wondering why something so delicious had to cost so much. The moment I fried my first batch of shallots and caught that caramelized aroma filling my entire kitchen, I knew homemade was the only way forward. My husband wandered in asking what smelled incredible and proceeded to eat half the crispy onions before I even finished assembling everything.
Last winter I made a triple batch as holiday gifts and now my friends text me monthly asking if I am making more soon. One friend admitted to eating it straight from the jar with a spoon while standing in her pantry late at night.
Ingredients
- Dried shallots or onions: Thinly slicing these yourself creates the perfect texture for that signature crunch
- Fresh garlic cloves: Slice these thinly and consistently so they fry evenly without burning
- Neutral oil: Canola or grapeseed work beautifully because they let the aromatics shine without competing flavors
- Red pepper flakes: Adjust up or down depending on your spice tolerance and personal preference
- Smoked paprika: This adds a subtle smoky layer that makes the condiment taste more complex
- Soy sauce: Use tamari instead if you need this to be gluten free
- Sugar and salt: These balance the heat and enhance all the other flavors
Instructions
- Prepare the spice blend:
- Combine all your spices, soy sauce, sugar, and salt in a heatproof bowl and set it nearby where you will be working.
- Fry the shallots:
- Heat the oil in a small saucepan over medium heat and add the sliced shallots, stirring frequently until they turn golden brown and crispy, which takes about 8 to 10 minutes.
- Crisp the garlic:
- Remove the shallots with a slotted spoon and drain on paper towels, then add the sliced garlic to the hot oil and fry for 2 to 3 minutes until golden and crispy.
- Cool the oil slightly:
- Let the oil rest for 2 to 3 minutes so it is warm but not scorching hot when you pour it over the spices.
- Bloom the spices:
- Carefully pour the warm oil into the bowl with your spice mixture and stir well to release all those fragrant oils and flavors.
- Combine everything:
- Let the oil mixture cool completely, then gently fold in the crispy shallots and garlic until evenly distributed.
- Store your creation:
- Transfer to a clean airtight jar and keep it refrigerated, where it will stay delicious for up to one month.
 Pin This
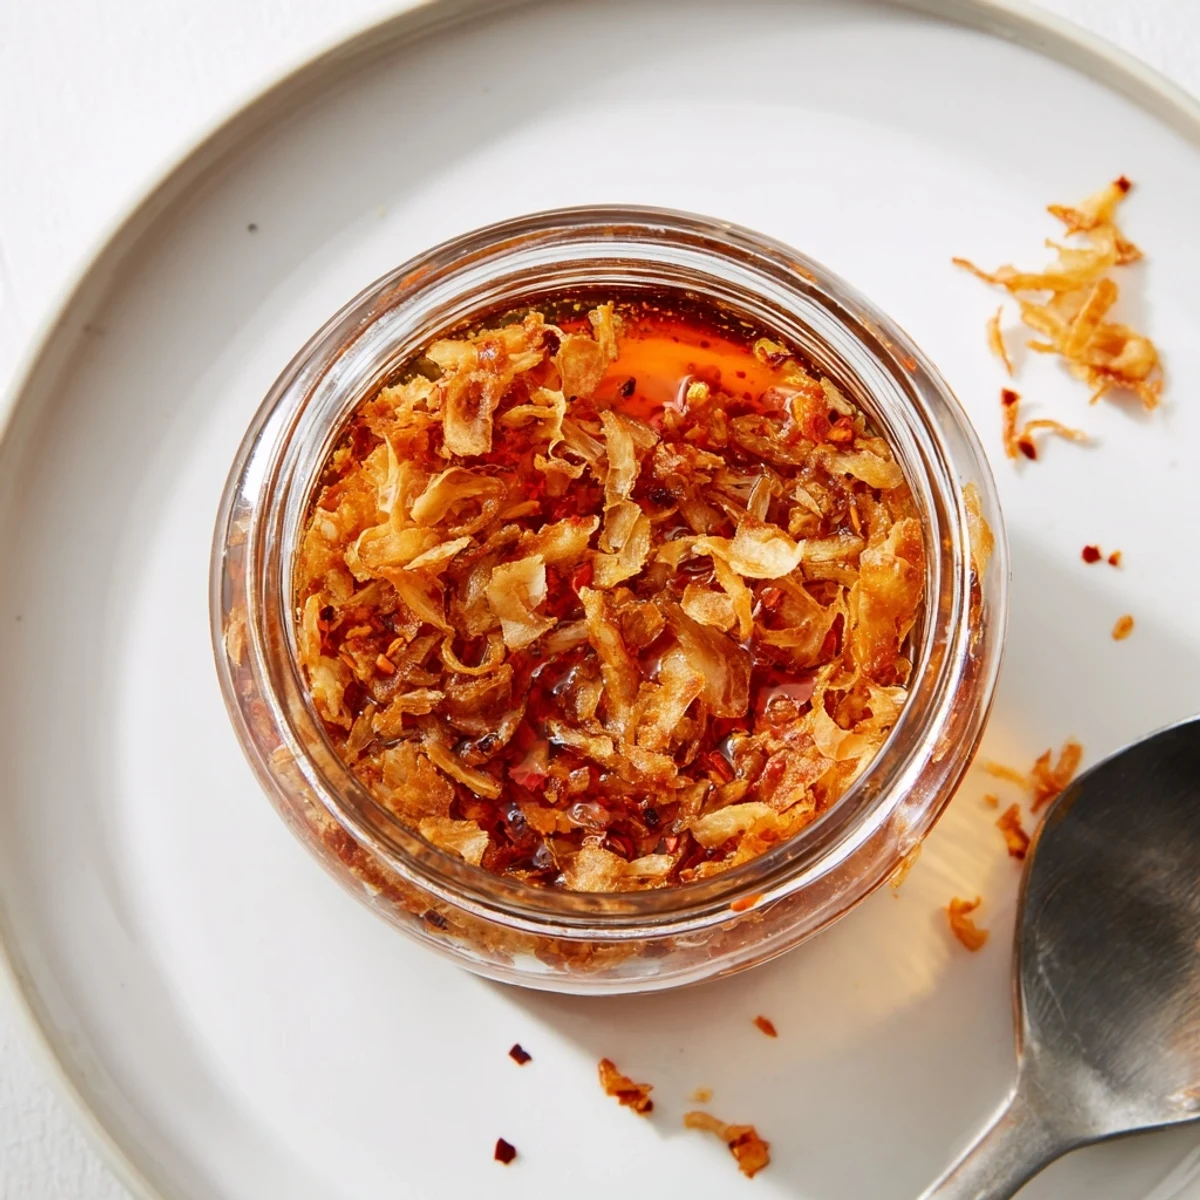
 My sister puts this on literally everything from scrambled eggs to ice cream (do not recommend the ice cream part but she swears by it). It has become the condiment that every dinner guest asks about before they even leave the table.
Perfect Pairings
I keep a jar right next to my stove because a spoonful of this transforms a simple bowl of rice and fried egg into something restaurant worthy. Try it swirled into ramen, spooned over roasted vegetables, or even mixed into mayonnaise for an incredible sandwich spread.
Making It Your Own
Sometimes I add a teaspoon of mushroom powder for extra umami depth or swap in gochugaru Korean chili flakes for a different heat profile. You could also add a splash of toasted sesame oil at the very end for a nutty finish.
Troubleshooting Your Crunch
If your shallots or garlic taste bitter, the oil was too hot when you added them. Keep the heat at medium and pay close attention to the color because they can go from golden to burnt quickly in those last seconds.
- Work in batches if you are doubling the recipe so the pan does not get crowded
- Use a kitchen thermometer to keep the oil around 350 degrees for best results
- Let everything cool completely before sealing the jar to prevent condensation
 Pin This
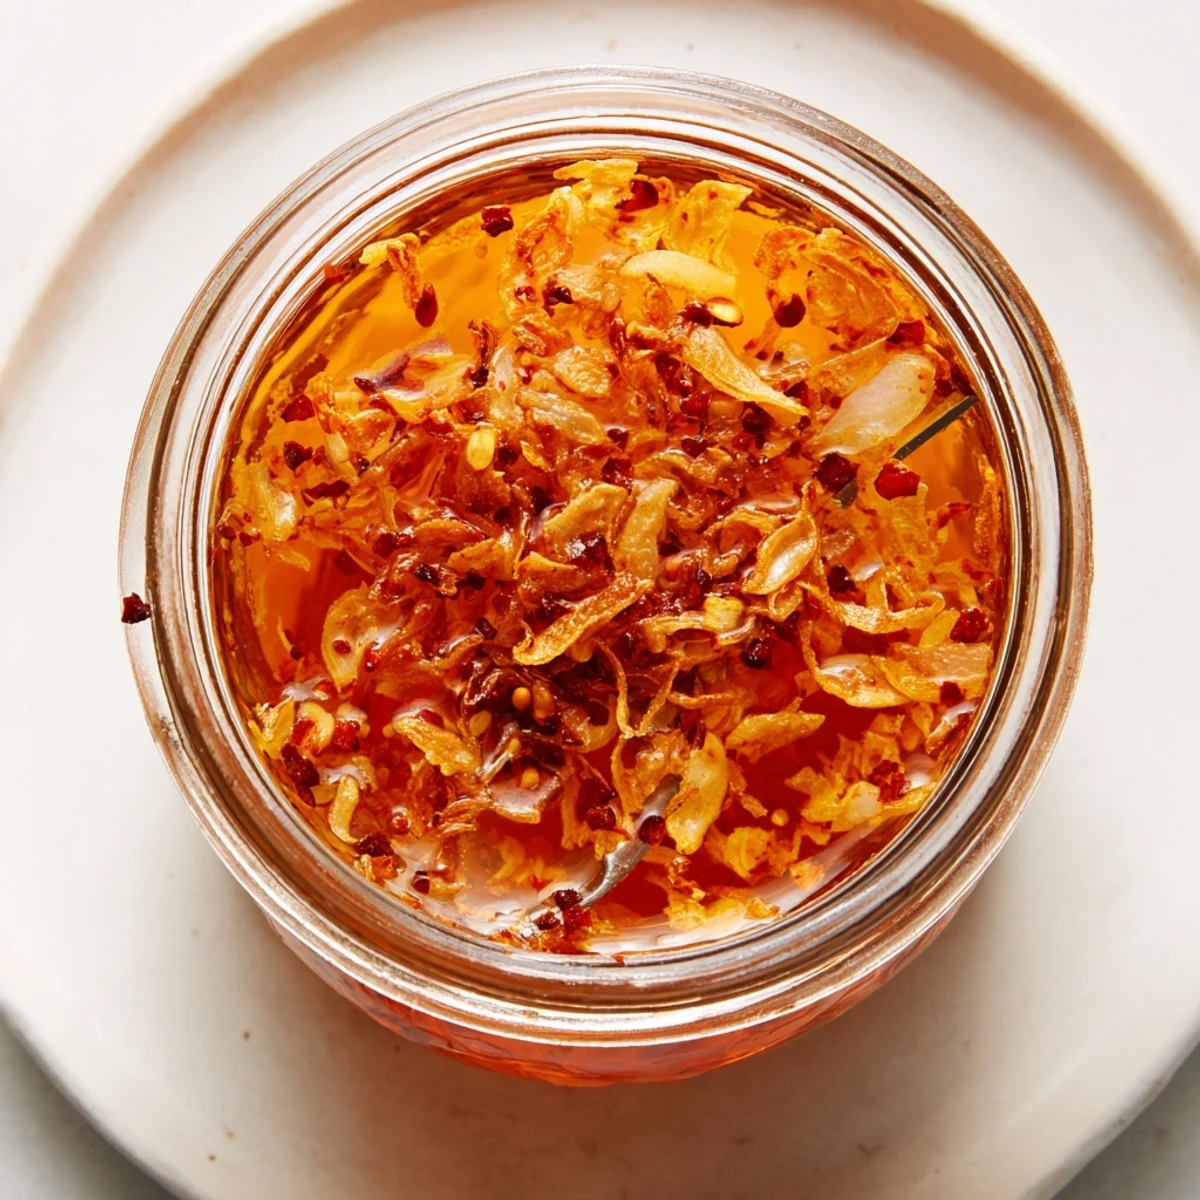
 There is something deeply satisfying about making a pantry staple that tastes better than anything you can buy. Your future self will thank you every time you reach into the fridge and see that jar waiting.
Recipe FAQs
- → What dishes pair best with chili onion crunch?
-
This condiment excels on Asian-inspired noodles, fried rice, avocado toast, grilled meats, roasted vegetables, pizza, and even elevates simple scrambled eggs or ramen bowls.
- → How long does homemade chili onion crunch last?
-
Properly stored in an airtight container in the refrigerator, this condiment maintains optimal quality for up to one month. The flavors continue developing over time.
- → Can I make this gluten-free?
-
Simply substitute tamari or coconut aminos for the soy sauce. Ensure all other ingredients, particularly the spices and oil, are certified gluten-free if avoiding gluten strictly.
- → What oil works best for this condiment?
-
Neutral oils like canola, grapeseed, or vegetable oil allow the spices and aromatics to shine without competing flavors. Avoid olive oil as its distinct taste can overpower the delicate balance.
- → How can I adjust the spice level?
-
Reduce red pepper flakes to 1-2 tablespoons for mild heat, or increase to 4-5 tablespoons for extra kick. Removing Sichuan peppercorns also mellows the overall spiciness while maintaining savory depth.
