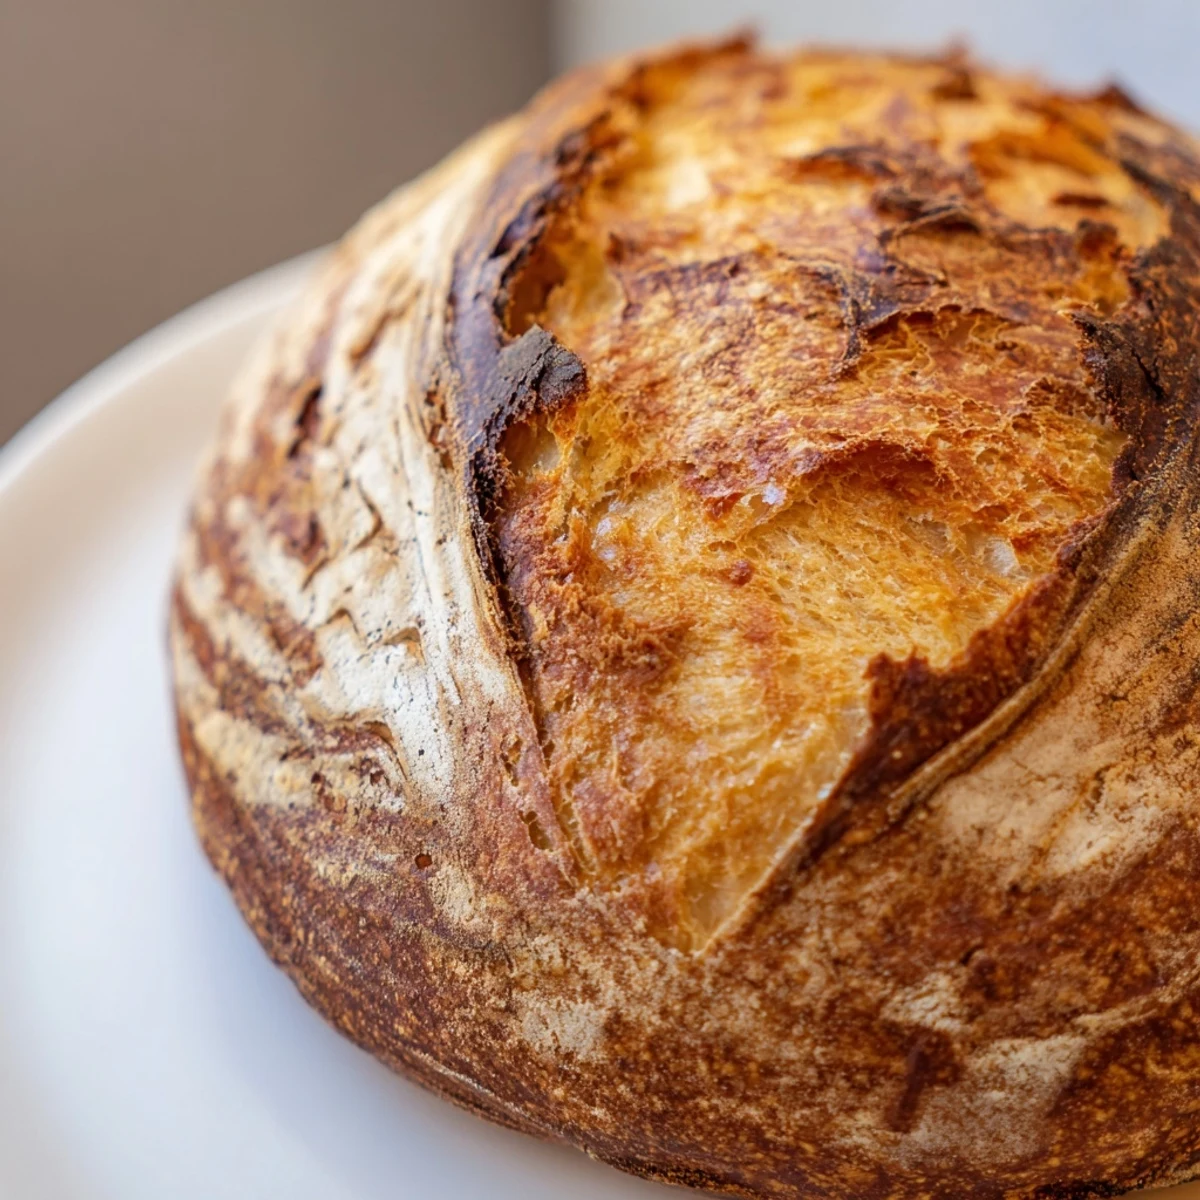
 Pin This
 Create bakery-worthy crusty bread at home with this foolproof method. The dough comes together in minutes using pantry staples, then rises naturally to develop flavor and structure. Bake in a Dutch oven for that perfect crackly crust and tender, airy interior. This versatile European-style loaf pairs beautifully with soups, serves as sandwich bread, or stands alone with olive oil and herbs.
My tiny apartment kitchen smelled like a real bakery for the first time when I attempted this bread. The yeast was bubbling away on the counter while I tried to work at my desk, completely distracted by the promise of warm carbs. That first loaf emerged from the oven with a crust that sang when I tapped it. Ive made this recipe more times than I can count since then.
Last winter my neighbor knocked on my door because she could smell fresh bread baking. I sliced off a steaming piece for her right there at the counter. She texted me two hours later asking for the recipe. Now we trade loaves whenever one of us bakes.
Ingredients
- Bread flour: The higher protein content creates that chewy crumb and crispy restaurant style crust
- Salt: Enhances flavor and helps control the yeast activity
- Instant dry yeast: No proofing needed and works faster than active dry yeast
- Lukewarm water: Should feel like a pleasant bath temperature to activate the yeast
- Cornmeal or semolina: Prevents sticking and adds a subtle crunch to the bottom crust
Instructions
- Mix the dry ingredients:
- Combine bread flour, salt, and instant yeast in a large bowl until everything is evenly distributed.
- Form the dough:
- Pour in the lukewarm water and stir until you have a shaggy, sticky dough that holds together.
- Let it rise:
- Cover the bowl and leave it somewhere warm for 1 to 2 hours until it has doubled in size.
- Shape the loaf:
- Turn the dough onto a floured surface and fold the edges underneath to create a rough ball shape.
- Rest again:
- Place the dough seam side down on parchment paper and let it rest for another 30 minutes.
- Preheat everything:
- Heat your oven to 450°F and put your Dutch oven inside to get it screaming hot.
- Score and bake:
- Transfer the dough into the hot pot, cut slashes across the top, and bake covered for 25 minutes.
- Create the crust:
- Remove the lid and bake another 15 minutes until the crust is deeply golden and the loaf sounds hollow when tapped.
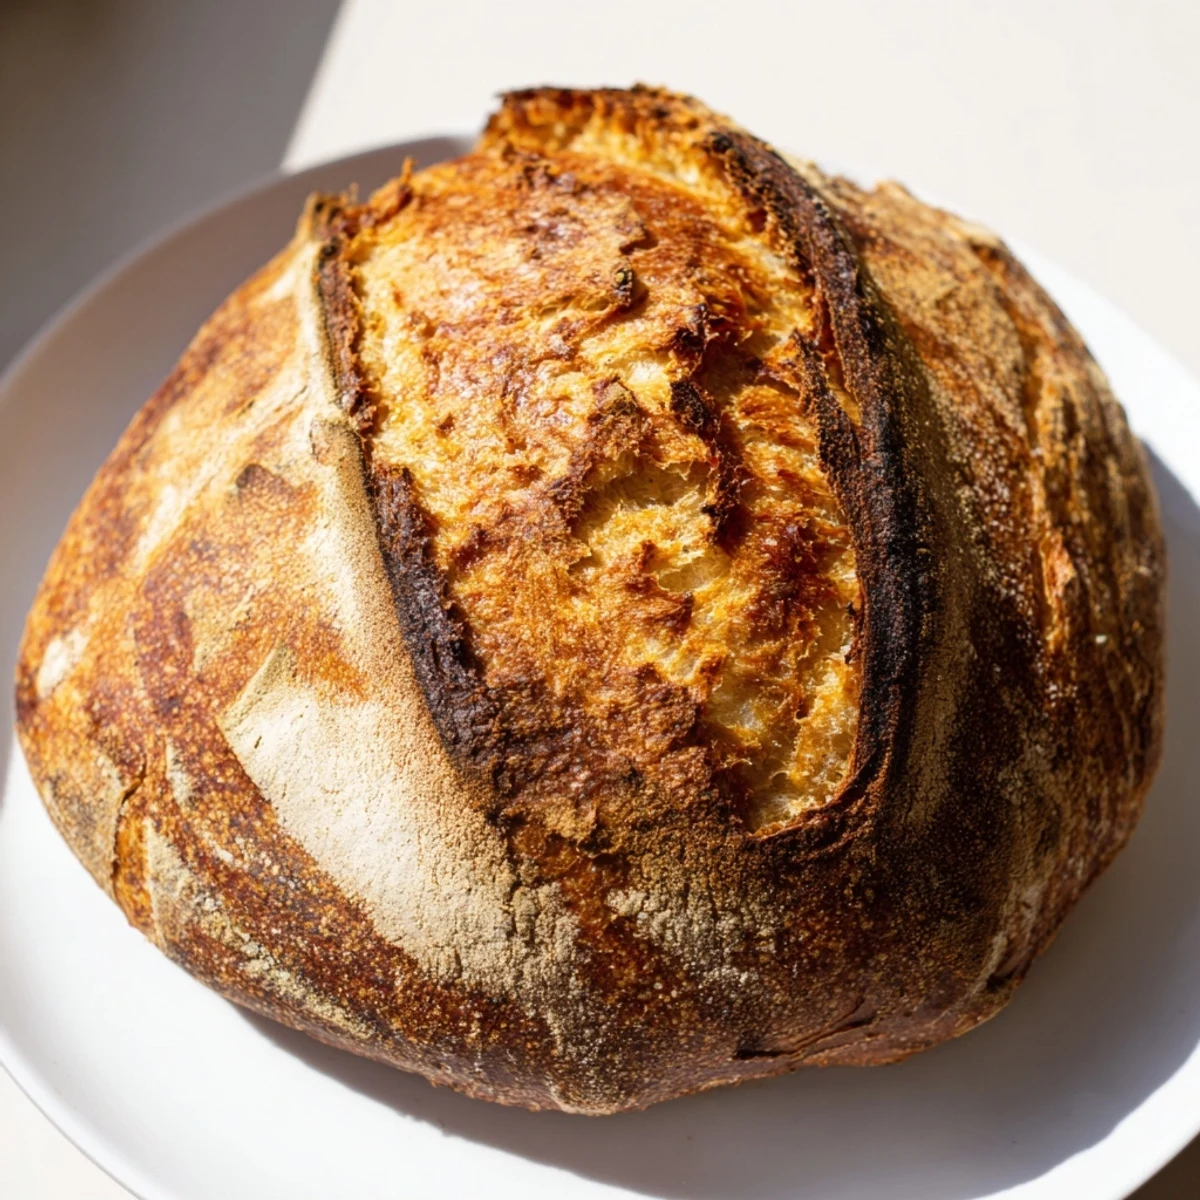 Pin This
 Sunday mornings at my house now officially start with this bread. My partner has started asking Whats for breakfast the night before, hoping the answer will be fresh toast. We sit by the window watching the neighborhood wake up while slathering warm slices with salted butter.
Getting That Perfect Rise
I used to get frustrated when my dough wouldnt double in size until someone told me about finding the warmest spot in my kitchen. Now I place the bowl near my oven vent or on top of the refrigerator. Consistent warmth makes all the difference between a decent loaf and an amazing one.
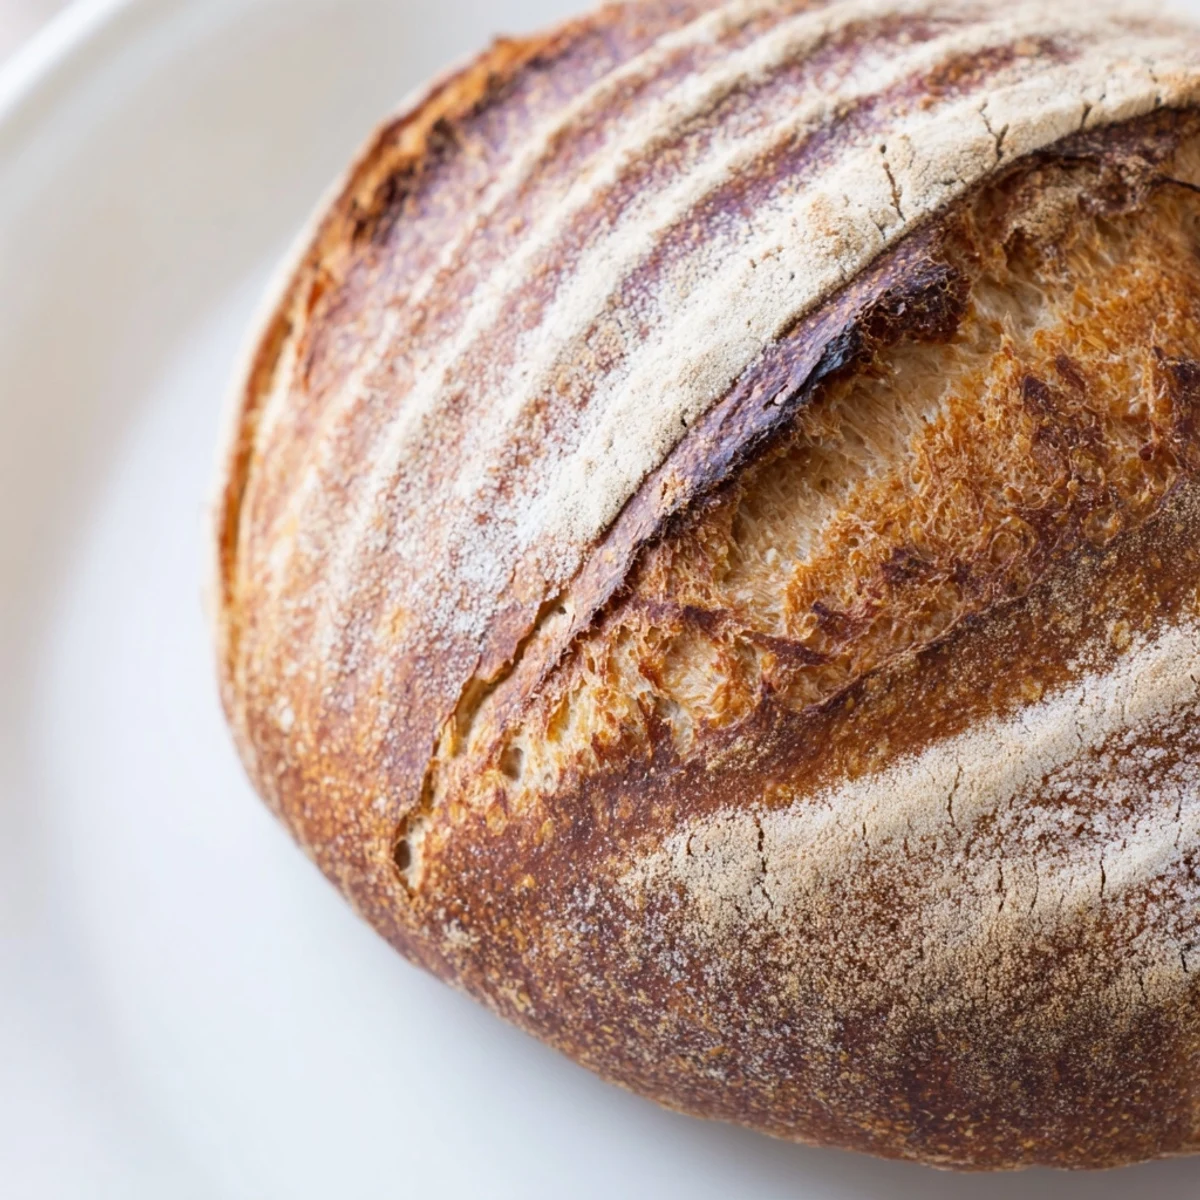
Scoring Your Loaf
Those beautiful slashes on bakery bread are not just for looks. They give the dough room to expand in the oven without bursting unevenly. I use a sharp paring knife at a slight angle and make one confident slash down the center.
Making It Your Own
This dough is like a blank canvas that welcomes whatever you are craving. Sometimes I mix in chopped rosemary and garlic powder. Other times I knead in shredded cheese or chopped olives. The basic recipe never fails me.
- Try adding a tablespoon of olive oil to the dough for extra richness
- Swap half the bread flour for whole wheat for a nuttier flavor
- Mix dried herbs into the flour before adding the water
 Pin This
 Theres something deeply satisfying about pulling a gorgeous loaf from your own oven. Your kitchen will smell better than any bakery.
Recipe FAQs
- → What makes bread rustic?
-
Rustic bread features a thick, crunchy crust with an irregular crumb structure inside. The dough is typically hydrated and minimally kneaded, creating those characteristic air pockets and chewy texture found in traditional European loaves.
- → Can I make this without a Dutch oven?
-
Absolutely. While a Dutch oven creates optimal steam for crust development, a heavy baking sheet or pizza stone works well. Place a metal bowl of water in the oven bottom to generate steam, or mist the loaf with water before baking.
- → Why is my dough too sticky?
-
This dough naturally feels tacky due to high hydration, which creates those desirable air pockets. If it's unmanageably wet, add flour one tablespoon at a time. Remember, wetter dough produces better rustic texture.
- → How do I know when it's done baking?
-
The crust should turn deep golden brown. Tap the bottom - if it sounds hollow, your bread is ready. An instant thermometer inserted into the center should read 190-200°F. Let it cool completely for the best texture.
- → Can I add mix-ins like herbs or cheese?
-
Certainly. After mixing the dough, gently fold in ingredients like rosemary, thyme, garlic, shredded cheese, or chopped olives. Keep additions to about 1/2 cup total to maintain proper dough structure and rise.
