 Pin This
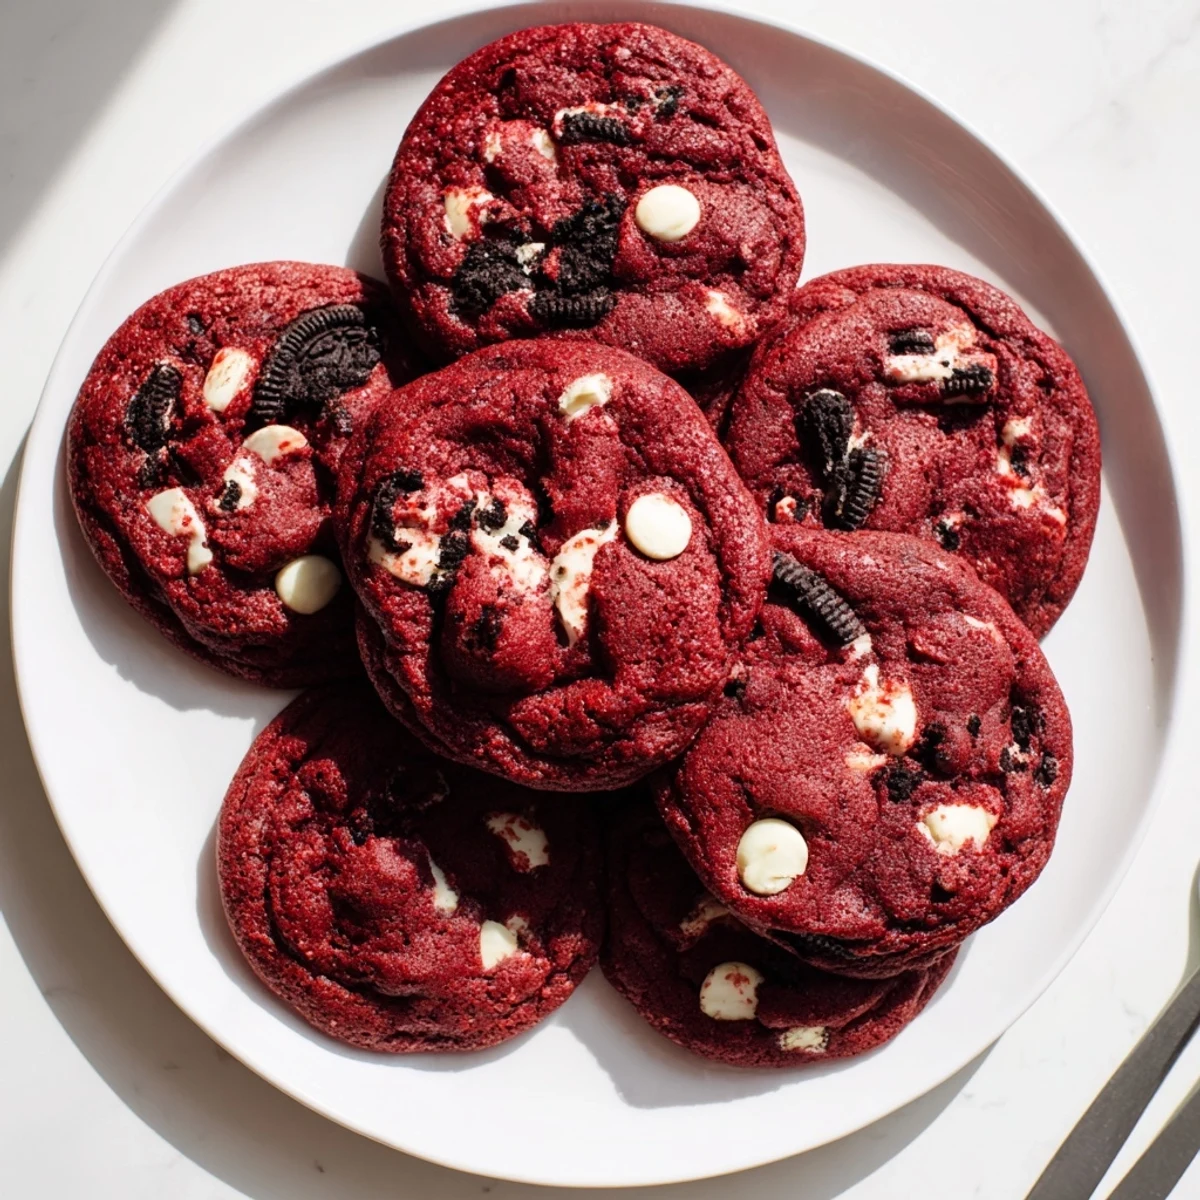
 These soft, chewy red velvet cookies combine the best of both worlds—rich cocoa flavor and classic cookies-and-cream crunch. The vibrant red dough is studded with creamy white chocolate chips and chunks of Oreo cookies, creating a delightful texture in every bite. With just 20 minutes of prep and 12 minutes in the oven, you'll have 24 colorful treats perfect for holidays, parties, or whenever you're craving something sweet and indulgent.
My roommate walked into the kitchen while I was creaming butter and sugar, took one look at the bright red dough, and asked if I'd accidentally dropped food coloring into a classic chocolate chip cookie batter. I told her no, this was intentional chaos, red velvet meets cookies and cream in a way that shouldn't work but absolutely does. Those first batches disappeared faster than anything I'd baked before, with friends texting me days later asking if I had more of those red ones.
I made these for a February birthday celebration when someone requested red velvet anything, and I'd been wanting to experiment with mixing Oreo chunks into cookie dough instead of just chocolate chips. The birthday girl took one bite and declared they were better than cake, which I took as the highest possible compliment. Now they're my go to when I need something festive but dont want to deal with frosting or layers.
Ingredients
- All-purpose flour: Provides the structure for these cookies, and I've found that measuring by weight gives the most consistent chewy texture
- Unsweetened cocoa powder: Deepens the flavor beyond just red food coloring, giving it that classic red velvet undertone
- Baking soda: Helps the cookies spread just enough while keeping their soft centers
- Salt: Balances the sweetness and makes all the flavors pop
- Unsalted butter: Should be softened to room temperature for proper creaming, which creates the cookie's texture
- Light brown sugar: Adds moisture and a subtle caramel note that pairs beautifully with the cocoa
- Granulated sugar: Creates crisp edges while the brown sugar keeps centers soft
- Egg and egg yolk: The extra yolk adds richness and contributes to that fudgy middle
- Vanilla extract: Pure vanilla makes a noticeable difference here since the flavor profile is relatively simple
- Milk: Just enough to bring the dough together and activate the red food coloring
- Red food coloring: Gel coloring gives the most vibrant red without adding extra liquid
- White chocolate chips: Their sweetness complements the cocoa and creates creamy pockets throughout
- Oreo cookies: Roughly chopped so every bite gets some cookies and cream crunch
Instructions
- Preheat your oven:
- Set it to 350°F and line two baking sheets with parchment paper so nothing sticks and cleanup is effortless
- Whisk the dry ingredients:
- In a medium bowl, combine the flour, cocoa powder, baking soda, and salt until everything is evenly distributed
- Cream the butter and sugars:
- Beat the butter, brown sugar, and granulated sugar together for 2 to 3 minutes until the mixture looks pale and fluffy
- Add the wet ingredients:
- Mix in the egg, egg yolk, vanilla, milk, and red food coloring until the dough turns a uniform deep red
- Combine the mixtures:
- Gradually add the dry ingredients to the wet, mixing just until no flour streaks remain
- Fold in the mix-ins:
- Gently stir in the white chocolate chips and chopped Oreo pieces until they're evenly distributed
- Scoop the dough:
- Drop rounded balls onto the prepared sheets, leaving about 2 inches between each for spreading
- Bake to perfection:
- Bake for 10 to 12 minutes until edges look set but centers still seem slightly underdone
- Cool completely:
- Let them rest on the baking sheet for 5 minutes before transferring to a wire rack
 Pin This
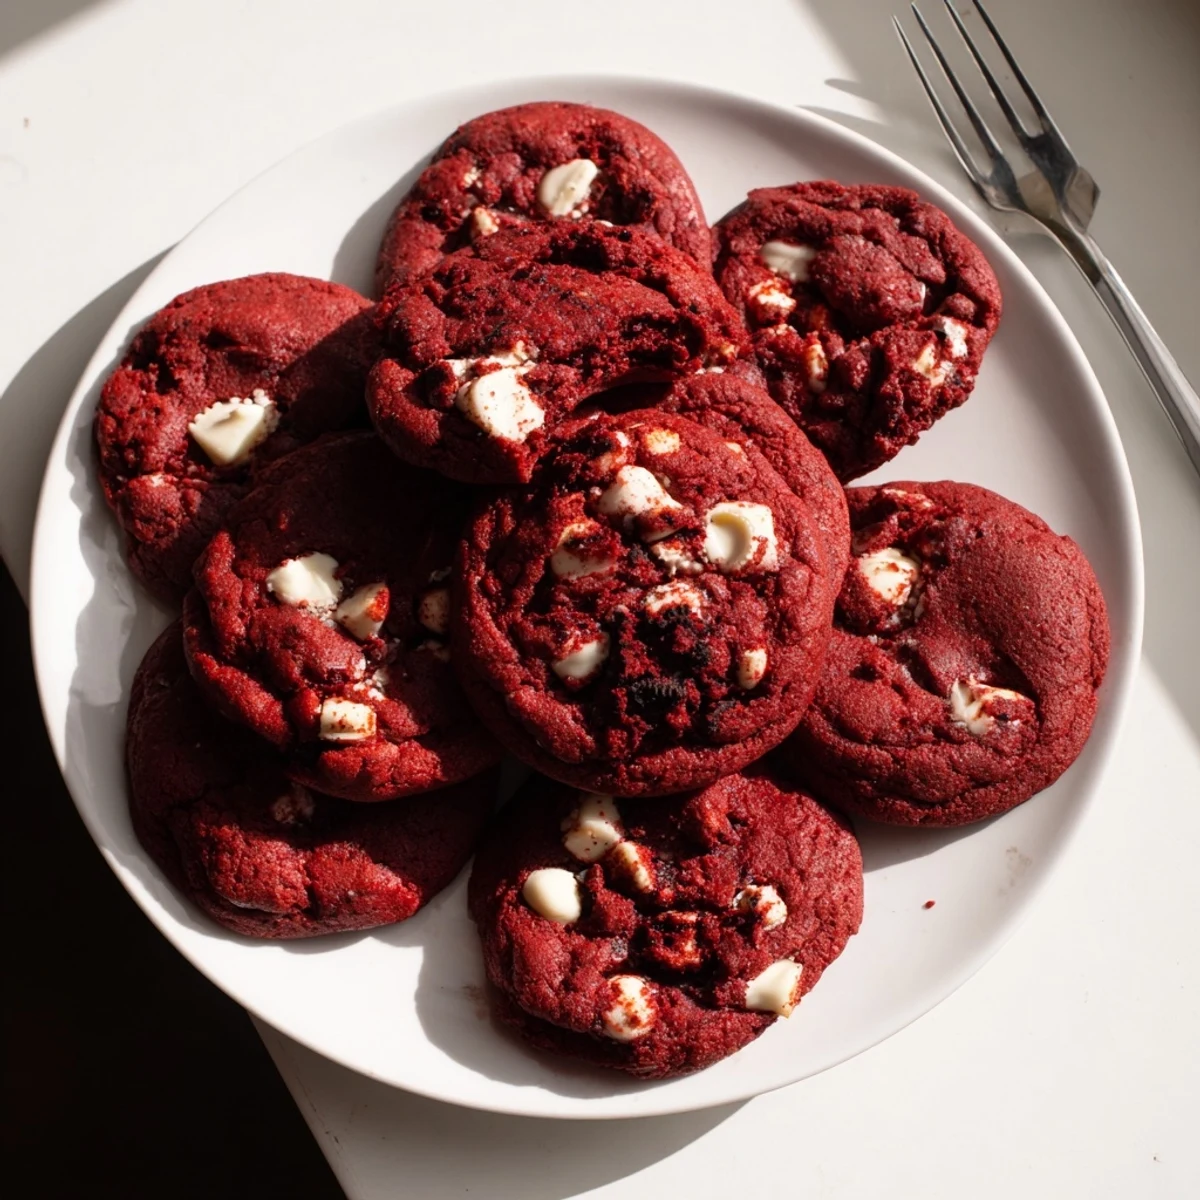
 My neighbor's kids now request these specifically whenever I mention I'm baking, and the youngest always asks for the ones with the most red color. There's something joyful about a cookie that looks this festive and tastes even better than it looks.
Making Ahead
The dough freezes beautifully for up to 3 months, so I often double the batch and save half for emergency cookie cravings. Just scoop onto a baking sheet, freeze until solid, then transfer to a bag and bake straight from frozen, adding 1 to 2 minutes to the baking time.
Variations That Work
Swapping dark chocolate chips for white chocolate creates a more sophisticated flavor profile that adults love. I've also made these with mint extract instead of vanilla during the holidays, and the chocolate mint combination is unexpectedly perfect.
Storage Secrets
These cookies stay soft and chewy for up to 5 days when stored in an airtight container at room temperature. I like to place a piece of white bread in the container if I want to keep them tasting freshly baked even longer.
- Press a few extra Oreo pieces into the tops before baking for that bakery style look
- If your dough feels too sticky, chill it for 15 minutes before scooping
- Room temperature ingredients are crucial for proper dough consistency
 Pin This
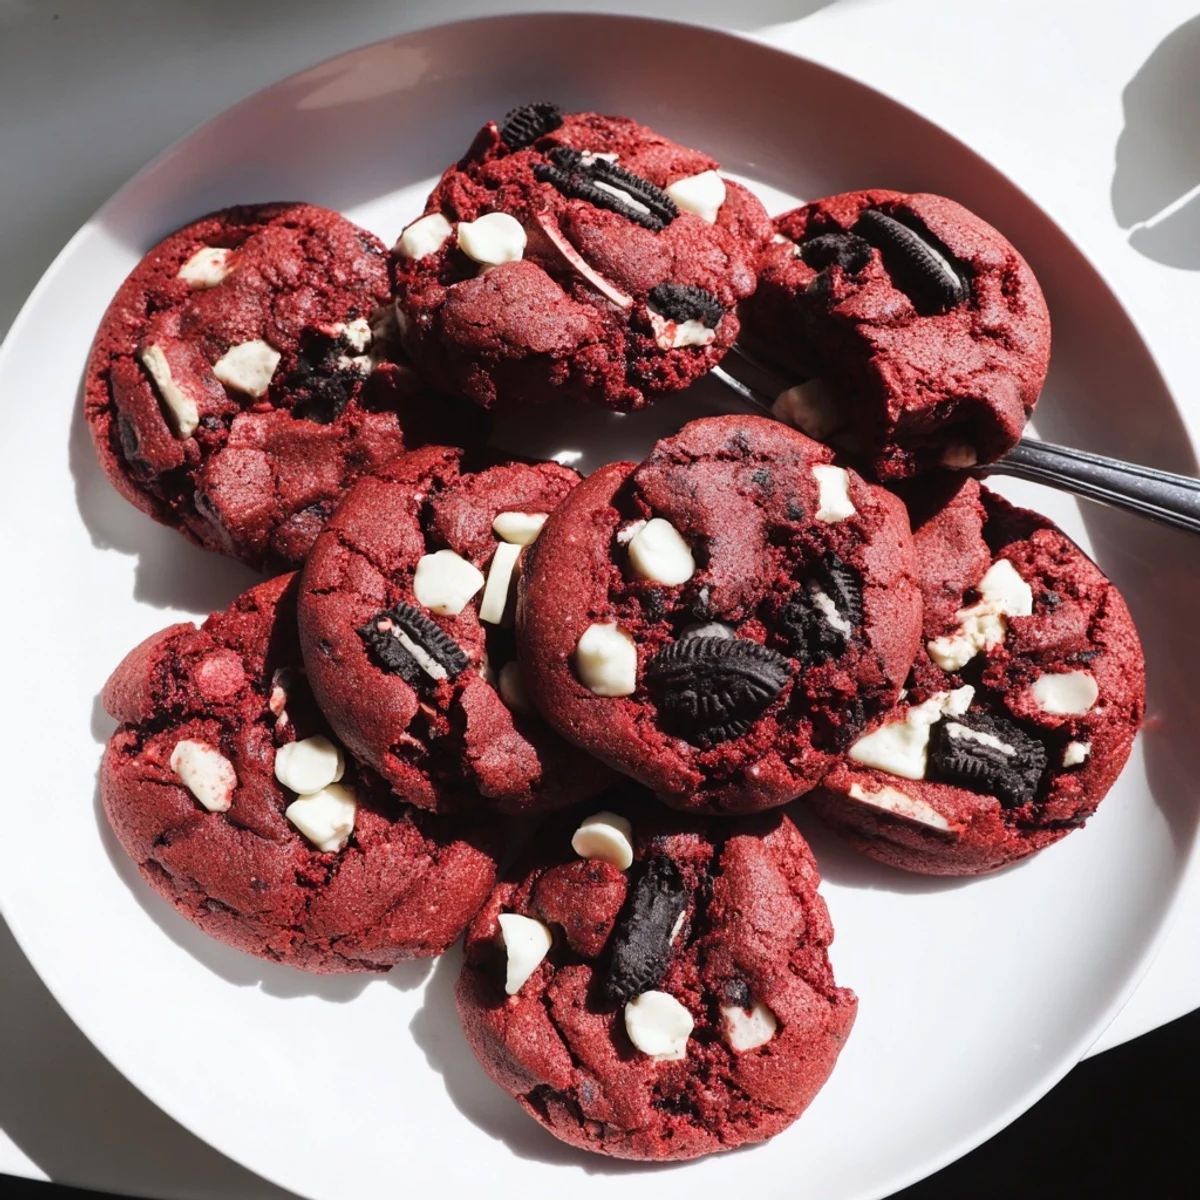
 There's nothing quite like pulling a tray of these from the oven and watching everyone's faces light up at the sight of them. Hope they become a favorite in your kitchen too.
Recipe FAQs
- → Can I use liquid food coloring instead of gel?
-
Yes, liquid food coloring works, though gel provides a more vibrant red hue without adding excess moisture to the dough. If using liquid, start with 1 teaspoon and add more as needed to reach your desired color intensity.
- → How should I store these cookies?
-
Store in an airtight container at room temperature for up to 5 days. Place parchment paper between layers to prevent sticking. For longer storage, freeze baked cookies for up to 3 months or freeze unbaked dough balls to bake fresh later.
- → Why do my cookies look flat?
-
Flat cookies can result from overly soft butter or overmixing the dough. Ensure your butter is softened to room temperature but not melting. Also, avoid overmixing once you add the dry ingredients—mix just until combined for thick, chewy results.
- → Can I make these without red food coloring?
-
Absolutely! Skip the food coloring for classic chocolate cookies with Oreos and white chocolate. They'll taste just as delicious, though the signature red velvet appearance will be missing.
- → What's the secret to soft, chewy texture?
-
The key is removing cookies from the oven when centers look slightly underbaked. They continue cooking on the hot baking sheet during the 5-minute cooling period, resulting in perfectly soft edges and chewy centers.
- → Can I use different mix-ins?
-
Certainly! Try dark chocolate chips instead of white chocolate, add crushed candy canes for a holiday twist, or swap Oreos for your favorite sandwich cookies. The red velvet base pairs well with various additions.
