 Pin This
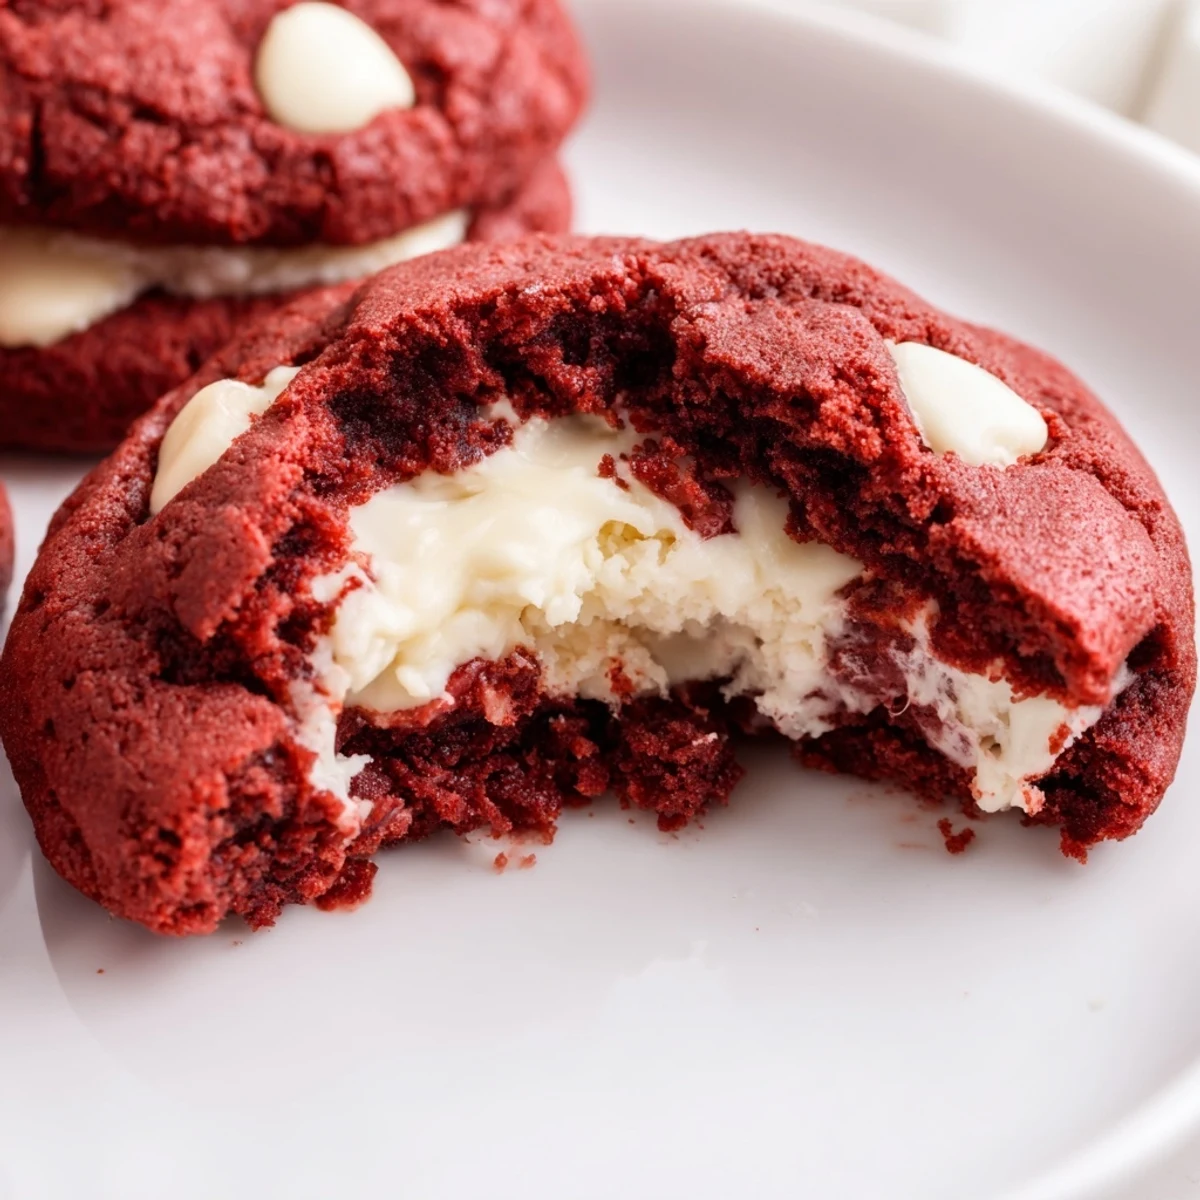
 These soft red velvet cookies feature a hint of cocoa and vibrant color, with a surprise center of creamy Oreo filling. The dough incorporates white chocolate chips for extra sweetness. Each cookie is hand-stuffed with a homemade cream cheese and crushed Oreo mixture, then baked until edges are set while centers remain delightfully chewy. Perfect for holidays, parties, or whenever you crave something indulgent.
The first time I attempted red velvet cookies, my kitchen looked like a crime scene. Red food coloring everywhere, on the counters, my apron, somehow even on the cat. But biting into that first chewy, chocolatey cookie with its surprise Oreo center made every minute of cleanup completely worth it.
My sister claimed these were too pretty to eat, then proceeded to devour three while standing at the counter. Now she requests them for every birthday, holiday, and random Tuesday. The way the white chocolate melts into the red velvet base creates these pockets of sweetness that make people pause mid bite.
Ingredients
- 2 cups all-purpose flour: The foundation that gives these cookies their perfect chewy structure
- 1/4 cup unsweetened cocoa powder: Adds that subtle chocolate depth without overpowering the classic red velvet flavor
- 1 tsp baking soda: Helps create those irresistible puffy edges and soft centers
- 1/2 tsp salt: Balances the sweetness and intensifies the chocolate notes
- 1/2 cup unsalted butter, softened: Room temperature is non negotiable here for proper creaming
- 3/4 cup granulated sugar: Creates the crisp edges we love
- 1/2 cup packed light brown sugar: Adds moisture and a subtle caramel undertone
- 1 large egg: Bind everything together and add richness
- 1 tbsp milk: Just enough to achieve the perfect dough consistency
- 2 tsp vanilla extract: Never skimp on vanilla, it makes everything taste homemade
- 1 tbsp red food coloring: Liquid or gel both work, gel gives a deeper red hue
- 1 cup white chocolate chips: The creamy contrast that makes these cookies special
- 4 oz cream cheese, softened: The base of our Oreo filling needs to be completely room temperature
- 2 tbsp unsalted butter, softened: Makes the filling creamy and pipeable
- 1 1/4 cups powdered sugar, sifted: Sifting prevents lumps in our smooth filling
- 1/2 tsp vanilla extract: A little extra vanilla in the filling goes a long way
- 8 Oreo cookies, finely crushed: The star of our filling, crushed into small pieces
Instructions
- Preheat your oven:
- Set to 350°F and line two baking sheets with parchment paper
- Whisk the dry ingredients:
- Combine flour, cocoa powder, baking soda, and salt in a medium bowl
- Cream the butter and sugars:
- Beat until light and fluffy, about 2 to 3 minutes
- Add the wet ingredients:
- Mix in egg, milk, vanilla, and red food coloring until combined
- Combine everything:
- Gradually add dry ingredients, mixing until just combined, then fold in white chocolate chips
- Make the Oreo filling:
- Beat cream cheese and butter until smooth, add powdered sugar and vanilla, then fold in crushed Oreos
- Chill the filling:
- Refrigerate for 10 minutes so it is easier to work with
- Stuff the cookies:
- Flatten dough portions, place filling in center, and fold dough around to seal completely
- Bake to perfection:
- Bake for 11 to 12 minutes until edges are set but centers still look slightly soft
- Cool completely:
- Let them rest on the baking sheet for 5 minutes before moving to a wire rack
 Pin This
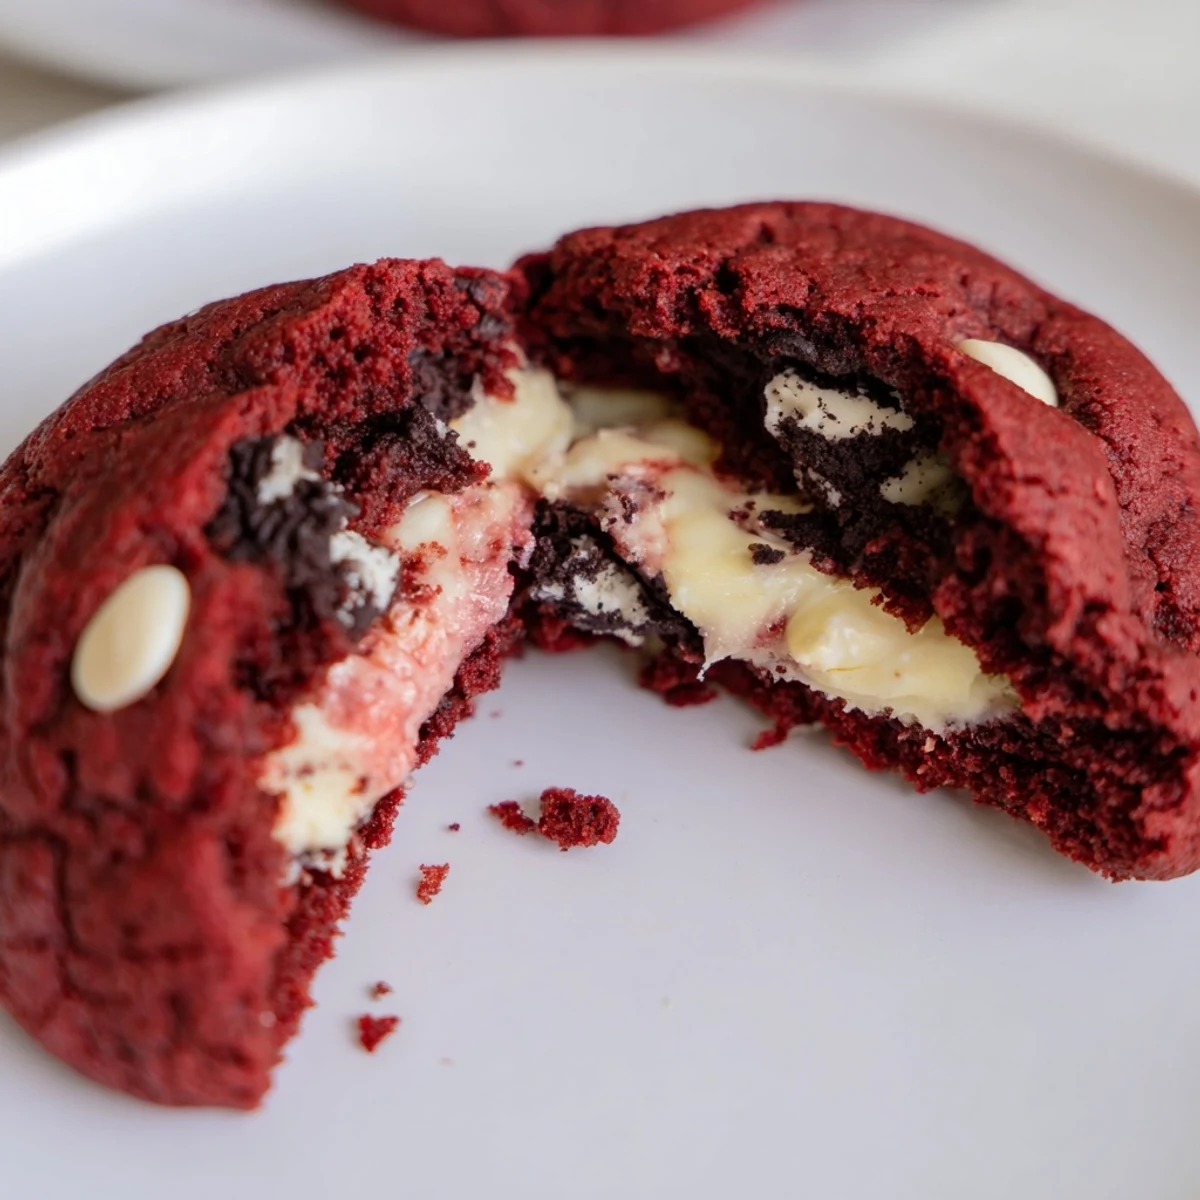
 My nephew accidentally discovered that rolling the dough balls in extra crushed Oreos before baking creates this incredible cookie-on-cookie crust. Now it is the only way we make them, and the texture contrast is outrageous.
Making Ahead
I have learned through experience that the cookie dough freezes beautifully for up to three months. Just scoop the stuffed dough balls onto a baking sheet, freeze until solid, then transfer to a freezer bag. Bake from frozen, adding one to two extra minutes.
Getting That Perfect Red
Red velvet can be tricky, sometimes turning brown instead of that vibrant crimson we want. Gel food coloring is your best bet for achieving that deep red shade without adding extra liquid that could throw off the dough consistency.
Serving Suggestions
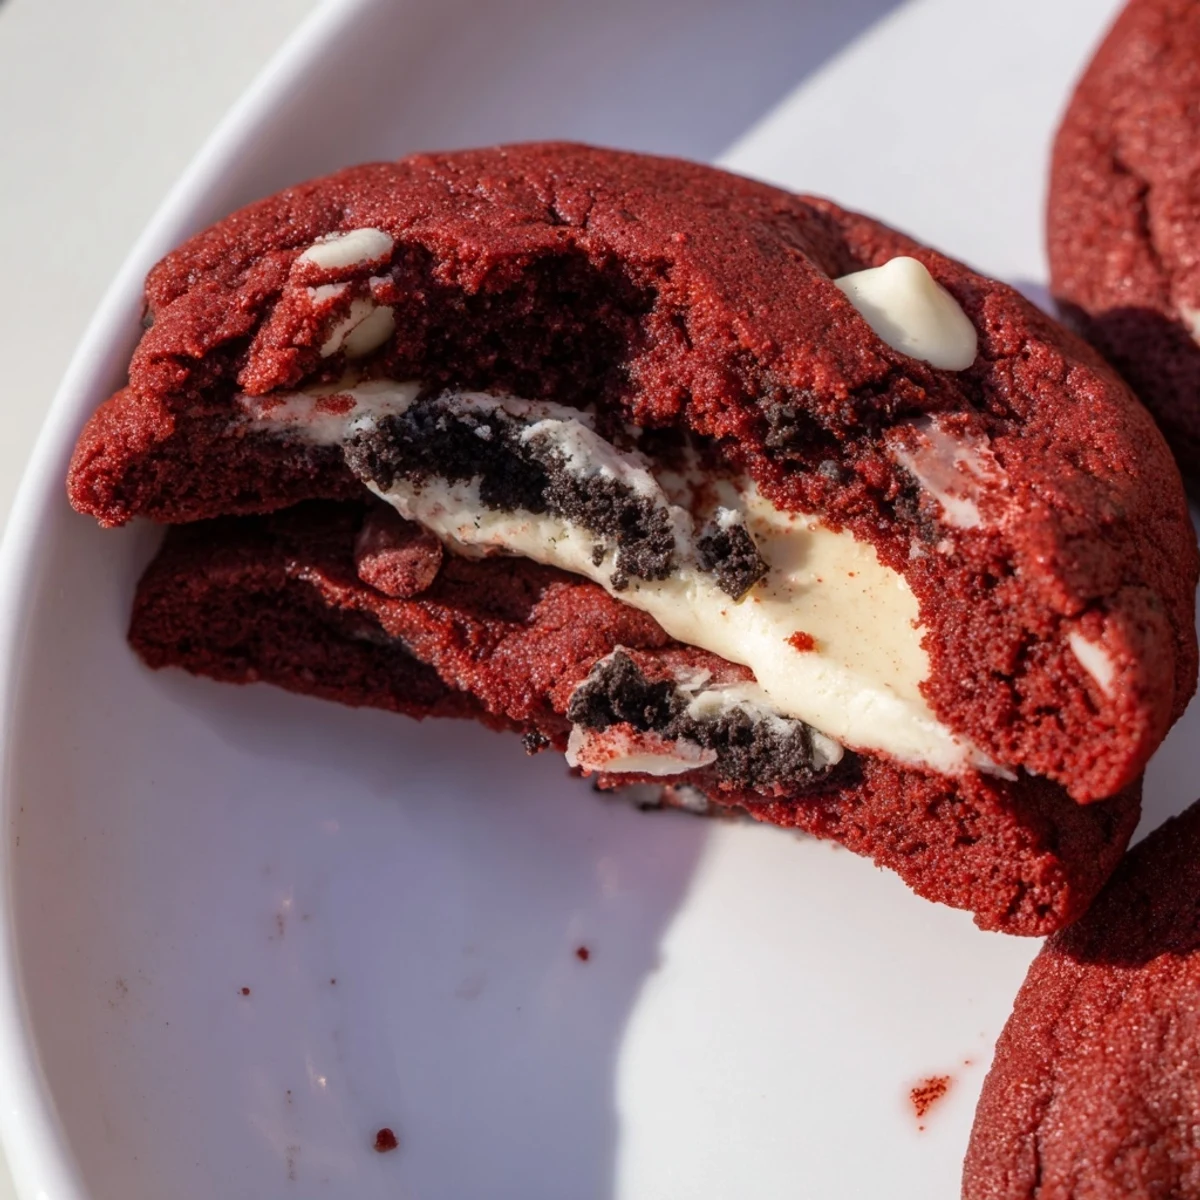
These cookies are showstoppers on their own, but serving them slightly warmed takes them to another level. The filling gets soft and gooey, and the white chocolate becomes extra melty.
- Pair with a cold glass of milk for the ultimate comfort experience
- Crumble one over vanilla ice cream for an incredible sundae topping
- Package them in clear boxes tied with red ribbon for unforgettable homemade gifts
 Pin This
 Every time I pull a batch of these from the oven, I am reminded that the messiest recipes often create the most beautiful memories. Happy baking.
Recipe FAQs
- → How do I prevent the Oreo filling from leaking during baking?
-
Chill the Oreo cream filling for at least 10 minutes before stuffing. This firms it up, making it easier to enclose within the dough. Ensure you seal the edges completely by pinching the dough together around the filling.
- → Can I make the dough ahead of time?
-
Yes, prepare the cookie dough and Oreo filling separately, then refrigerate both for up to 24 hours before assembling and baking. Let the dough soften slightly at room temperature before shaping.
- → What's the best way to crush Oreos for the filling?
-
Place whole Oreos in a resealable plastic bag and crush with a rolling pin, or pulse in a food processor until finely ground. You want small, even pieces for smooth texture in the cream filling.
- → Why did my cookies spread too much?
-
This can happen if the dough or filling is too warm. Keep everything chilled until baking, and use room temperature—not melted—butter when mixing. Also ensure your baking sheets are completely cool between batches.
- → Can I freeze these stuffed cookies?
-
Absolutely. Freeze assembled, unbaked stuffed dough balls on a baking sheet, then transfer to a freezer bag. Bake from frozen, adding 1-2 extra minutes. You can also freeze baked cookies for up to 3 months.
- → How can I tell when the cookies are done?
-
The edges should look set and slightly firm, while centers may appear soft and underbaked. This is correct—they'll continue cooking on the hot baking sheet during the 5-minute cooling period.
