 Pin This
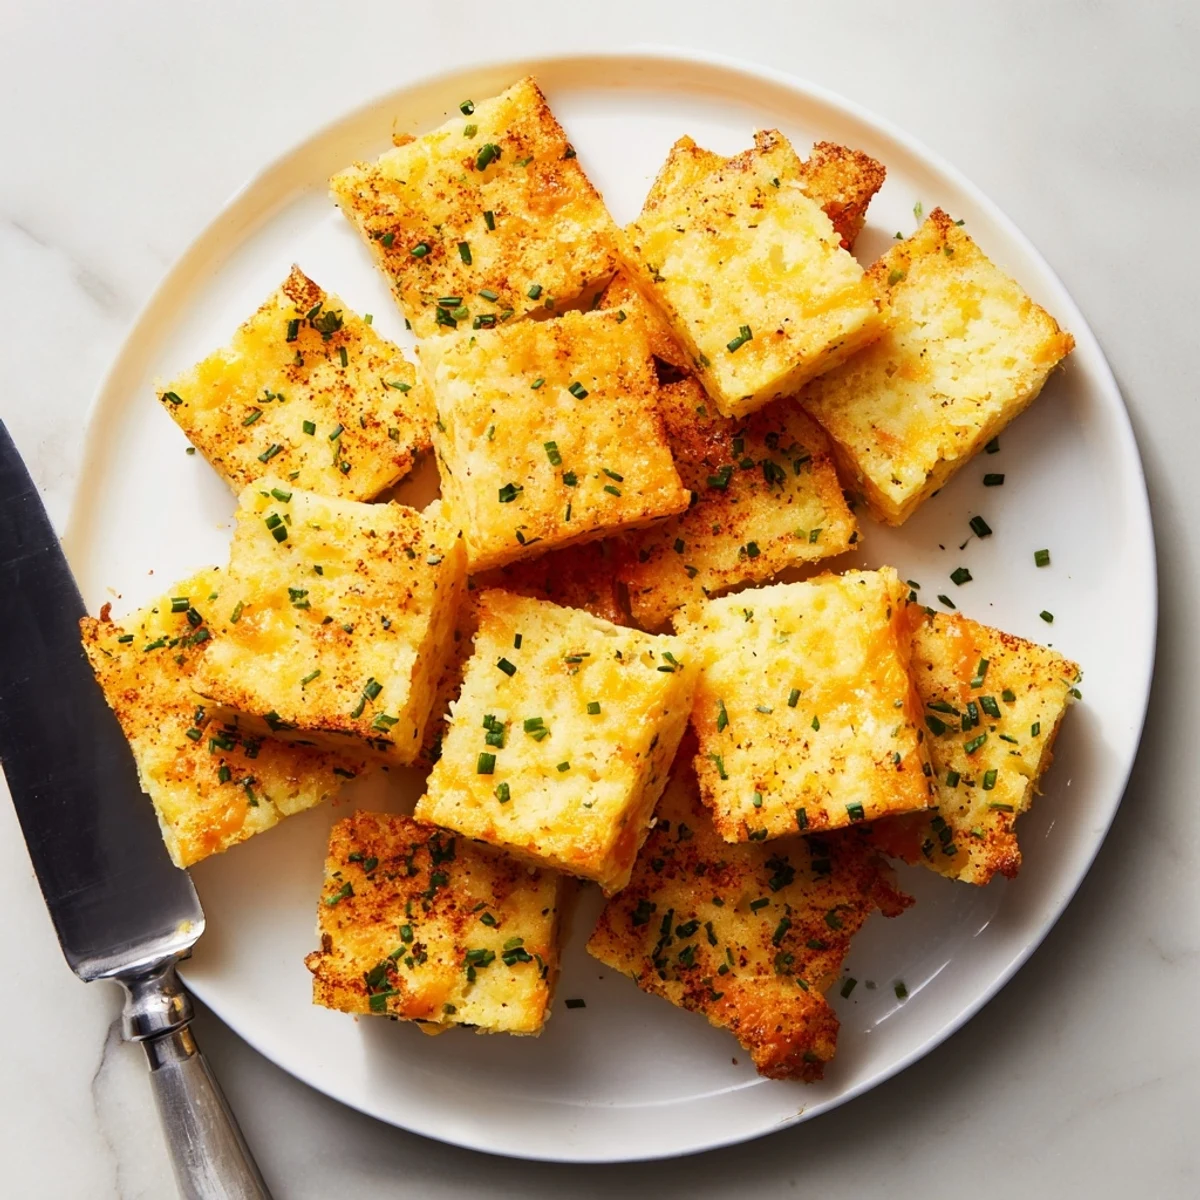
 These ultra-crispy baked cheddar and herb bites come together with just a handful of pantry staples — flour, sharp cheddar, Parmesan, butter, fresh chives, and a touch of smoked paprika. The dough rolls out thin and bakes into golden, crunchy squares with layered savory flavor. At only 72 calories per piece, they're light enough for an afternoon nibble but bold enough to stand on a party platter. Ready from start to finish in 28 minutes with minimal cleanup, they're the kind of treat you'll keep coming back to.
My neighbor brought a plate of these to a summer potluck and I stood by the tray pretending to chat while quietly eating my fifth one. The crunch when you bite in is almost aggressive and the cheese flavor hits you before you even finish chewing. I asked for the recipe before the night was over.
I made a double batch for a Friday movie night and my partner ate half before I even pulled out the dip. We sat there with greasy fingertips and no regrets, the kind of snacking that makes you forget dinner was supposed to happen.
Ingredients
- All-purpose flour: This forms the structure so do not swap for a low protein flour or the crisps will fall apart
- Baking powder: Just a tiny amount gives these a slight lift that keeps them from being too dense
- Fine sea salt: Fine grain distributes evenly without leaving salty spots in the dough
- Sharp cheddar cheese: The sharper the better because mild cheddar simply disappears into the flour
- Grated Parmesan: Adds a savory depth that makes people ask what your secret ingredient is
- Cold unsalted butter: Keeping it cold is what creates those flaky crispy layers during baking
- Fresh chives: Do not skip these as they bring a bright oniony note that cuts through the richness
- Smoked paprika: Even if you think you do not like smoke flavor, this adds subtle warmth without overpowering
- Garlic powder: Rounds out the savory profile and makes the cheese flavor more pronounced
- Cold water: Use it sparingly because too much makes the dough tough instead of tender
Instructions
- Set up your oven:
- Preheat to 375°F and line a baking sheet with parchment paper so nothing sticks.
- Build the dry base:
- Whisk the flour, baking powder, and sea salt together in a large bowl until evenly combined.
- Rub in the flavor:
- Add the cheddar, Parmesan, cold butter, chives, paprika, and garlic powder then work it with your fingertips until the whole mixture looks like coarse sandy crumbs.
- Bring it together:
- Sprinkle in cold water one tablespoon at a time and gently fold until the dough just holds together when you squeeze it.
- Roll it thin:
- Turn the dough onto a lightly floured surface and roll to about 1/8 inch thickness because thinner means crispier.
- Cut and arrange:
- Cut into 2 inch squares or any shape you like and place them on the prepared baking sheet with a little space between each.
- Bake until golden:
- Bake for 16 to 18 minutes until the edges turn a deep golden color and the centers look set and dry.
- Cool and serve:
- Let them rest on a wire rack for a few minutes because they continue crisping as they cool down.
 Pin This
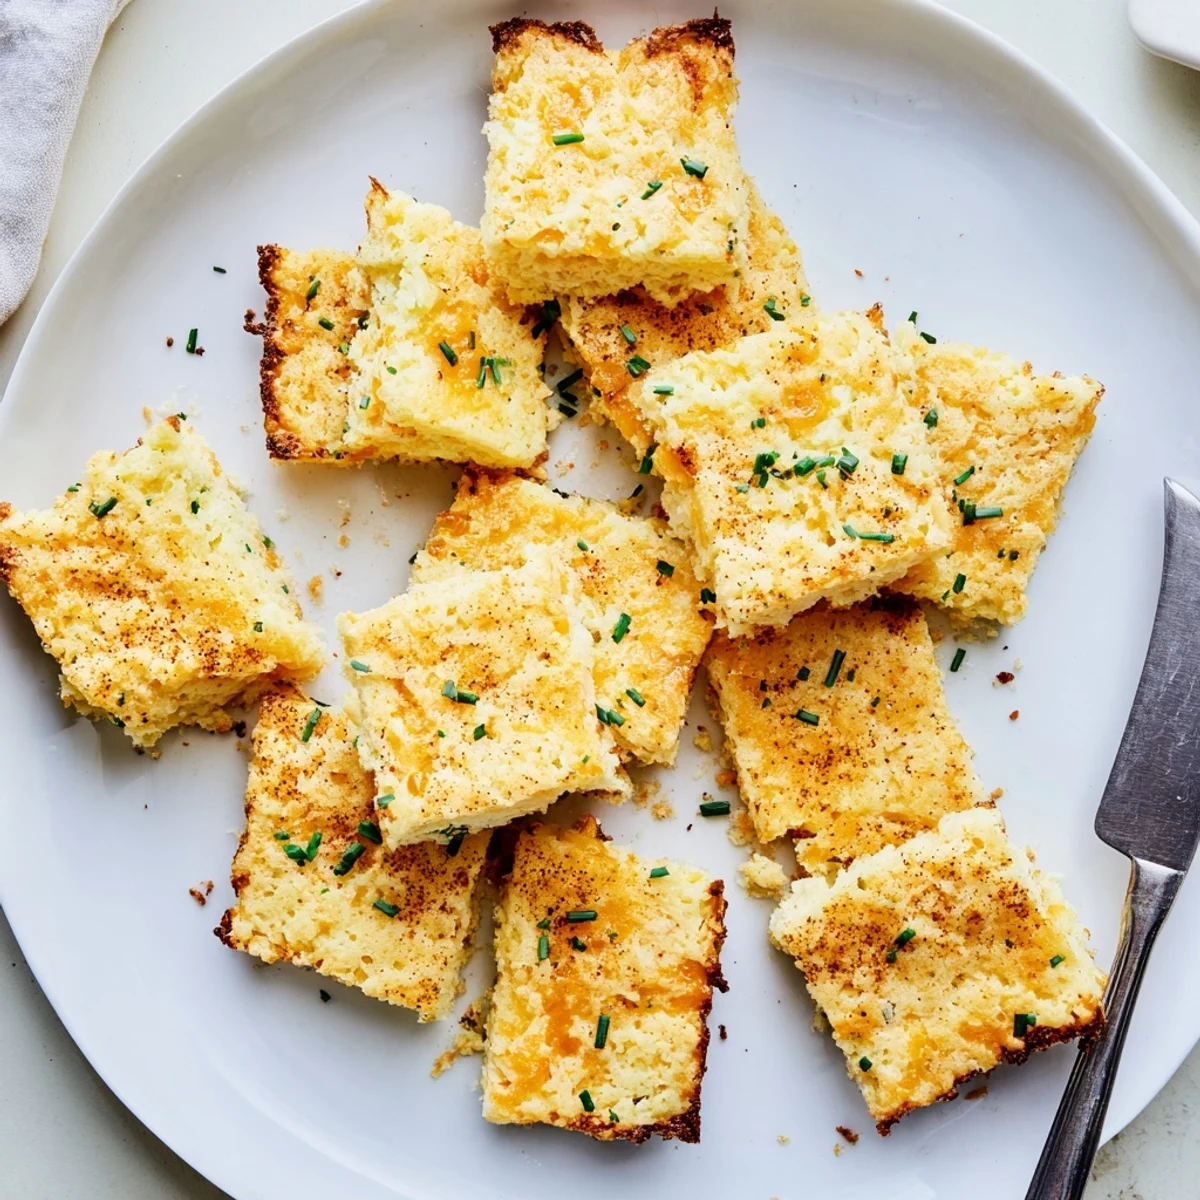
 My daughter now requests these for every school event and I have learned to make triple batches because a single batch vanishes in about four minutes flat. Watching a group of eight year olds silently devour cheese crisps instead of arguing about snacks is a kind of magic.
Getting the Crisp Right
The difference between okay and incredible comes down to how cold your butter stays before it hits the oven. I have started freezing the butter for ten minutes before dicing it and the texture improvement is noticeable. You want those little butter pockets to melt quickly in the oven creating steam that lifts and crisps the dough.
Cheese Swaps That Actually Work
Gruyère makes these feel fancier and a little nuttier while pepper jack turns them into something with real heat. I tried mozzarella once and they were bland and chewy so stick to cheeses with bold flavor. The key is using a hard or sharp cheese that contributes taste rather than just melt.
Serving Ideas Beyond the Snack Tray
These have become my go to garnish for tomato soup because they float on top and slowly soften into the most delicious cheesy crouton alternative. You can also crush them over salads for a savory crunch that beats any store bought crouton.
- Tuck them into lunchboxes with a small container of mustard for dipping
- Layer them on a charcuterie board between clusters of grapes and nuts
- Make a mini version using a 1 inch cutter for bite size appetizer service
 Pin This
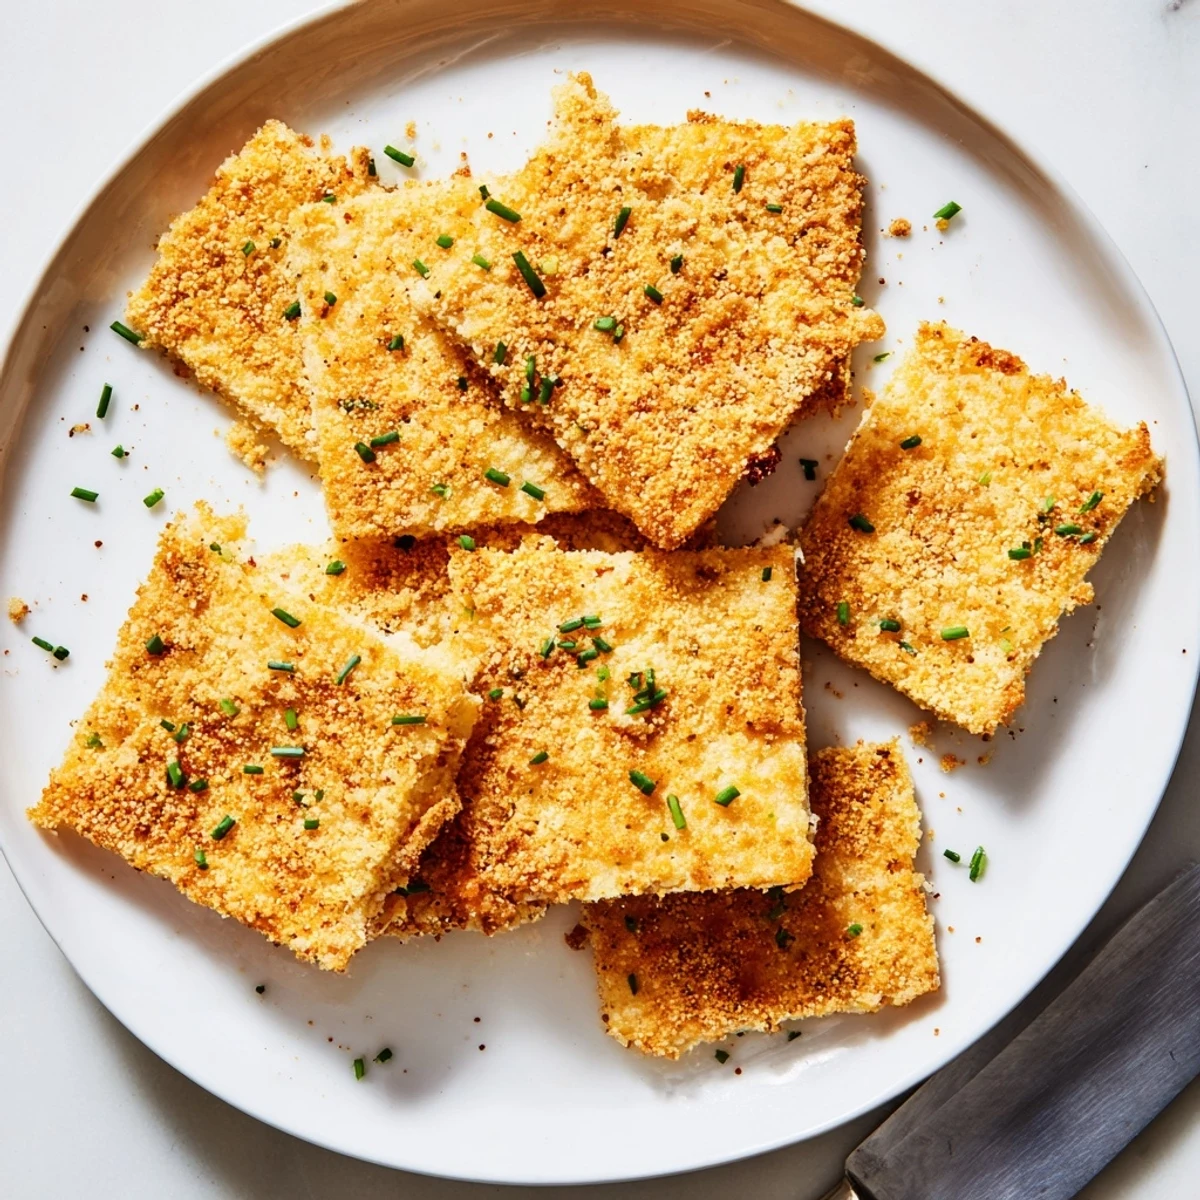
 These little cheese crisps have earned a permanent spot in my weekly rotation and I suspect they will in yours too. Sometimes the simplest recipes end up being the ones you cannot stop making.
Recipe FAQs
- → Can I make the dough ahead of time?
-
Yes, wrap the dough tightly in plastic wrap and refrigerate for up to 24 hours. Let it sit at room temperature for about 10 minutes before rolling out.
- → What cheese works best for maximum crispiness?
-
Sharp cheddar and Parmesan are ideal because they have lower moisture content. Gruyère is a great alternative if you want a nuttier depth of flavor.
- → How do I store leftovers?
-
Keep them in an airtight container at room temperature for up to 3 days. Reheat briefly in a 350°F oven for 3–4 minutes to restore crispness.
- → Can I freeze these before or after baking?
-
Both work. Freeze unbaked cut shapes on a parchment-lined tray, then transfer to a bag for up to 2 months. Bake straight from frozen, adding 2–3 extra minutes. Baked pieces also freeze well.
- → How thin should I roll the dough?
-
Aim for about 1/8-inch thickness. Thinner dough bakes crispier, while thicker pieces will be more tender inside. Even rolling is key for uniform results.
- → What dips pair well with these bites?
-
Sour cream and chive dip, honey mustard, ranch, or a simple marinara all complement the savory cheese flavor nicely.
