 Pin This
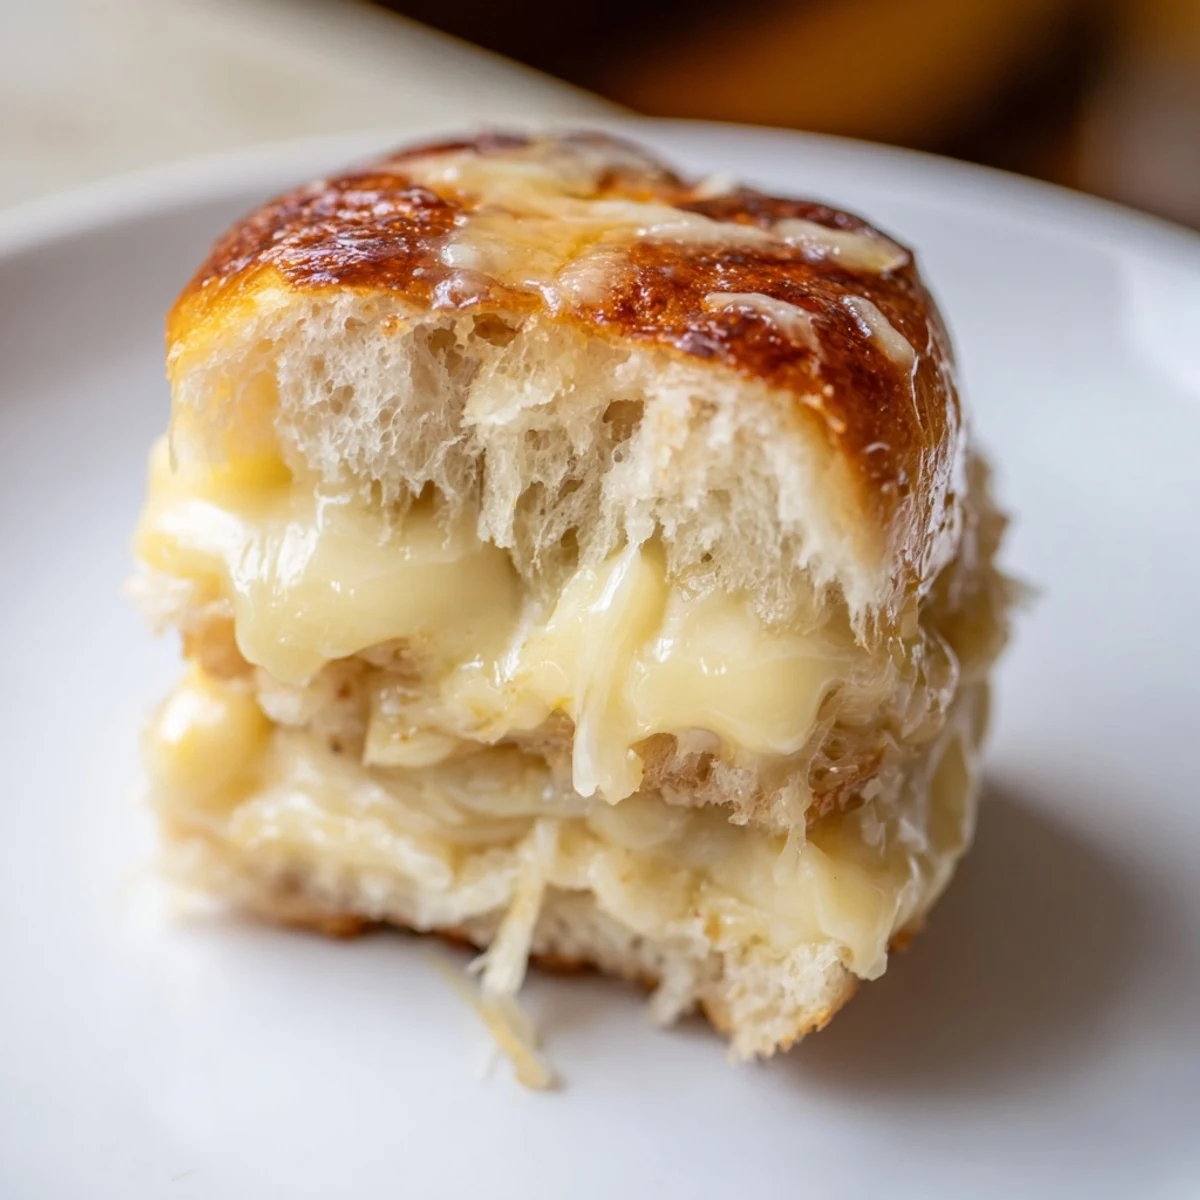
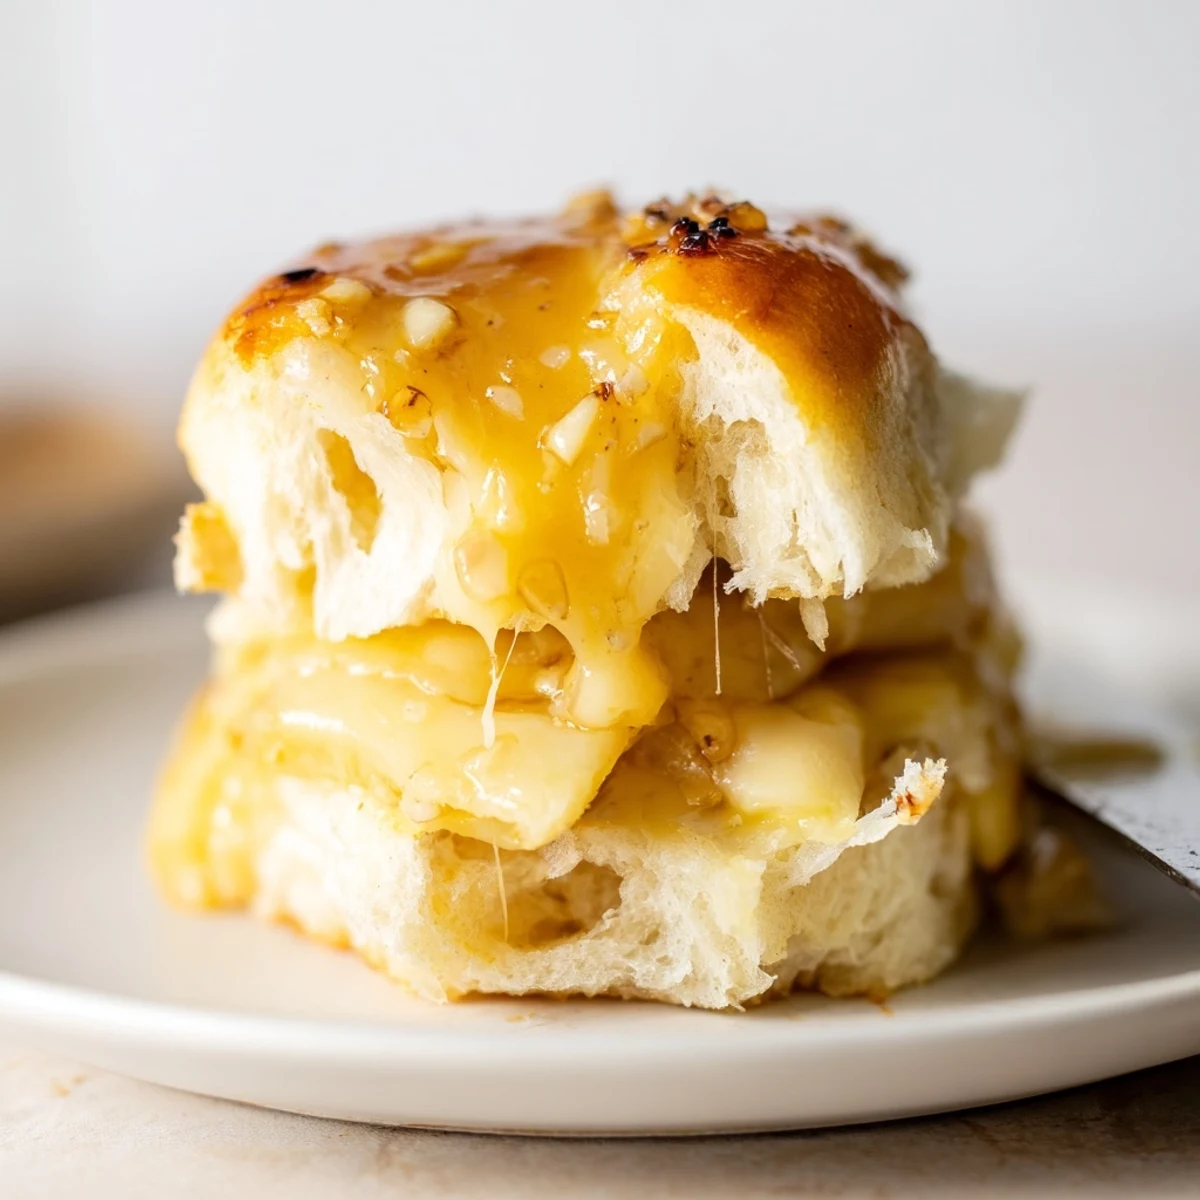
 Quick to assemble and great for gatherings: slice a 12-count pack of Hawaiian rolls horizontally, layer sliced cheddar (add ham if desired), replace the top, brush with melted butter mixed with mustard and honey, then bake at 350°F until cheese is melted and tops are golden. Let rest briefly, then cut into individual mini sandwiches. Swap cheeses or add caramelized onions for variety.
The first time I tried these Mini Grilled Cheese Hawaiian Rolls, I almost burned my fingers sneaking one off the tray before they cooled. The smell of butter melting into sweet rolls filled my kitchen, making even a rainy afternoon feel a little brighter. There's something playful about making grilled cheese in mini form—like turning an old favorite into a shareable surprise. This recipe came together after a bout of snack inspiration during a movie night with friends.
I once brought a piping-hot batch of these to a backyard hangout, and everyone hovered near the kitchen, snatching sandwiches as soon as I sliced them apart. Watching people grin and argue over who got the cheesiest mini made me realize how snacks like this pull everyone together faster than any fancy entree ever could.
Ingredients
- Hawaiian sweet rolls: Their pillowy texture and hint of sweetness are non-negotiable, and I’ve found that slicing gently with a serrated knife keeps them from squashing.
- Sliced cheddar cheese: Opt for sharp cheddar for more flavor—a thick, even layer ensures melting magic in each bite.
- Unsalted butter, melted: Brushing the tops generously gives you that golden finish and irresistible aroma.
- Optional add-ins (deli ham or turkey, Dijon or yellow mustard, honey, garlic powder): These extras let you customize based on your cravings; sometimes I mix all into the butter just for fun.
Instructions
- Get the oven ready:
- Preheat to 350°F (175°C) and line your baking sheet—parchment makes cleanup a breeze.
- Slice the rolls:
- Without separating, halve the whole slab of rolls horizontally; hold them steady with one hand and gently saw with a serrated knife.
- Layer up:
- Lay the bottoms out, shingle cheese slices evenly over them, and tuck in ham or turkey if you’re feeling meaty.
- Close and prep:
- Replace the roll tops carefully, then whisk butter with mustard, honey, and garlic powder if you’re using them for extra oomph.
- Butter and bake:
- Brush the tops with the buttery mixture, making sure every bit is glossy; set them on the center rack and bake for 10–15 minutes, until the cheese is lava-like and tops are a rich golden brown.
- Slice and share:
- Let them rest for just 2 minutes (if you can wait), then cut along the roll seams and serve while the cheese still strings.
 Pin This
 The day my niece asked for "the special tiny grilled cheeses" at her birthday party, these rolls became our sneaky family tradition. There’s a snapshot in my mind of everyone’s hands reaching across the counter, laughing as we tried (and failed) to keep things tidy.
Easy Ways to Make Them Your Own
Every time I whip these up, I end up rummaging the fridge for leftovers to sneak between the layers. Caramelized onions, thin tomato slices, or even a swipe of pesto have become secret upgrades based on whatever’s at hand.
What to Serve With Mini Grilled Cheese Rolls
You can’t go wrong with a bowl of tomato soup for dunking, but I once paired these with a crisp salad, and it made lunch feel like a treat. My tip: offer a mix of sweet pickles or kettle chips alongside for that perfect snack spread.
Troubleshooting and Last Minute Tips
If your cheese isn’t melting fast enough, a minute more in the oven usually does the trick—just watch those tops. When slicing after baking, use a gentle sawing motion and steady pressure to avoid squishing the fluffy rolls.
- Chill the cheese slices in the freezer for 5 minutes to keep them from sliding as you layer.
- If you skip parchment, expect a gooey cleanup.
- Don’t hesitate to go heavy on the butter—it’s what makes that golden crust.
 Pin This
 Pull apart, pile onto a platter, and watch these disappear faster than you’d ever expect. Few things beat the crowd-pleasing power of gooey cheese stuffed in a sweet roll.
Recipe FAQs
- → Can I prepare these ahead of time?
-
Yes. Assemble through step 4, cover tightly, and refrigerate up to 24 hours. Brush with the butter mixture just before baking and allow a couple extra minutes in the oven if baking from chilled.
- → Which cheeses work best for melting?
-
Good melters include cheddar, Swiss, provolone, and pepper jack for a bit of heat. For creamier melts, try a mix of sharp cheddar and Monterey Jack or a mild havarti.
- → Can I make these on the stovetop instead of baking?
-
Yes. Assemble individual sandwiches and cook in a large skillet over medium-low heat, pressing gently with a spatula or heavy pan and covering to trap steam; cook until cheese melts and both sides are golden.
- → How do I avoid soggy bottoms?
-
Use a preheated baking sheet or line with parchment, avoid over-brushing the bottom layers, and ensure cheese is evenly distributed. A brief pre-toast of the bottom half can also help.
- → How can I adapt for vegan or dairy-free diets?
-
Swap the cheddar for a well-melting plant-based cheese and use a dairy-free spread or oil in place of butter. Verify the Hawaiian rolls are egg- and dairy-free or choose suitable buns.
- → What is the best way to store and reheat leftovers?
-
Store cooled sandwiches in an airtight container in the refrigerator for 2–3 days. Reheat in a 350°F oven or air fryer until warmed through to restore crispness; avoid microwaving to prevent sogginess.
